Friday, March 31, 2023

Let's Draw Toys!

Drawing is a fundamental art skill. Learning to draw starts with learning to observe one's surroundings and draw what one sees: otherwise called "drawing from life." Observational skills can be practiced and strengthened by keeping a sketchbook and drawing what you see whenever the mood strikes.  

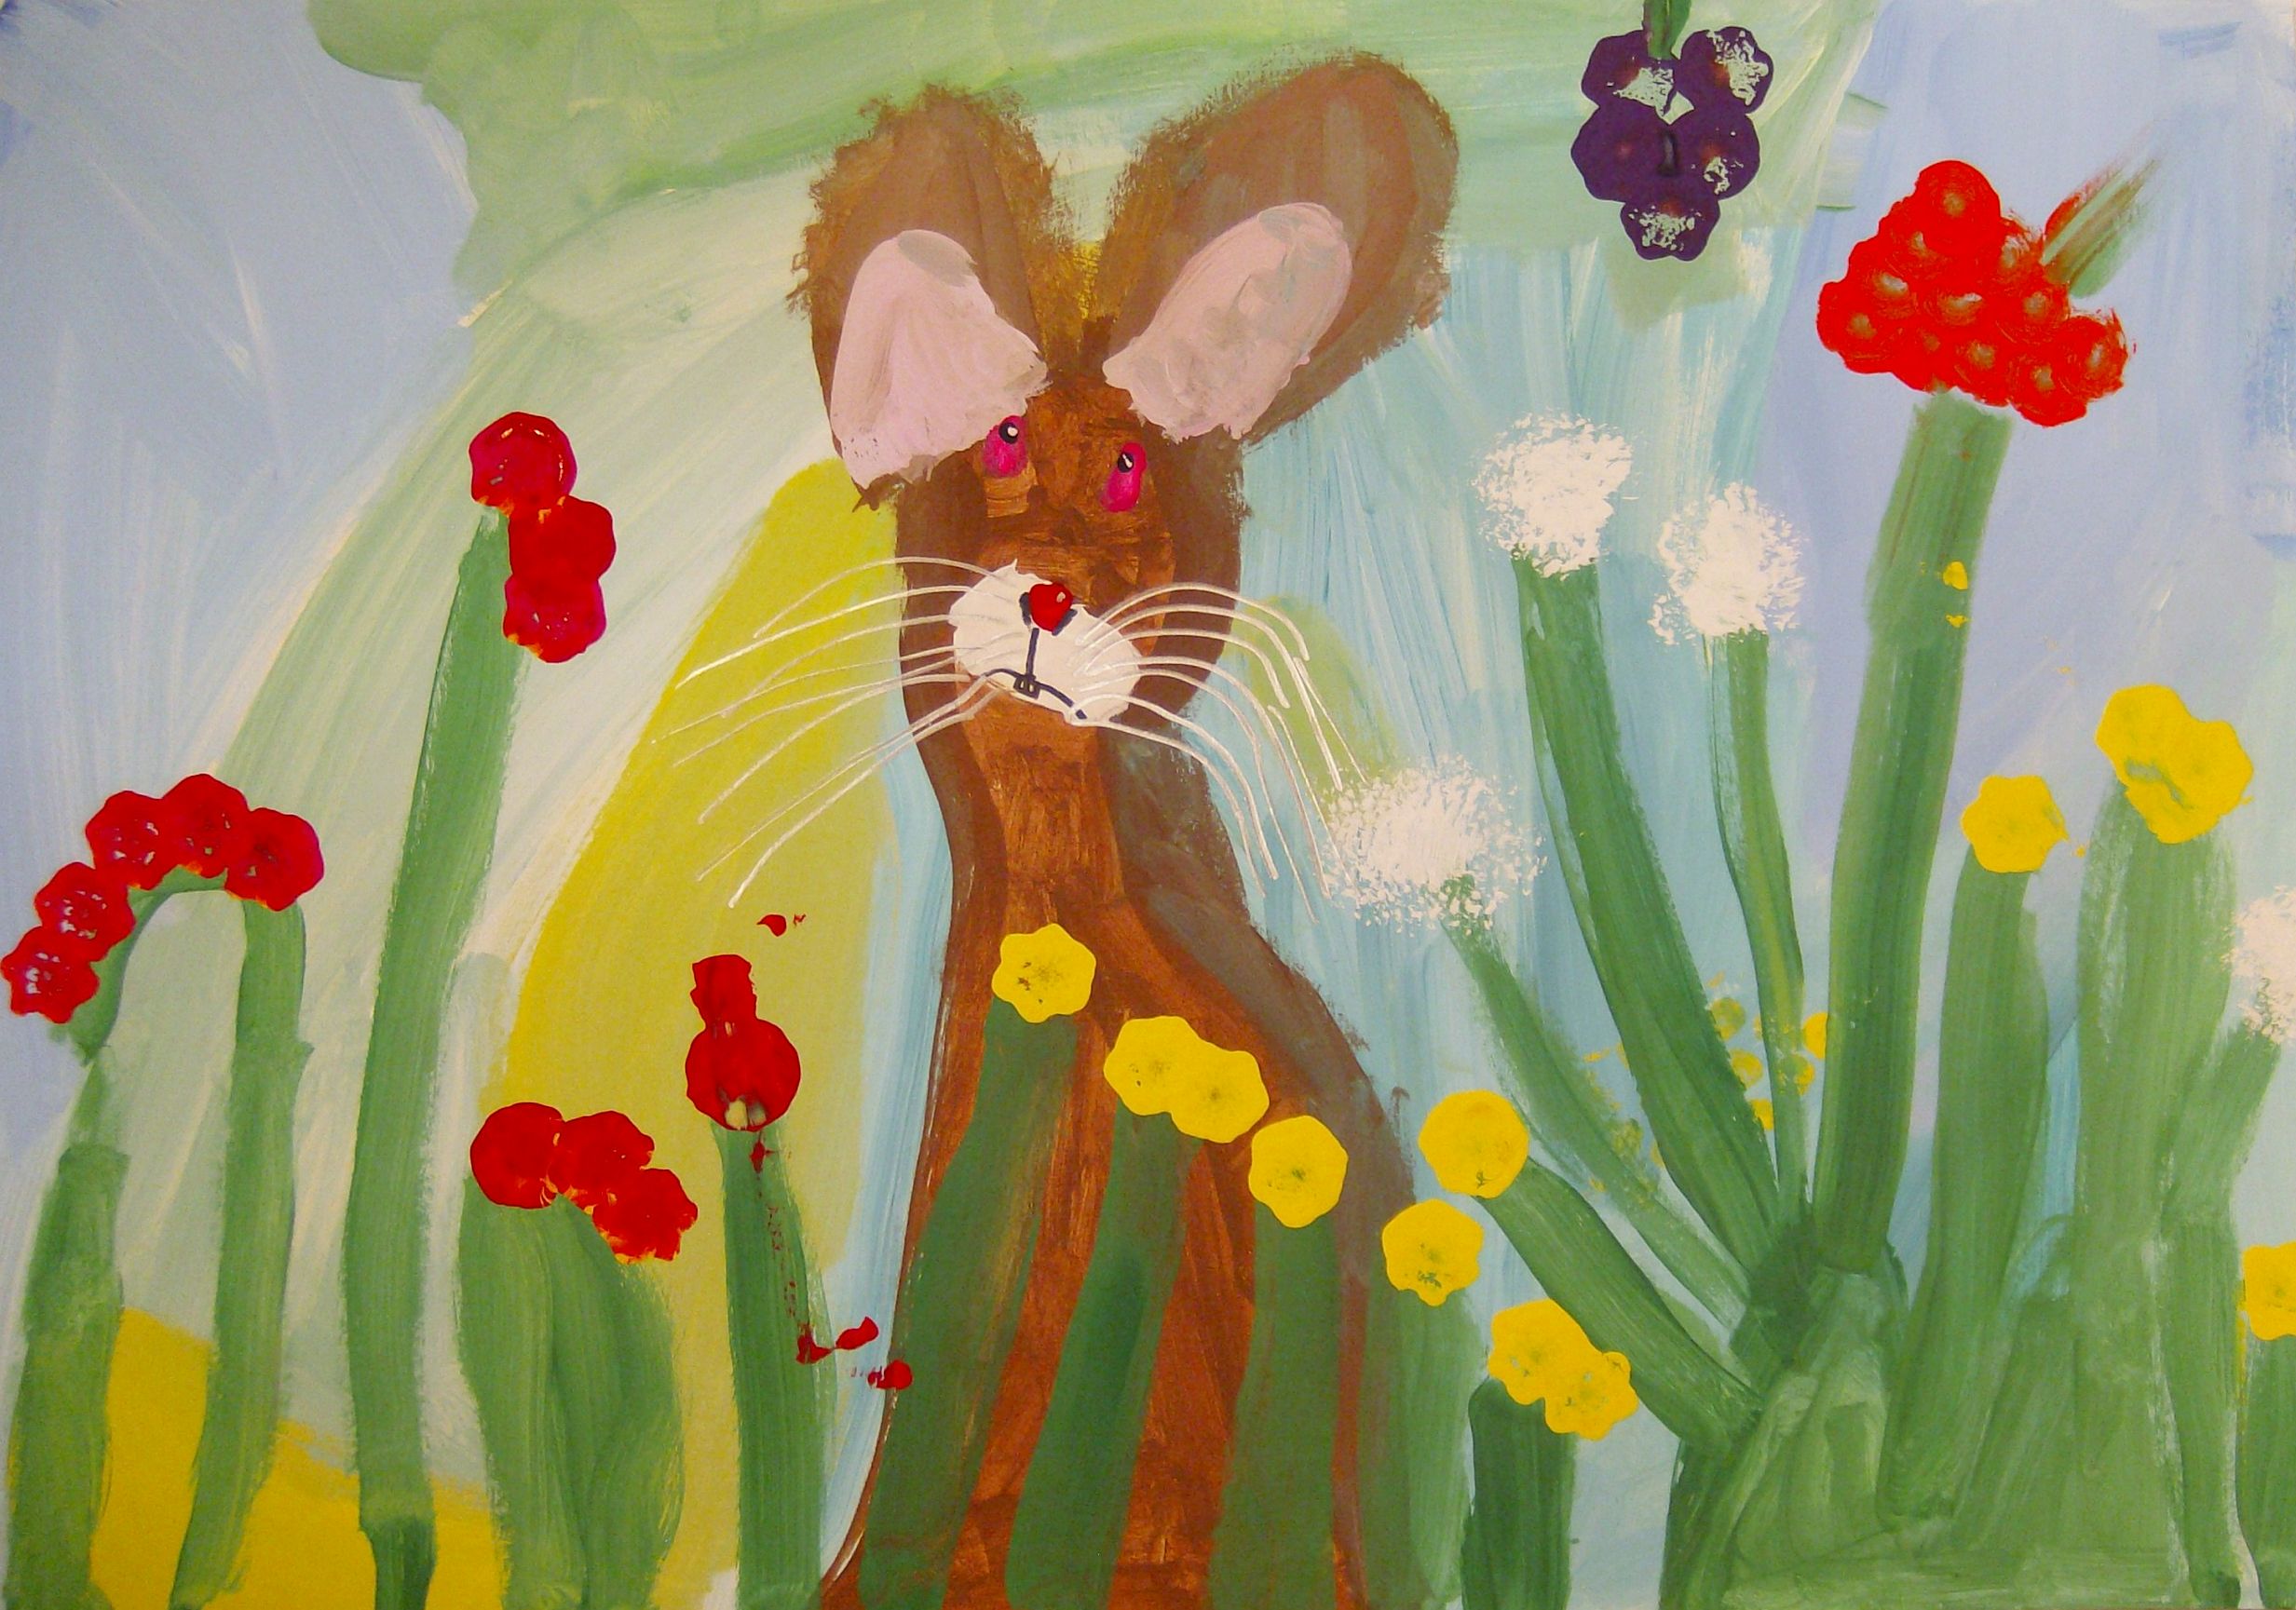
One of my favorite subjects to encourage observational drawing is (da-ta-ta-da!) toys! Kids love toys and get excited about the idea of drawing them. Toys are a fun subject that can be simple or complex. Young artists can start with simple toy shapes first and move (often in one drawing session) to more complex toys. Drawings of toys can be colored in if desired, which adds to the fun!

Here's how we did it:

We started with a big table covered with a plain tablecloth and lots of small toys. I collected a huge variety of toys that differed in size, shape, color, etc. Young artists could spend some time observing the table and thinking about what they would like to draw. I suggested that they may want to 'warm up' with simpler shapes first, then move on to the 'harder' ones as they go along. We also set up a shelf full of plushies. Artists select one toy at a time and place it on the table in front of them to draw. When the drawing is complete, they return the toy to the table and select another one. 


There are rules to be followed during drawing time:

Ink only. We used Sharpies. No pencils. Ink eliminates the constant 'need' to erase in pursuit of perfection. It emboldens the artist to just draw. Perfection is not our goal. Depicting a recognizable toy is all we are doing.

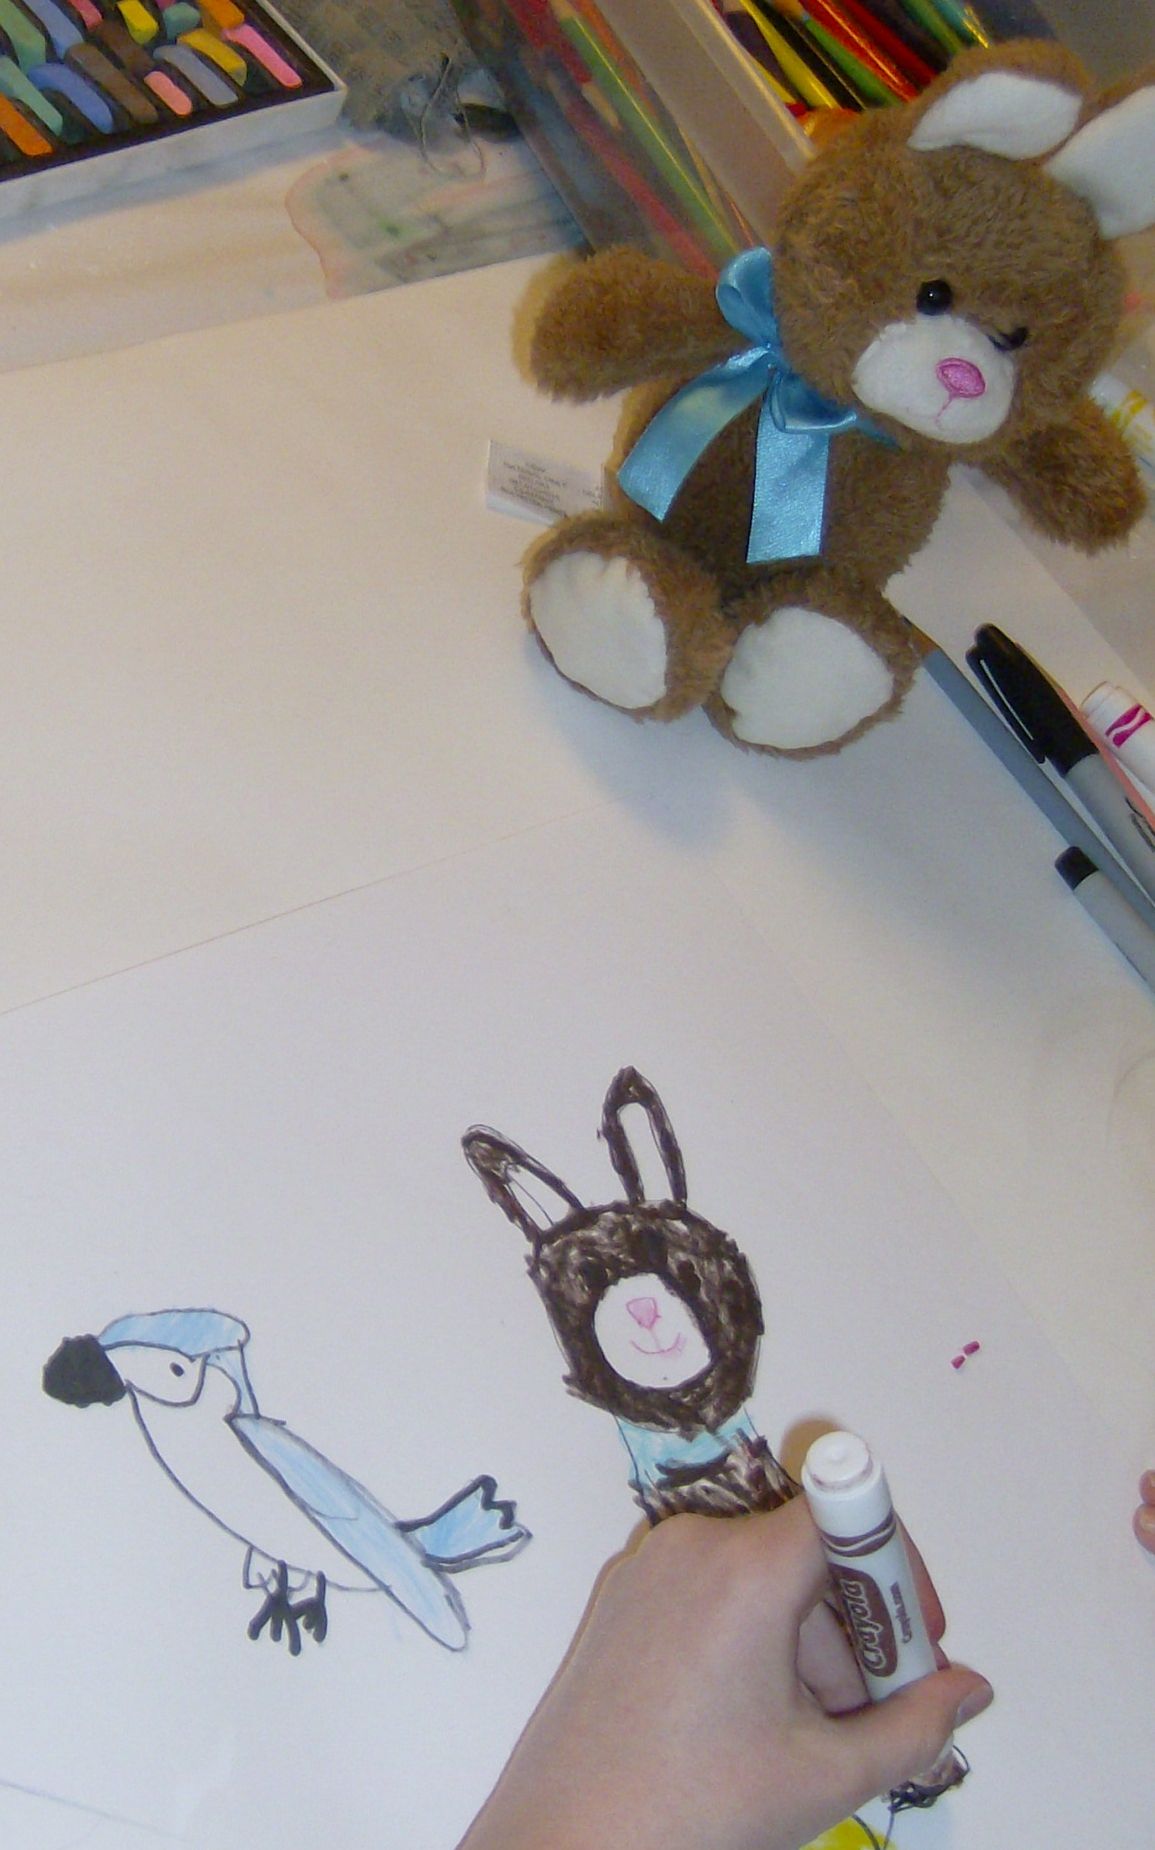
No tracing. Without this rule, some will try to trace the toy. So, instead, the rule is that the drawing of the toy should be a bit larger or a bit smaller than the model (depending upon its actual size).

Include at least one plushie.

Fill the paper. A large sheet of paper (12" x 18") can hold a lot of toy drawings! I asked  them to draw at least five toys on paper of this size. Or more if there is room. 

Color in the toy drawings. Any media may be used to add color. This is where it gets really fun. The ink drawings are almost like a self-designed coloring book, so the kids love coloring them in. We used markers, colored pencils, soft pastels, and a combination of any of the above. (Crayons could be used too, but we don't use them very often.)


Background. Leave it white or use soft pastel for an easy background of beautiful blended
colors. Also (as a bonus) this solution is useful for covering accidental smudges around the toy drawings. They simply apply pastels to various areas around the drawings and smear/blend together with their fingers.


Here is post about a previous observational toy drawing session. Always FUN!

Saturday, March 25, 2023

Rabbits, Bunnies, and Hares - Oh My!

It's SPRING... 

and... we have a snowstorm happening here today. So we decided to PAINT spring and maybe the weather will follow. 


Our favorite "springy" subject is a hungry rabbit happily chomping on wild flowers in a sunny green meadow.


These wild bunnies were painted with tempera on 14" x 20" sheets of white poster board. We first sketched in the basic shape of our rabbit (no ears yet). Then we painted the background in a variety of spring-like colors, impressionist-style!

Next, we painted in the bunnies, adding the ears right over the background, leaving the whiskers and facial details until later.  


Now it was time to add the grass, wildflowers, and dandelion seedpods floating through the air!

When the paint was dry, we added the whiskers and facial details with paint or Sharpies.


For more dandelion bunnies, take a look at these Wild Rabbits and these Wild Rabbits and Wildflowers. Also, check out these Dandelion Bunnies to find a special poem about our adorable wild rabbits.

Saturday, March 11, 2023

Say it with Style!

How can you say something with style? 

Why not add what you want to say to your artwork? 

It's a great way to personalize a painting or a piece of artwork for yourself or for someone else. 


We created our own personalized art by first painting with acrylics on canvas boards and also stamping and scraping with tools like combs and bubble wrap.

Then we added a bit of mixed media collage to our paintings by attaching various paper elements with clear acrylic gloss medium.  Some artists outlined with Sharpies too.


Once the painting was dry, we printed out our quotes, which could be a familiar saying or a special quote (even your own!) using any font. The quotes are then cut into strips and can be cut apart in phrases or sections, or even word by word. We laid them out over our dried paintings and rearranged them until they fit well in the overall composition. They are then attached, one by one, using the clear acrylic medium, being sure to brush medium over the word strips to seal them. 


After the canvas is completely dry, the last step is to loosely (even sloppily) outline each word or section with a Sharpie. I like to outline in black, then again in white for a cool double outline. 


This garden birdhouse has been a popular subject for Saying it with Style!


I created this painting for a high school graduate. 

As you can see (besides being cute!) it contains all of the knowledge, wisdom, and advice that a young person needs in life. 

Sunday, March 05, 2023

It's a Blizzard!


We've had yet another snowstorm here in Idaho - and another is on the way!

We decided to illustrate our winter weather with this mixed media painted collage. These Downtown Snowstorms were a lot of fun to make, too! 


The first step is to sketch the basic shapes of  your tall downtown buildings on a sheet of 18" x 12" heavy white drawing paper. Draw shorter tall buildings first, starting at the bottom of the page. Then place the taller buildings behind them, leaving a little space at the top for details on the roof. (We'll add them later.) Don't worry about windows or doors or other details yet.


The next step is to paint each building a different color. Use bright colors! We painted with cake temperas, which are like big giant watercolor paints, but thicker!


Now add windows using black paint on a flat brush. Just press the tip of the brush in rows along the sides of the buildings to create patterns. 


Next, simply dry your painting (we use blow driers) and cut them out. 


Now you will glue the buildings to a piece of blue sulfite or construction paper. We used royal blue; navy blue works well too. Go ahead and add details now, such as chimneys, antennas, fancy rooftops, satellite dishes, etc. Use paint or markers.

Add one or more trees with dark brown paint in front of the buildings. We used
liquid temperas. You can paint deciduous
 trees (no leaves) or conifers (evergreen trees - just add some dark green needles). 

After all of your paint is dry, it's time to add SNOW! Cut and glue snow and icicles (from your white paper scraps) to the tops of the buildings. Then simply paint snow on everything else using thick liquid white tempera paint. 


Last step: splatter! Using thinned liquid white tempera paint and an old toothbrush, splatter snow all over your painting. You can also try tap-splatting, by tapping a long-handled brush loaded with paint against another one. Tap it all over the painting for big splatters - go ahead and make a blizzard!!!