Wednesday, May 16, 2018

Flowers for Mom!


This week we painted flowers for Mother's Day. The original plan was to paint a little watercolor painting to attach to a card to give to Mom. That way she would get a personal card and a piece of art to keep and display too. 

Often kids have different ideas, like painting on a full sheet of paper. They wanted to paint a PAINTING, so they did. A few even painted a second one for Grandma. 


First each child chose a vase that he or she liked. Then they chose flowers that would work with the vase as far as size and color, and they arranged them in the vase.


Now they needed to study their subject very carefully. 

What is the shape of the vase? 
How large is it compared to the flowers? 
How can the entire subject be fit into the composition without going off the edges? 
(This often happens, usually cutting off the flowers at the top, which we didn't want to do.)


I reminded them that they have "creative license" to change whatever they want to. So if the vase is tall and skinny, they can make it shorter so the flowers will fit on the page, like this one with the pink tulips. 


The only 'rule' was that no pencils were allowed. I didn't want them to focus so much on drawing. I wanted them to trust themselves and dive right into the process of painting.


They began by visually measuring how large the vase will be, and then sketching the shape of the vase with thinned watercolor.  They then painted at will, with very little instruction. Some added a few details to the vase if it was clear glass, like stems and leaves. Others painted it a solid color.


Then they added the main flowers, stems, leaves, and the smaller flowers. They learned that white flowers could be added by simply choosing a color to paint the outlines; then adding the centers with a few dots of color. Let the white paper do the rest. They also learned that adding water to thin colors creates watercolor tints such as baby blue and pink and lavender. No white paint required.


The last step was to paint the background. This required imagination, while the flowers required careful observation skills. The background could be realistic, like a table and a window, or it could be very simple or maybe a mishmash of colors and patterns.

For the background, our artists also needed to select colors that would complement the floral arrangement. 

Decisions, decisions!

This artist painted a small floral (my original idea), which we glued to a folded piece of cardstock.


Below are our flowers for Mom!


Sunday, May 13, 2018

Fabulous Fish!


These fabulous schools of fish resemble the batik fish project we did a couple of years ago, but our process was a bit different. 


This time we used white oil pastel to 'resist' the paint instead of masking fluid because our format was larger so we needed a speedier way to complete the project within the given time. Also, I'm not crazy about letting younger artists work with masking fluid; it dries quickly and it has to be completely rubbed off after the painting is dry.


I have a number of fish templates, from which a favorite is  drawn at least five times as if swimming in the same direction and overlapping for realism. 


Eyes and simple patterns are also added within each fish, and then all lines are traced heavily with white oil pastel.

Each fish is then painted with thinned liquid watercolor so that the oil pastel resists the paint.


The space around the fish is painted a new color, and the eyes are outlines with a Sharpie.

Some artists painted a different type of fish hidden somewhere within their school of fish!


Saturday, May 12, 2018

Swimmy Fish!


This week our Little Artists created these amazing, Swimmy Fish, which are 3-dimensional, movable, and exciting!   


Our little artists first traced a large heavy paper plate with crayon to create their fish bowls. Then they added things like rocks, water plants, bubbles, and a water line, and painted it all with very thinned blue liquid watercolor to create a lovely watercolor wax resist - which always amazes!


Then they drew and designed their own unique fish shapes, added a little crayon color and watercolored them as desired. 

Finally, everything was cut out, and the fish were glued to the bowl with two strips of paper folded accordion-style.


The fish could now swim back and forth in its bowl like magic!

(The kids also decided they needed to make a box of fish food for their little fishies.)

Wednesday, May 09, 2018

Cats on a Quilt


Cat on a Quilt 


Calico cat on a crazy quilt.

Colorful quilt and a cat.

Colorful cat on a calico quilt.

What do you think about that?


This mixed media collage gave our Paint Your ART Out kids multiple opportunities to build skills and try new media and techniques. 

Best of all -- it was FUN! 

First they drew their cats with white chalk on black construction paper. They chose a favorite feline position and used their own drawing style. I encouraged them to fill up the paper with the cat, unless, of course, they were going for a tiny kitten. 

They then used oil pastels to fill in their cats with patterns using a planned color scheme, and cut them out.

Next, they made a quilt!

They cut 12 squares of quilt patterns from selected wallpaper sample books (remember those?) and arranged them on a big sheet of heavy white paper. A few cut some of the squares into triangles or smaller squares and fit them together like a puzzle to create an even 'crazier' quilt. It all fit together in the end. Then they glued our little Cat Quilt poem over a square somewhere in the quilt.


After they glued everything down, it was time to "sew" their quilts together. Using Sharpies, they added rows and rows of hand stitching along the edges of the quilt squares, just like on a real quilt. They added running stitches, overlapping stitches, crisscrossing, zigzags, and a few made up stitches, just like in the antique calico quilts seen in museums. 


Finally it was time to place the cat on the quilt. We used rolled masking tape for that, so they could move the cats around whenever they wanted too. My cat (at the top of this post) had a little surprise mouse friend, so I'm guessing the kids all went home and made their cats a mouse friend too. 


Tuesday, May 08, 2018

Beautiful Cats!

This past week our Friday afternoon art classes painted Laurel Burch - style cats. I've always enjoyed her boldly patterned, brightly colored "festive felines." It turns out she paints other subjects too, like horses, dogs, fish, flowers, seahorses, butterflies, and birds! You can see some of her work here

Since we decided this was CAT week at the art center, this was a great project for our Friday kids!


The cats were first lightly drawn in pencil, with a few basic follow along instructions. Then it was painted with liquid watercolors. 


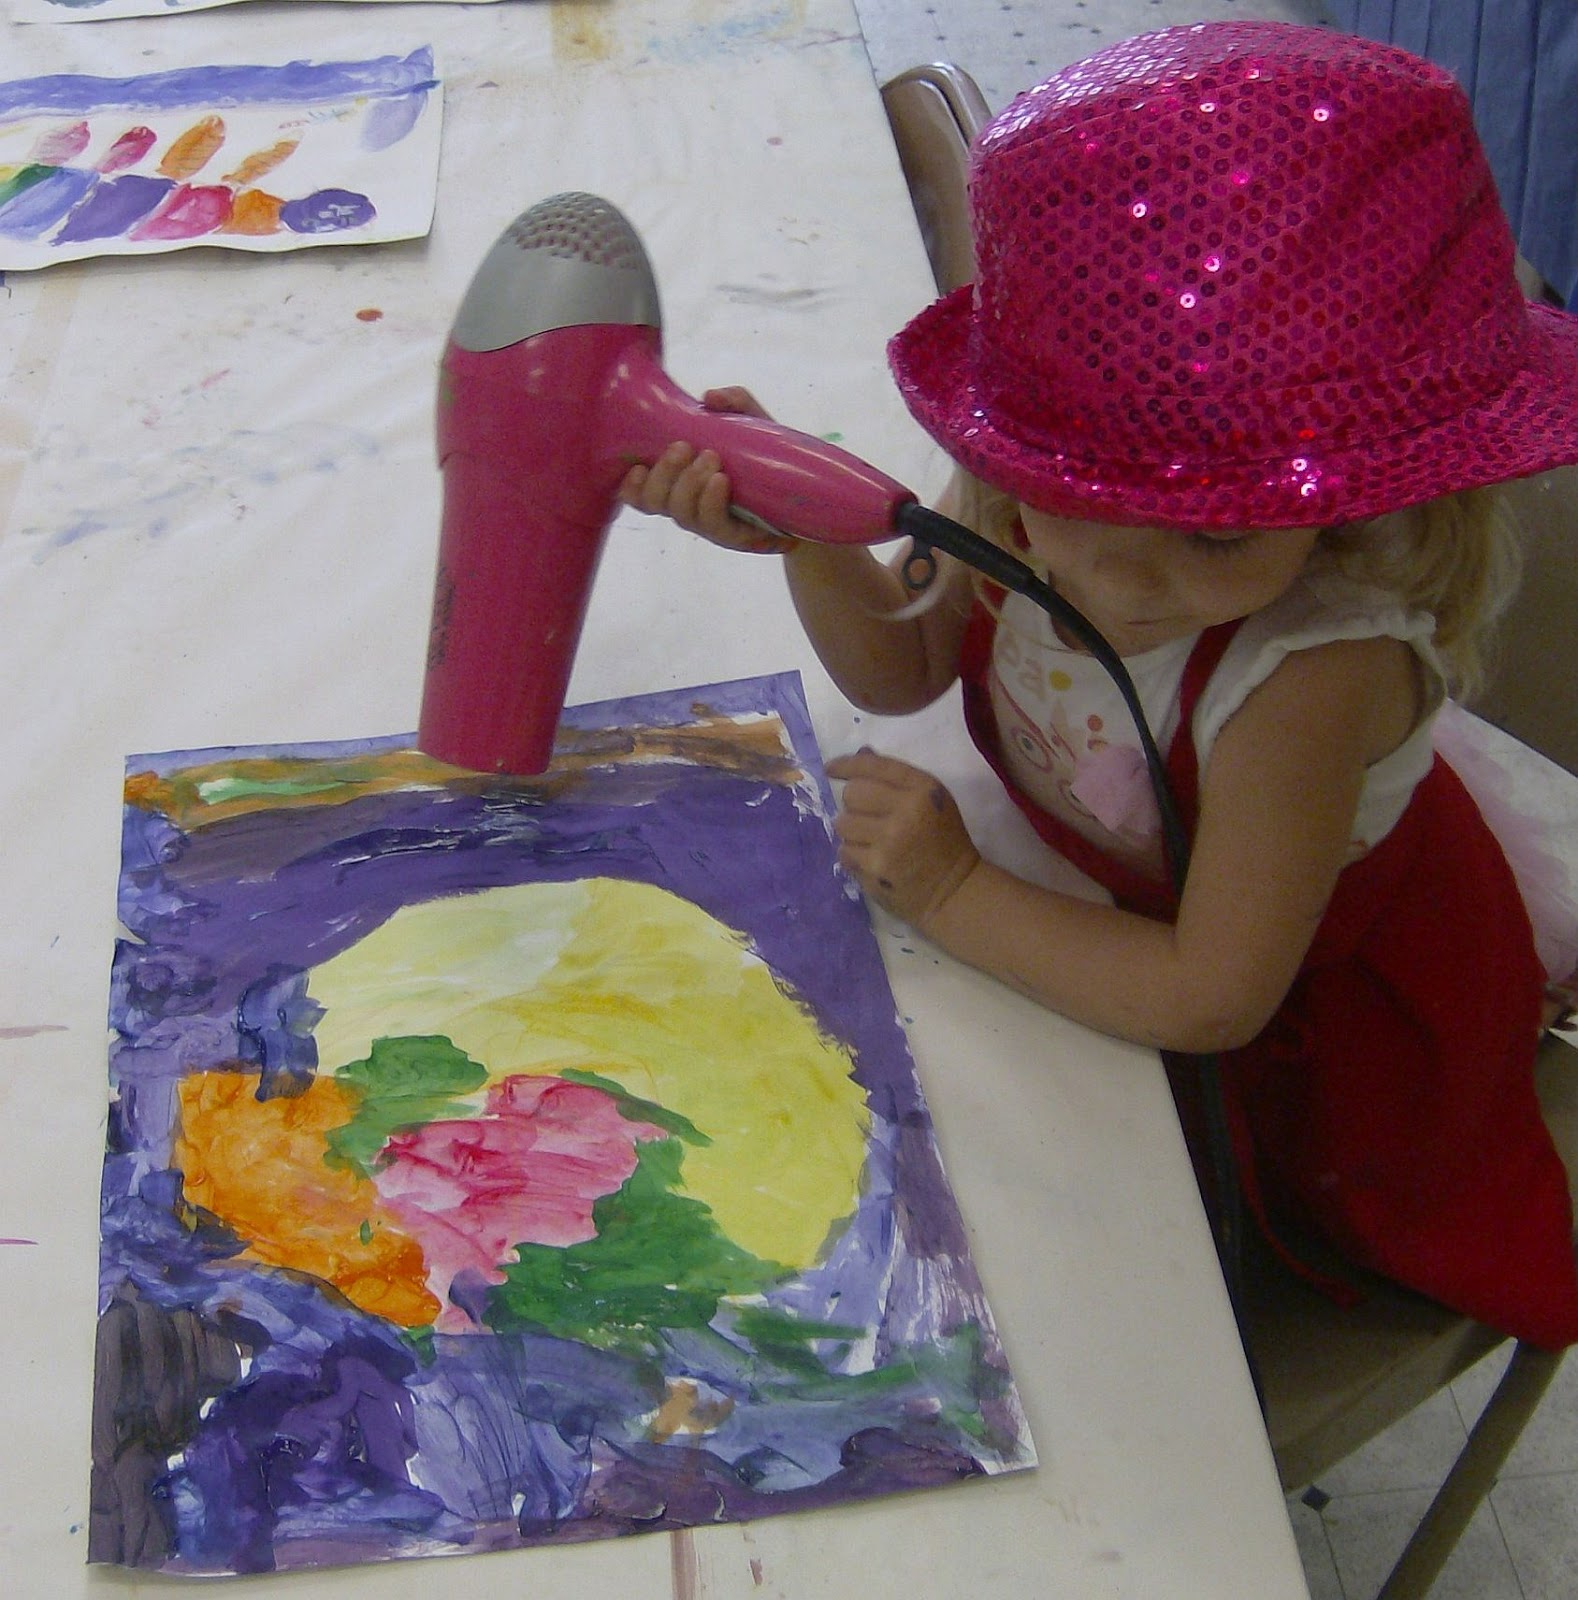
After the paint was dry (we used our handy blow dryer) the cat was outlined once again with a Sharpie and details were added. The kids LOVED how the details brought out the cat's personality and colors! 


Finally, the background was added in one of two ways. Either it was painted in and decorated with sharpies, or the cat was cut out and glued to a piece of brightly colored cardstock, and then embellishments were added to the background. 


Either way, the finished cats are amazing, don't you think?


Monday, May 07, 2018

Little Artists Paint Kitties


Our Little Artists painted kitties this past week. 


We looked at photos of striped kittens and talked about cats we have or have had or have seen or wish we could have. 


Meanwhile, we warmed up with a few free-drawings or cats and (of course) rainbows, as you can see in these two samples.


Then we crayoned in our large cat shapes using basic shapes like circles and ovals. We also added a few stripes to provide areas in which to change colors. 


Then we painted in our kitties with thick liquid tempera paint. The final step was to blow dry them because the blow dryer is fun! 


Lizzy's kitty

Cora's kitty is standing on a blue couch.

 A purple quilt is keeping Nora's kitty warm