Saturday, June 16, 2018

Father's Day Art

Our Friday Art Adventures kids made these framed watercolor paintings for their dads. Aren't they beautiful?


Creating this project was a three-step process. First the artists sponged painted their cardboard frames to create natural colors and textures. 


Then they created three small watercolor landscape paintings using photographic ideas found in our resource files. Finally, they assembled their frames using their choice of natural elements. 


Once everything was complete, they viewed each of their paintings through their frame opening and selected the one Dad would like the best. 


They framed Dad's painting and kept the other two 4" x 6" paintings for themselves.


Shown here are a few of the other little paintings our artists might attach to greeting cards, mail as postcards, or frame for themselves.


Creating three paintings meant no pressure to paint the "perfect" picture. It gave them a chance to practice realistic watercolor techniques while painting different types of interesting landscapes. Plus, it was fun!


Thursday, June 07, 2018

Abstract Collage Art


This abstract watercolor collage art is so lovely - and yet so simple! I've found it equally suitable for all ages, kinders, teens, and adults alike.


The first step is to simply paint. We used scraps of watercolor paper left over from other projects. 


We drizzled, dabbed, and splattered. We painted squiggles and zigzags and we tried wet-on-wet and let the paint bleed. We made new colors. We used bright colors (no brown or black) and we did not make mud. 


Once all of our little paintings were done we dried them (blow dryers are fun!) and then we cut them into triangles: fat skinny, large and small. It didn't matter. 

Then we fit them together on the square poster board substrate like a puzzle and carefully glued them down. Rules: no pieces may touch, and leave some substrate showing around the outer edges of the piece.

Part of the appeal of this project is its large size, I believe. So much fun to take home a huge piece of beautiful art to display! One of our artists was sure his piece will be hung in a museum.


My sample, on black poster board, 17.5" x 17.5"

Thanks to Like a Musical Ride for this great project idea!

Wednesday, June 06, 2018

Animal ART!


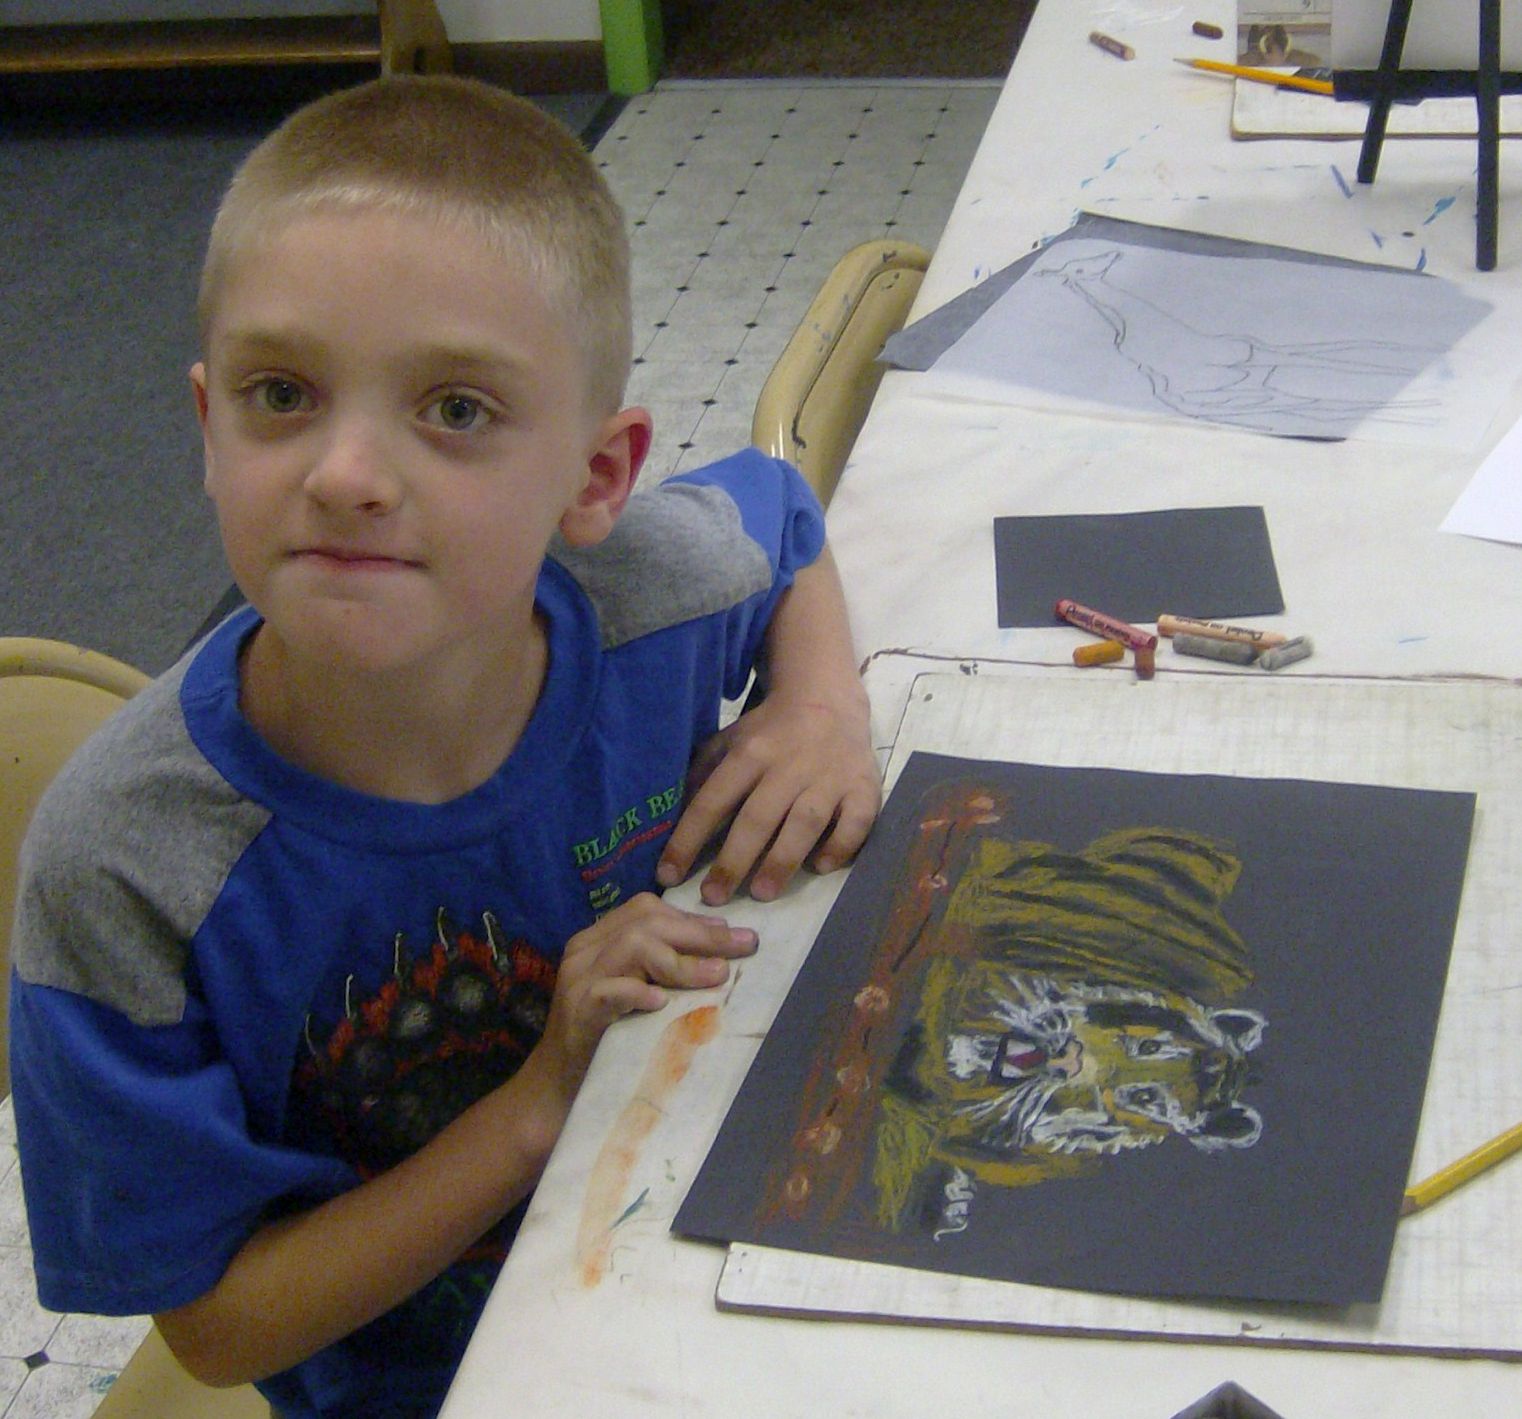
Always a favorite at the Blackfoot Art Center, we completed this project for our last class of the school year and by request: oil pastel animals on black paper. 


The children did a wonderful job and were quite surprised at the results and their own ability as artists! (I love it when that happens!) Oil pastels are similar to crayons, yet a huge step up as far as color intensity, blendability, softness,  versatility, and so much more.


The secret to success is to use a resource photo that is the correct size (not too small) for a 9" x 12" sheet of black construction paper. They transfer the image to the paper using tracing paper and then carbon or graphite paper: it's like magic!

This technique eliminates the time taken (and stress of) trying to draw the image freehand. They can jump right into the oil pastels and fill in the colors. 


They can then practice creating textures, blending colors, and adding shading and highlights.

Even the youngest children can learn to work effectively with oil pastels while creating an amazing masterpiece of their favorite bird or animal!


Saturday, May 26, 2018

More Memory Project Portraits

You may recall that our students have participated in the Memory Project in the past. 

We first created portraits of Bolivian children in early 2017. We then created portraits of Congolese children.  
We just completed our third Memory Project portraits, this time of Afghani children.

We are always excited to see the video the Memory Project creates for us of our efforts and delivery of the portraits to the children. When it is available, we will post it for you!


Here is the video of the Afghan children receiving their portraits.


Friday, May 25, 2018

We Love Candy!

On our last Friday art class of the school year, our charter kids created some sweet pop art (think Andy Warhol or Peter Blake). 

Our subject was CANDY, which was also their reward after their candy art was completed - yummy!

First, the artists arranged their favorite candy on a paper 'stage' and observed it carefully. It was okay to open the candy and poke it out of the wrapper, or to draw the candy without the wrapper. 

Each artist pretended to be a bug, looking at those HUGE pieces of candy. Our goal was to draw the candy much LARGER than life size; to fill the paper, even taking it past the paper's edges. 

For some, this was not an easy task. 


Once the basic shapes were drawn on the paper, they filled them in with tempera paint. We used cake temperas because they can be thinned with water to resemble watercolor for things like Gummy Worms, or we can create thicker, more vivid colors for bright candy wrappers.

We used liquid burnt sienna, blue, and white to create creamy brown chocolate colors. Then we painted the background using a solid color.

When all of the paint was dry, we added details using Sharpies. This included the zigzags around the edges of the peanut butter cups and outlines around the lettering. The kids enjoyed filling in the Hershey's Kisses and Hershey's lettering with silver metallic Sharpies.

Friday, May 18, 2018

Designer Feathers!


We just designed and created feathers. 

Very LARGE feathers! 

We drew them lightly with pencil, divided each into sections, and painted using just four colors. 


Then we painted in additional details and interesting patterns and so forth. We also used a variety of interesting objects to stamp on shapes and our trusty stylus collection for dots.


We then dried them, cut them out, and cut little V's from the edges to give them a 'feathery look. 


Then we added some matching fuzzy feathers to the bottoms for a realistic touch, and attached our amazing feathers to a piece of black poster board using three little pieces of two-sided tape. Our finished feathers are 9" by 22."

We LOVE how they turned out!


Our thanks to Small Hands Big Art for this
great project idea!