Wednesday, December 06, 2006

December Craft Workshops

Here is our December workshop schedule.

After-School “Make-a-Gift” Workshop:
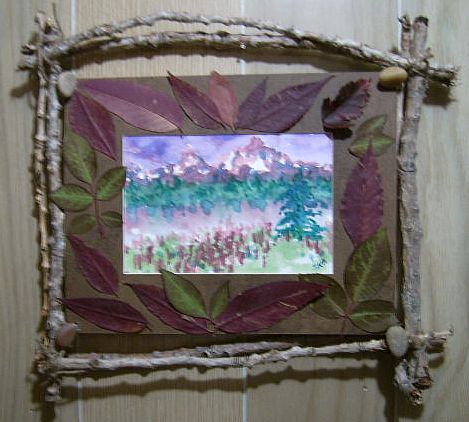
‘Naturally’ Framed Watercolor Painting
Monday, Dec. 4 – 2:30 to 5:30 pm ● Cost: $15.00
Create a watercolor painting, then place it in this clever picture frame made from all natural materials. A great gift for Dad, Grandpa, or a favorite uncle!

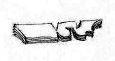
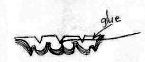
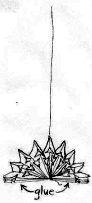
Traditional Folk Art Christmas Ornaments
Saturday, Dec. 9 – 1:00 to 5:00 pm ● Cost: $20.00
Get into the Christmas spirit! These traditional folk art ornaments were created in rural areas after the Civil War, using spare materials and a little ingenuity. Your child will re-create several of these homemade folk designs while learning about our early American folk art history.

Holiday-Themed Evergreen Wreath
Saturday, Dec. 16 – 1:00 to 4:00 pm ● Cost: $15.00
Choose a holiday theme (snow, nature, candy, stars, angels, etc.), and create a lovely embellished evergreen wreath, perfect for indoor or outdoor decorating. Bring your own evergreen cuttings and embellishments, or choose from ours.
(This workshop is for children and adults, ages 9 and up.)

Workshop fees include all supplies, materials, and a snack!For more information, contact the Blackfoot Art Center at 785-0828 or by email. You can download our Workshop Registration Form here.

Let It Snow!

We've had a bit of snow here in southeastern Idaho, but according to the kids, not enough! So, we made it snow indoors; we made these beautiful 3-D sparkly snowflakes and hung them from the ceiling. The children made more at home and hung them over their beds for a beautiful wintery snow storm.

Here's how to make your own lovely snowflakes. Start with a piece of regular white copy paper.


Cut it in half the long way. Fold up the end of one of the halves about 1/2 to 3/4 inch. Continue to fold the paper accordian style to the other end. Hold the folded paper flat and fold in half. Unfold and cut two notches along the center fold, one on each side, as shown.

Cut your design into one side of the folded paper, using curvey, pointy, and rounded cuts. Don't be afraid to cut deeply for more interesting designs, and be sure to cut off one or both corners. Try using a hole punch too. When finished cutting, fold the paper over and, using your previous cuts as a guide or a pattern, cut the other half of your folded paper. Open, and tie one end of an 18-inch piece of string around the center notches of the paper, and knot tightly. Apply glue to one side of the paper (we use glue sticks), and lay the longer length of string over the glued side (so the snow flake won't hang horizantally like a flying saucer). Fold the opposite side over, and press down. Now simply glue the bottom two sides together, forming the completed snowflake, and hang from the ceiling!

To make them sparkly, we sprayed our flakes lightly with spray glue, then sprinkled with glitter. Be sure to do this in a shallow box so you can pour the extra glitter back into the bottle. Pretty messy business, and not really vital for this project.

Note: A much larger snowflake can be made in exactly the same way from two full sheets of paper that are taped together along the short ends to make one long sheet of paper.