 To do this project, you will need watercolor paper - 90 lb or 140 lb, a pencil, a set of watercolors, a medium round brush, soft tissues, black tempera paint, masking tape, a watercolor or drawing board, and a set of oil pastels.
Using masking tape, tape all four edges of the paper down to the board. (If using the lighter 90 lb paper, I suggest stretching it first by soaking briefly in water before taping it down to the board.)
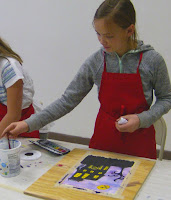
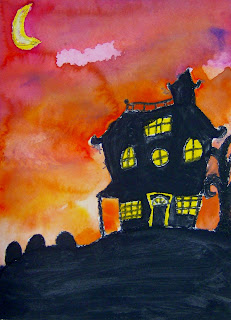 First, using your pencil, draw the spookiest haunted house you can think of. Start by drawing a small hill, and put the house on the hill. Add things like gables, banisters, towers, layered rooftops and lots of windows! You can also add a jack 'o lantern on the porch, gravestones, a dead tree, or a broken fence. Now, fill in the windows with a bright eerie yellow in oil pastel. Use this yellow or a lighter yellow or white to draw to fill in a large moon in the sky as well. Now, go over all of your pencil lines with black oil pastel, pressing firmly. You can fill in smaller, narrower shapes completely with the oil pastel. (Also draw in the window pane lines right over the yellow oil pastel.) You are creating a silhouette, so the blacker the better. Now, fill in the entire house shape with black tempera, leaving the windows unpainted, of course.
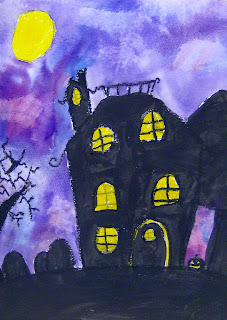
After allowing the tempera to dry, determine what colors to use in your sky. It is best to select two analogous colors, such as purple and blue, or red and orange, and put a few drops of water in those colors. Paint in the sky portion (not the moon) with clear water - don't miss any areas between fence posts or tree limbs! Now comes the fun part! Drop a few brush-fulls of color into your wet sky - this is called a wet-on-wet technique. Swirl the paint around just slightly if you want to, but don't make mud! Use the tissue to blot up paint here and there to create some spooky shapes. Add more paint as needed until you like the affect, then stop! Allow to dry, then carefully remove the tape by pulling outward (not upward - it will tear the paper) - slowly - away from the painting.
