Tuesday, June 30, 2020

Adding Ink to Watercolor


This week we tried adding details in ink to our watercolor sketches. We started with a watercolor sketch from last week's art class.


It was not our goal to add extreme detail to the paintings, but rather to indicate shadows and textures using an ultra-fine Sharpie for short lines and scribbles.
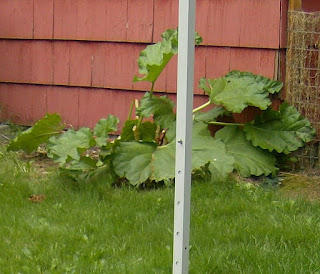


To start, find an eye-catching  subject, such as this rhubarb plant in front of a red house... hmmm, interesting!

(The EZ Up pole could be distracting, but this artist simply ignored it.)
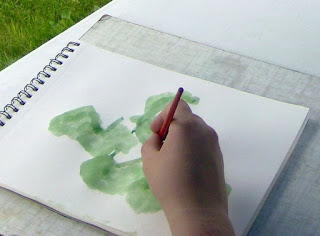


Next, sketch in the basic shapes lightly in pencil (if desired), or in watercolor, as this artist did. 
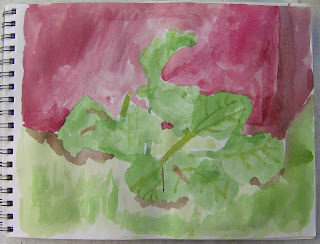


Additional greens are added to the plant. Then a lighter green is painted to represent the lawn, and a few shades of red to fill in the background.
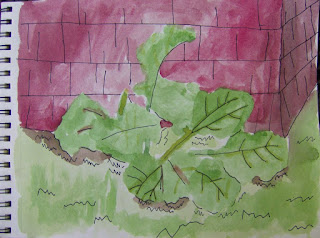


The dry painting is now ready for a little ink work. The artist added veins in the leaves, shadows, texture to represent grass, and some impressive shingles in the house! 
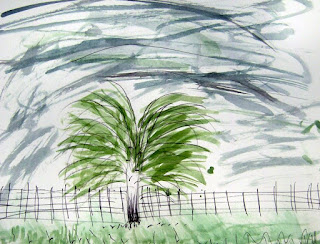


Here is a weeping aspen tree that lives across the street. The artist added the chain link fence using her Sharpie.
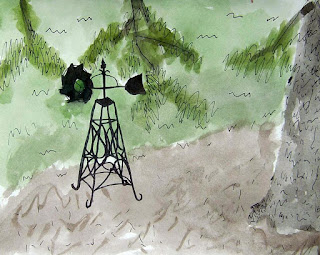


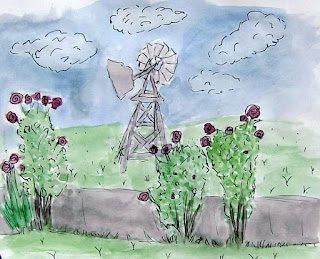
This windmill was drawn in ink on top of a completed painting of a shady area under a huge evergreen tree. The artist also added scribbly "needles" and texture to the tree bark. 
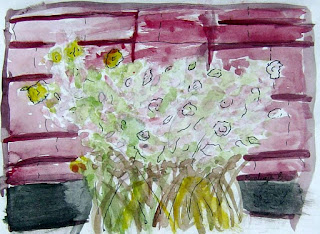


Only a few of the flowers in this rose bush are outlined, giving it a delicate, refined look. 

As we always say, "less is more!"
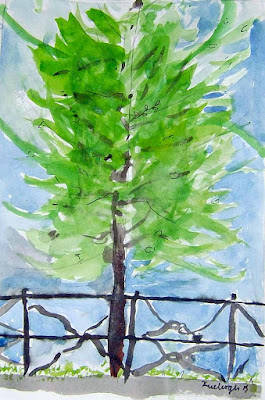
There is very little ink work in this painting. The artist chose paint instead of ink for the fence, which gave it a more delicate, graceful look.

Friday, June 26, 2020

Watercolor Sketching


Plein air artists often paint in watercolor; a versatile, lightweight medium that virtually anyone can learn.


In this class, we created watercolor sketches.


We started by looking for an interesting subject to paint. The goal isn't to find the perfect subject; just a scene that catches the eye. We search for forms, shapes, textures, and colors that  appeal to us.


Next, we set up our art media and supplies. As an option, a very light pencil sketch is okay; or the artist can simply begin sketching with the watercolors. 

Using a light touch and the tip of the brush is often the challenge.


It also helps to squint your eyes and observe the subject in its simplest form. Keeping our paintings small, we painted quickly without attempting to achieve perfection, just as though we were creating a pencil sketch. 


Once the main subject is competed, we painted a simple wash of color around it, leaving varying amounts of "sketchy" white space and ignoring any distracting background shapes or objects.


Again, it helps to squint and simplify the scene, looking for basic shapes and colors. Then add a bit of texture and additional color, and finally, a wash of background colors. 


Sometimes the background is best left alone, as in this painting of a bush featuring scarlet red leaves. 


These watercolor sketches can be done directly in one's sketchbook or drawing pad. 


It is not necessary to use watercolor paper or to tape the paper to your board (as opposed to a more traditional watercolor painting).


This artist chose to place four small watercolor sketches on one sheet of paper. Three of these illustrate a variety of bushes seen from one vantage point. The fourth is a lovely closeup of a dandelion!


We have two windmills in our yard, which serve as popular subjects for our plein air paintings.


This artist refined her watercolor sketch further to create this detailed painting of a rose. She mixed an impressive variety of reds and maroons to depict each individual rose petal.


Saturday, June 20, 2020

Plein Air Artists at Work


"En plein air" is a French term for "painting out of doors." The warm summer days of June were perfect for our plein air painting studio.


Our introductory plein air class was all about creating at least one outdoor painting while making decisions along the way, such as:  


Finding an appropriate subject.


Finding a good place to sit to paint chosen subject. And getting comfortable.


Using a viewfinder to find the best view of chosen subject.


Choosing appropriate art media for the painting, such as watercolor, pastels, or colored pencils.


Organizing and managing art supplies around the artist for ease of use.


And finally, deciding how to get started, beginning with a sketch of some kind.


Things we learned along the way: 

Balancing and working effectively with water and a drawing/painting board. 

The value of wearing sunscreen and possibly a brimmed hat when painting out of doors.


Our first experience with plein air painting was a valuable one for these young artists. 

They had the freedom to learn on their own about the challenges of creating art in an outdoor environment without straying beyond their own backyard (or in this case, my backyard).