Monday, September 14, 2015

Paint a Pig!

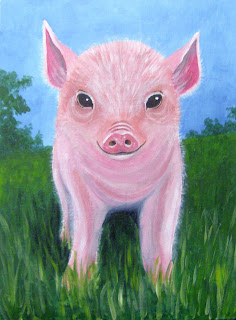
Well, the Eastern Idaho State Fair is over, but you can still find your HAPPY at the Blackfoot Art Center! How? By painting this smiley little pig!

I will lead this guided painting if there is enough interest. This would make a great Family Night or youth group project; each piggy could be different in his or her own way! Add a butterfly, flowers, curly eyelashes, or whatever suits your fancy!

This is a 12" x 16" canvas painting that is suitable for ages 8 up. Cost is only $15.00 per person (normally $25 for this size painting). Time: about two hours. Let me know on Facebook or on our website (use the Contact Us tab) if you are interested, how many seats, and the date(s) you would like to paint.
Mosaics!

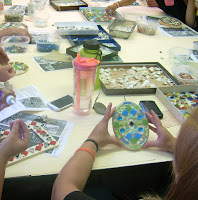
Here is one of our favorite projects! Great fun; beautiful projects to take home and show off!

Several of the kids made these as gifts and wrapped them up in studio before taking them out the door.

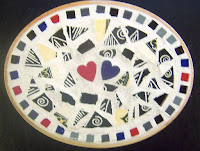
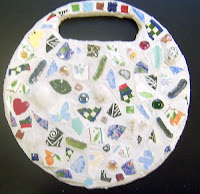
The mosaic at the top right is a "sampler," literally using one of each mosaic material.


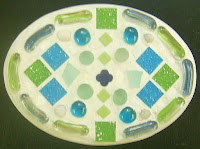
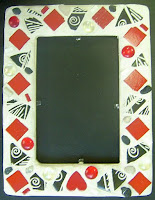
Others use some form of loose repetition in color, shape or design, and others are very symmetrical such as the red and black frame or the green oval design shown below.

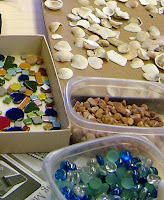
We simply white-glued the broken dish pieces and other mosaic materials to a wood shape and allowed it to dry over night.

Then we used plaster of Paris as grouting material. Wipe it over the tiles, filling in all spaces thoroughly, wipe of the excess; then when dry, wipe again and polish with a soft cloth. Optional: Paint the side edges and back of the piece.

Native American Inspired Crafts

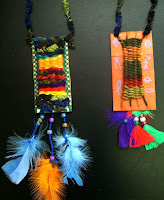
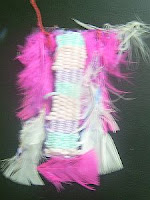
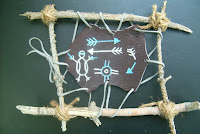
I wanted to be sure to include some of the Indian crafts we did last summer. The younger children made wearable weavings on cardboard looms, and the older kids made these plus miniature buffalo hides to which they added Indian symbols. We used fallen twigs, jute, and leather straps and scraps to assemble them.

Although tiny, these two projects had a rustic, authentic feel to them that the kids really enjoyed.


Folded Paper Collages

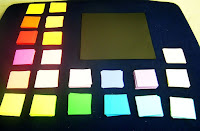
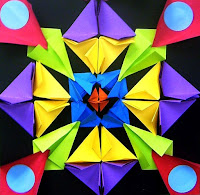
This awesome project was so popular last summer we did it again this summer - and the results were amazing! These are done with tiny sticky note-sized brightly colored copy paper, folded and glued into a symmetrical design to a black construction paper square.  As you can see from these examples, we also incorporated punched out circles.
The set up for this project is shown at the right. I showed the kids how to make basic folds (diagonals, hills, valleys, etc.) then encouraged them to make up their own folds. The idea is to choose a color and make four identical pieces from that color to place into a symmetrical design. Prior to gluing, the kids needed to fold the black paper diagonally in both directions, then unfold and fold again in half and in half again (quarters), and open. Flatten well and use these fold lines as guidelines for gluing down the folded "origami" papers symmetrically.  Beautiful!