Thursday, July 30, 2020

Feed the Birds!


This week our young artists made bird feeders. What a great way to invite
songbirds into our yards, so we can watch... and draw them!

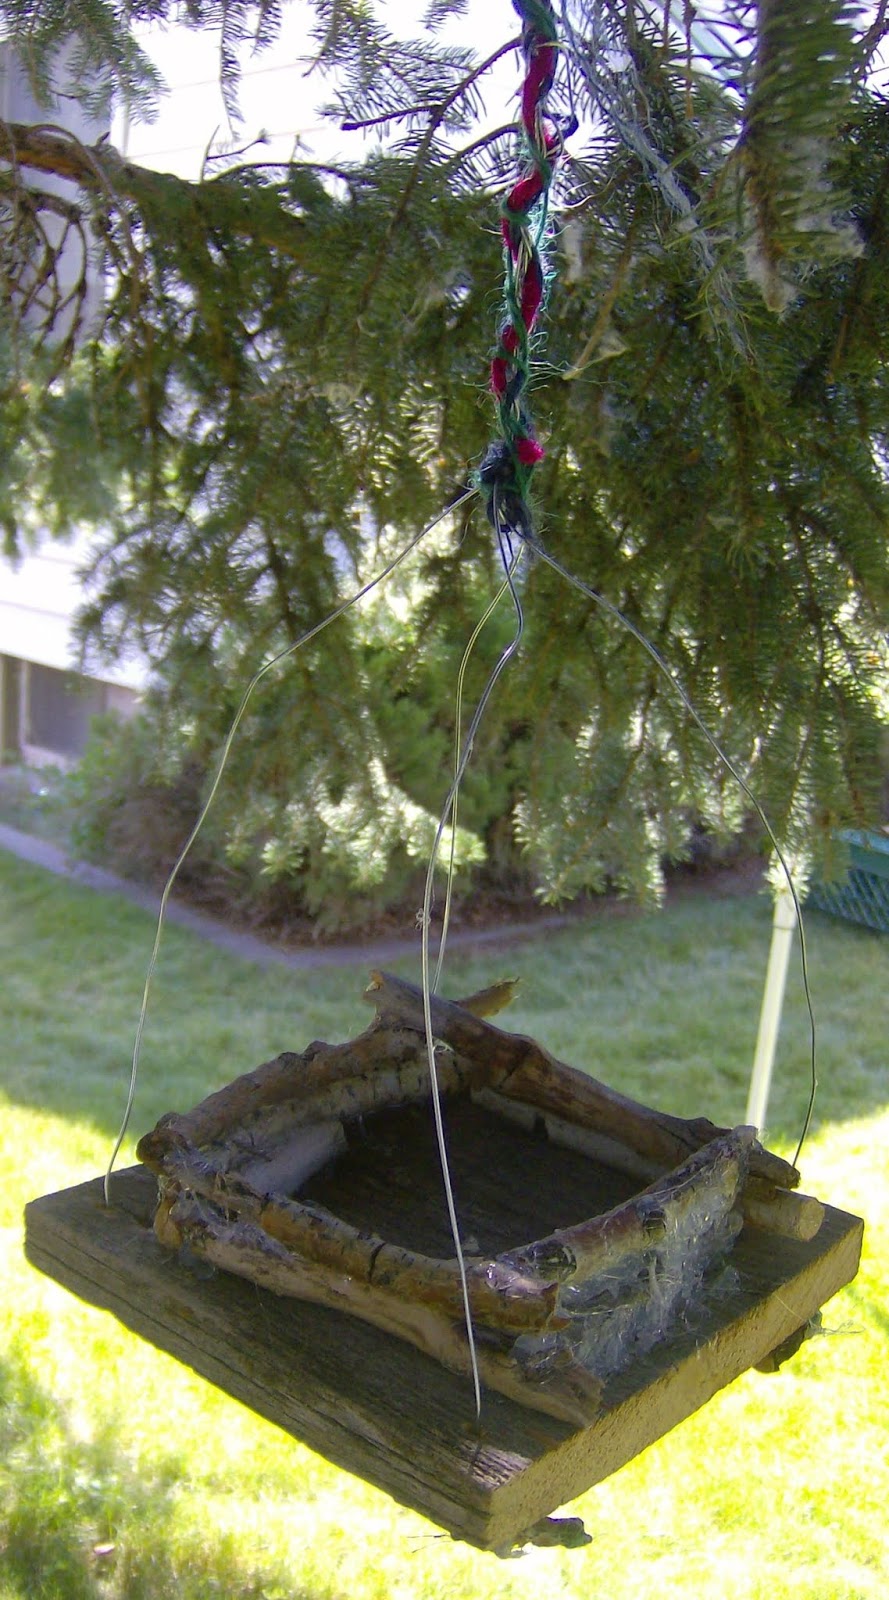
Our older kids used natural materials to create their bird feeders.  They selected a wood base and additional materials that appealed to them.

First they drilled holes in the corners or around the edges for the hangers (yes, we used power tools!) and began to plan their designs.


They needed to design a barrier to keep the seed from blowing off the feeder, then build from there. We used glue guns to attach each component.


After creating this pine cone barrier, this artist wrapped it and jute and then added sticks, swirly wire, and beads for a colorful, funky look.


The next step is to add a hanger using wire or jute or twine. Some chose to incorporate beads into their hangers or even to wrap colorful jute around the hanger wire.  


The hangers were attached by slipping the ends through the drilled holes in the base, then wrapping the end around a short twig to hold it in place. The trick is to then balance the feeder so that it's level when connecting the wire at the top.




Last step. Each artist filled a bag with birdseed to take home and feed the birds! 


Thursday, July 16, 2020

Painting our own Face Masks!


We made "wearable art" by painting and personalizing our own fashionable face masks!


We started with a simple white mask with a filter pocket sewn into the back. We first transformed the mask into a mini-canvas by temporarily placing a piece of cardboard inside the pocket. Then we lightly sketched our designs on the front of the masks.


Next, using acrylic paint, we painted the basic shapes with color (or left the mask white). 


Then we added outlining and details as desired, such as the scales on this dragon face mask.


I gave very little instruction for this project because the kids already seemed to know exactly what they wanted to do!


I loved all of their unique ideas! 


Here is an abstract design. 


This is an interesting face mask idea!


A couple of the kids painted masks for their younger siblings too.
Once the paint was dry, we removed the cardboard from the pocket and squeezed the side edges together while holding the ear ties taunt. Then we tied the ends of the ties together to fit around the ears.


I sewed all of these masks from white cotton fabric (bleached muslin) using this simple pattern and two stretchy weaving loops. 

Saturday, July 11, 2020

Paintings in Nature Frames


We made these tiny watercolor paintings in 3-D nature frames!

I know! Aren't they awesome?

Here's what we did:


First, using tempera paint, we sponge- painted the frames, which were cut from corrugated cardboard. While the paint dried, we collected nature items to glue on with Tacky glue. 

Then we painted. We traced the inside of our frames on one end of  9" x 12" watercolor paper, then traced it again on the other end, leaving an inch around each rectangle.  This was so we could create two different watercolor paintings. 


Our first was a linear landscape with an old fence. Then we painted a woodsy scene of birch trees using masking tape.


We chose our favorite little painting and taped it into our frame.


The rest of our little paintings could be used for other things - like greeting cards, post cards, or to frame at home! 

Sunday, July 05, 2020

Rock Painting


Have you ever painted rocks? 

Turns out, it's really fun! We have a big collection of clean smooth rocks to choose from. The idea is to choose a rock that "speaks" to you. What could this rock become?

These flat oval rocks make very believable cacti!


Food is a fun subject for rock painting. Here we have slice of watermelon.


You can also paint messages on rocks. Here is a Father's Day message, "Dad Your ROCK!" and a cookie to go with it!


You can also paint a landscape on a rock. 


Like this one: 

Or a "sky-scapes" like these:

More creative rock paintings:

Saturday, July 04, 2020

Clay Imprint Nature Chimes


For our first summer outdoor art project, we made these clay nature imprint chimes.

Be it known that I have a lot of air dry clay. I thought this project would be a super fun way to use it while incorporating lots of natural elements into our artwork.

Turns out the kids really enjoyed the process and they loved their finished chimes!


The first step was to work the clay into a ball and roll it out. We used paint stirrers to help us keep the rolled slab of clay about 1/4" thick.

Next, we took a hike around the yards to collect natural objects to press into the clay.


Our goal was to find a variety of textures that would make nice impressions, such as evergreen needles, vines, leaf veins, and plants with different shapes and lumps and  bumps in them. Pine cones were an option too. 

We pressed the items into the clay, one by one, using the palm of the hand to press it in firmly (not the fingers).


Then we removed the item and pressed in another, leaving maybe an inch around each one.


Using a table knife, we cut out each object, poked a hole into it for hanging, and placed it on a piece of cardboard to dry.


The next day, we painted each piece with a nature color. We used many mixtures of greens and blues and even purples. 


We pressed the paint into the nooks and crannies of our imprints, and then we quickly wiped most of the paint off with a moist cloth. 


The paint remained in the imprinted image, and the kids were so "impressed!"


We wore gloves for this step because acrylic craft paint is difficult to wash off, and this can be a messy process.


Since this is an outdoor class, our painted imprints dried quickly. 


Next, we strung each imprint onto a piece of jute and tied it. Then we added a few pony beads. 


Now all we had to do choose a small branch hanger for our chimes. Then we laid out the pieces, making sure the imprints hung at different levels.  Placing the largest one at the center and lower than the rest was a good way to achieve balance. 


We tied the chimes to the branch, then we tied on a thicker piece of jute as a hanger.