Monday, September 14, 2015

Paint a Pig!

Well, the Eastern Idaho State Fair is over, but you can still find your HAPPY at the Blackfoot Art Center! How? By painting this smiley little pig!

I will lead this guided painting if there is enough interest. This would make a great Family Night or youth group project; each piggy could be different in his or her own way! Add a butterfly, flowers, curly eyelashes, or whatever suits your fancy!

This is a 12" x 16" canvas painting that is suitable for ages 8 up. Cost is only $15.00 per person (normally $25 for this size painting). Time: about two hours. Let me know on Facebook or on our website (use the Contact Us tab) if you are interested, how many seats, and the date(s) you would like to paint.

Mosaics!

Here is one of our favorite projects! Great fun; beautiful projects to take home and show off!

Several of the kids made these as gifts and wrapped them up in studio before taking them out the door.

The mosaic at the top right is a "sampler," literally using one of each mosaic material.


Others use some form of loose repetition in color, shape or design, and others are very symmetrical such as the red and black frame or the green oval design shown below.

We simply white-glued the broken dish pieces and other mosaic materials to a wood shape and allowed it to dry over night.

Then we used plaster of Paris as grouting material. Wipe it over the tiles, filling in all spaces thoroughly, wipe of the excess; then when dry, wipe again and polish with a soft cloth. Optional: Paint the side edges and back of the piece.

Native American Inspired Crafts

I wanted to be sure to include some of the Indian crafts we did last summer. The younger children made wearable weavings on cardboard looms, and the older kids made these plus miniature buffalo hides to which they added Indian symbols. We used fallen twigs, jute, and leather straps and scraps to assemble them.

Although tiny, these two projects had a rustic, authentic feel to them that the kids really enjoyed.


Folded Paper Collages

This awesome project was so popular last summer we did it again this summer - and the results were amazing! These are done with tiny sticky note-sized brightly colored copy paper, folded and glued into a symmetrical design to a black construction paper square.  As you can see from these examples, we also incorporated punched out circles.
The set up for this project is shown at the right. I showed the kids how to make basic folds (diagonals, hills, valleys, etc.) then encouraged them to make up their own folds. The idea is to choose a color and make four identical pieces from that color to place into a symmetrical design. Prior to gluing, the kids needed to fold the black paper diagonally in both directions, then unfold and fold again in half and in half again (quarters), and open. Flatten well and use these fold lines as guidelines for gluing down the folded "origami" papers symmetrically.  Beautiful!


Thursday, July 16, 2015

Copper Tooling Doodling!

Everyone likes to doodle! During the first part of July, our youngest students, teens, and adults have all been doodling. What is doodling? Normally, it's one of those rare moments when the left brain gets bored and hands off a little bit of time to the right brain. In other words: the scholarly, logical, memorizing, linear, symbolic, mathematical, time-keeping, names-everything side of the brain gives the playful, intuitive, creative, free-thinking, analogical, nonverbal, visual side of the brain a small window in which to have some fun.

In art class, our goal is to allow the right brain to take over and keep the left brain quiet! Doodling is a great way to allow that to happen. Using the ideas in the Zentangle Method, we have found that doodling can be developed into structured patterns and beautiful pieces of art. Find out more about the Zentangle Method here.

I like to introduce interesting materials, and kids love to try new things (especially unusual techniques and media), so we combined our expert doodling skills with copper tooling, to which we added India Ink and Sharpies for additional color and steel wool to rub the tooling. We mounted everything on mat board with gold or silver wire and decorated the framing with metallic pens. Beautiful results - and great fun!

Sunday, June 21, 2015

New Drawing Class Just for Adults!

The Blackfoot Art Center has added an Adult Drawing & Sketching class to our schedule. This class will be held on Wednesdays from 10 am to 12 pm. 

Can't draw a straight line? You don't need to -- no need for rulers in this class!  All you need is a desire to learn to draw, practice your new skills, and have fun! If you are unable to attend this morning class, we also have a Tuesday evening open studio class for adults at 6:30 to 8:30 pm. As an option, you can attend this class and receive the same basic drawing instruction. Both classes are pay-as-you-go, only $10 per 2-hour class. 

You are never too old to learn how to draw, so why not give it a try! No need to pre-register or bring anything special - we have everything you'll need to get started. 

If you would like more information about the Blackfoot Art Center, please visit our new website at blackfootartcenter.org. It is currently a work in progress, so check back often for updated information!

Saturday, June 06, 2015

We've Moved!

We've moved to a great new location in downtown Blackfoot! It wasn't easy; a lot of renovation was needed and it took longer than planned,  but it was so worth it! We're now up and running in our bright, spacious new facility.

Although our signage is not yet installed, you'll find us at 73 N. Broadway. Drop in during Open House through June 12th and take a look! Pick up a schedule of summer classes and let your kids hang out in the Creative Thinking Area and Open Art Studio while you fill out a quick survey. We want to know what we can offer you and your family. We have free refreshments and summer class registration forms. Sign up for a class or two. Would you like to teach an art class or a craft? Why not teach it at the at the art center? We are also looking for volunteers to help with children's classes and to promote the visual arts in other ways. Earn free studio time and/or discounts on classes.

This Thai elephant art, (from artiswhatiteach.blogspot.com) is just one of the projects we are doing in our new "Arty Animals" class, offered on Mondays from 3-4:30 pm (ages 6-11). This is Keyanna and her Thai Elephant. You can view and print a pdf of our full Summer 2015 Art Class Schedule as well as an Art Class Registration Form - just click on the links in the sidebar.

For more information about the Art Center, art classes/workshops, teaching your own classes, booking an arts/crafts birthday party, or to volunteer -- please call 208-252-7126.

Tuesday, March 24, 2015

Tiny Landscapes

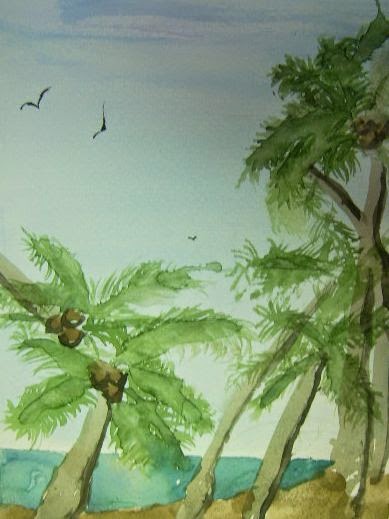
Sounds like an oxymoron, right?  Consider the fact that painting a landscape in a small format can remove many of the uncertainties and doubts beginners have about watercolor painting:

  • No intimidating giant white space to fill up
  • Forces selectivity in deciding what to include and what to leave out, making it --
  • Easier to simplify the composition into basic shapes and forms within the limited space
  • Encourages use of a limited palette in the planning stages of the painting
  • Makes it easier to describe the essence or the impression of the scene instead of painting every detail 
The process is simple. You'll need a 1/2 sheet of watercolor paper, approximately 5" x 8" and a basic watercolor pan set of 8 to 14 colors (nothing fancy). You'll need a soft round (not flat) watercolor brush - size 4 or 6, a mixing palette or tray, clean water, a drawing board, masking tape, and a No. 2 pencil. 

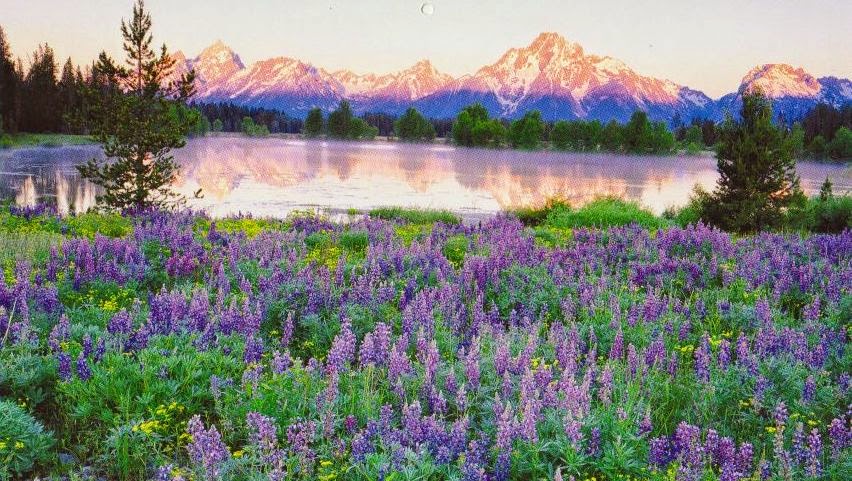
Select a photo of a landscape that appeals to you. Our favorite resource for beautiful landscape photos (as well as animals and flowers) is old calendars - don't throw them away! For this project, look for a scene with a distant background, a mid-ground, and a foreground. 

Study your landscape photo. With eyes half closed, look for shapes and forms. Look for a satisfying composition. Select only a section of a large landscape to paint - not the whole thing! Ask yourself - how can I describe an impression or the essence of this scene? Using your pencil, sketch in the basic forms and shapes. Use these tips to keep going:

Tape your watercolor paper to the drawing board. Tape all four sides, covering 1/8 to 1/4 inch of the paper all the way around to leave a nice white boarder when you peel off the tape. 

Mask the photo with strips of paper to reveal only the portion you plan to paint. Example: Use the top right quadrant of this landscape photo. 
Simplify! You will not paint every detail - true art leaves something to the imagination. 

Start with the distant background, usually with the sky, and work forward in space.

Leave each area to dry before moving on to the next to avoid colors bleeding together. 

Don't overwork it; know when to stop! Remember to keep it simple.

Raindrops and Puddles

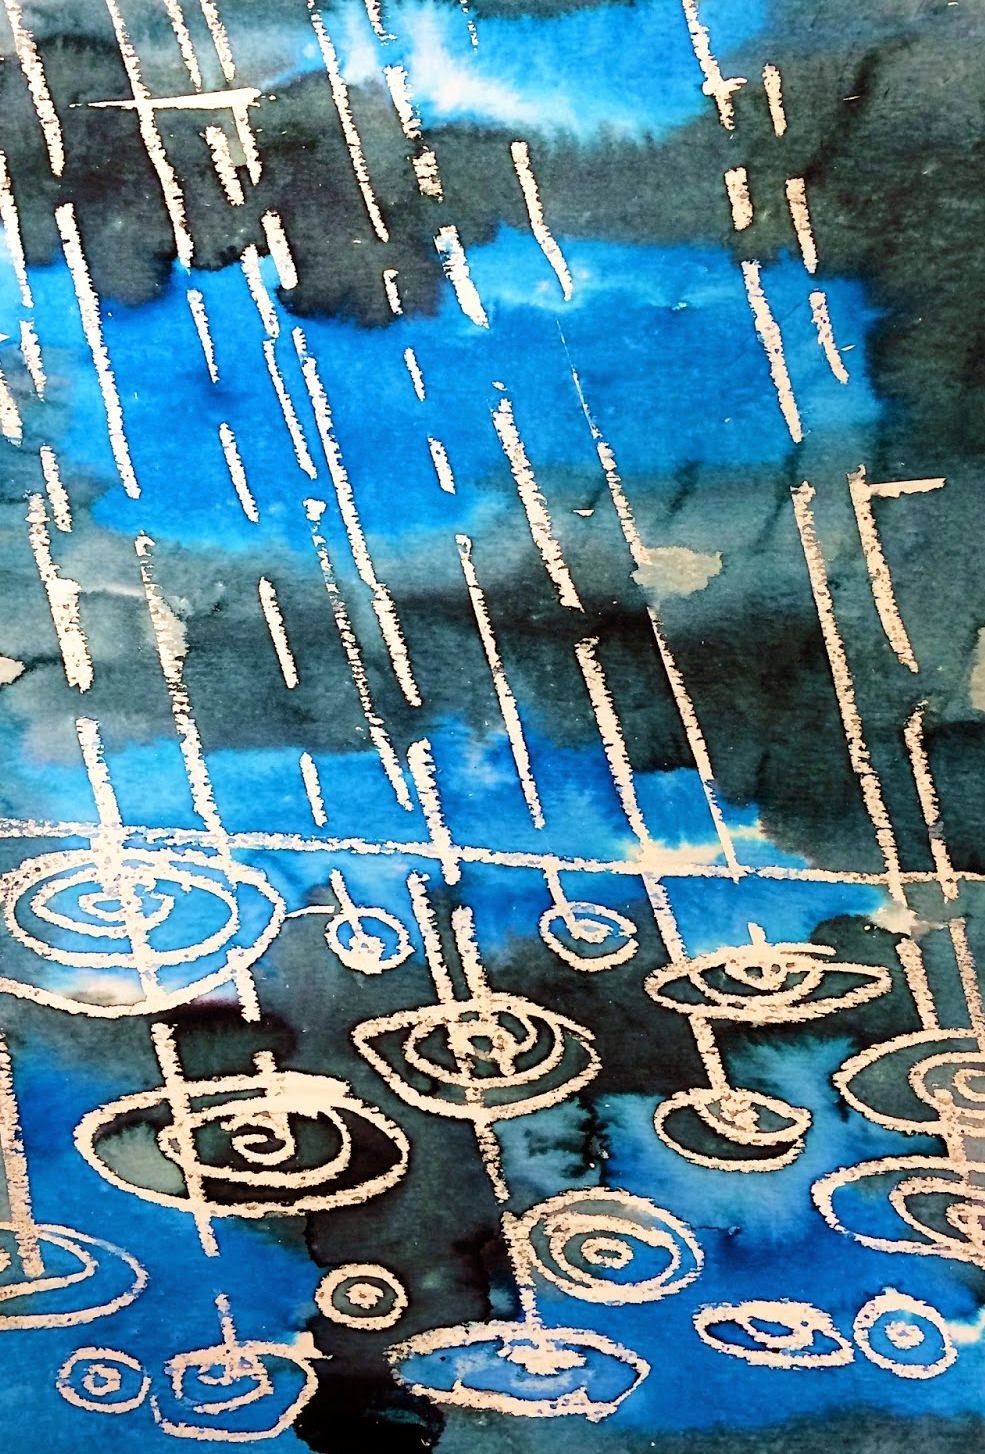
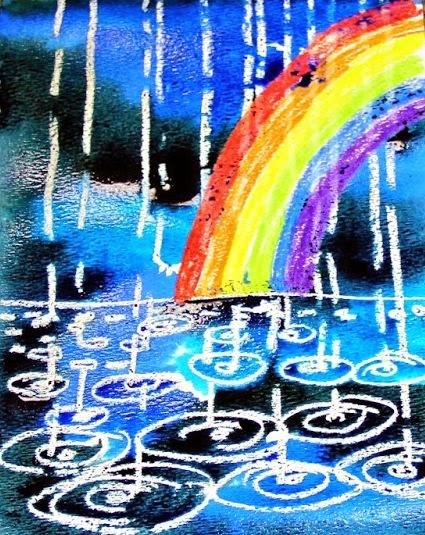
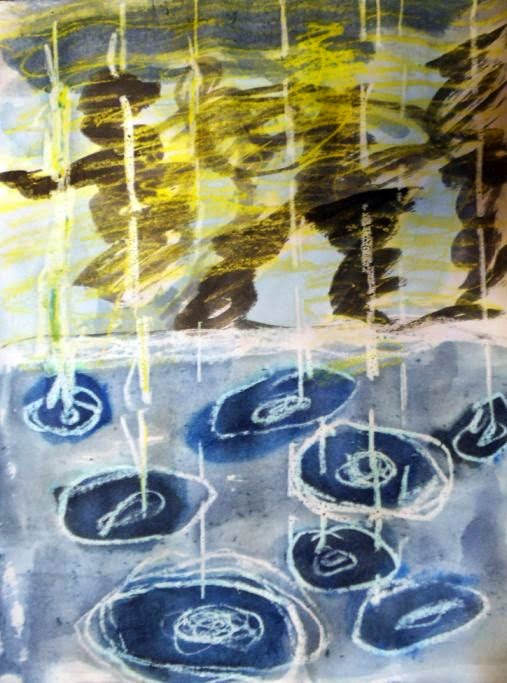
Watercolor is an ideal medium for "rain art." Makes sense, right? Continuing with watercolor week, our 2nd graders created a rainy day project using crayon resist and wet on wet watercolor. Unfortunately, I did not get many photos of their work in progress or completed projects - I may well have been too busy with the step-by-step process of this project. I  borrowed these photos of student work, which are similar to our kids' results, from Elementary Art Fun. In fact, this art blog, also called smART Class, is a great place to go for new and innovative kids' art project ideas. I highly recommend it!

If you are interested in trying this project, click on one of the links above for step-by-step instructions.


Supplies needed are heavy white art paper (copy paper curls too much), crayons (especially white), rulers, soft watercolor brushes, paint mixing trays, a rag, and watercolors - blue, black, turquoise. Liquid watercolors work best, but you can use pan watercolors successfully if you mix some nice puddles of color in your trays prior to painting.


This painting, which was created by one of our students, has LIGHTENING!

It's so much fun introducing unexpected art elements and processes to young artists!

Renewed enthusiasm and self-discovery are just waiting to happen when you throw a little something different into the mix...

Friday, March 20, 2015

Wonderful Watercolor!

That little paint tin with 8 small pans of color and a brush - remember it? Add a cup of water and a sheet of paper, you're good to go. For art camp, however, I decided we needed a little something more.

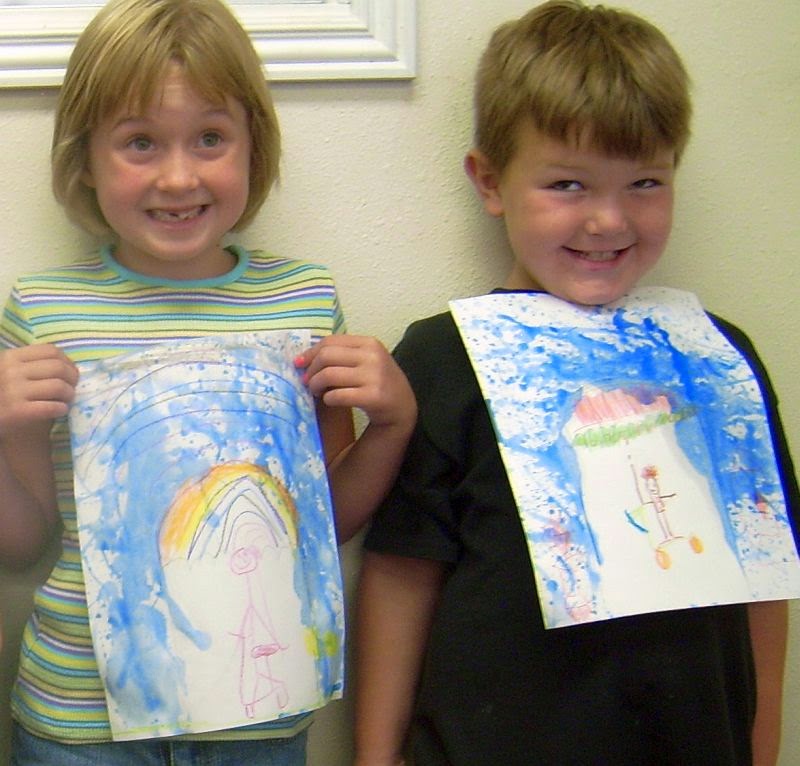
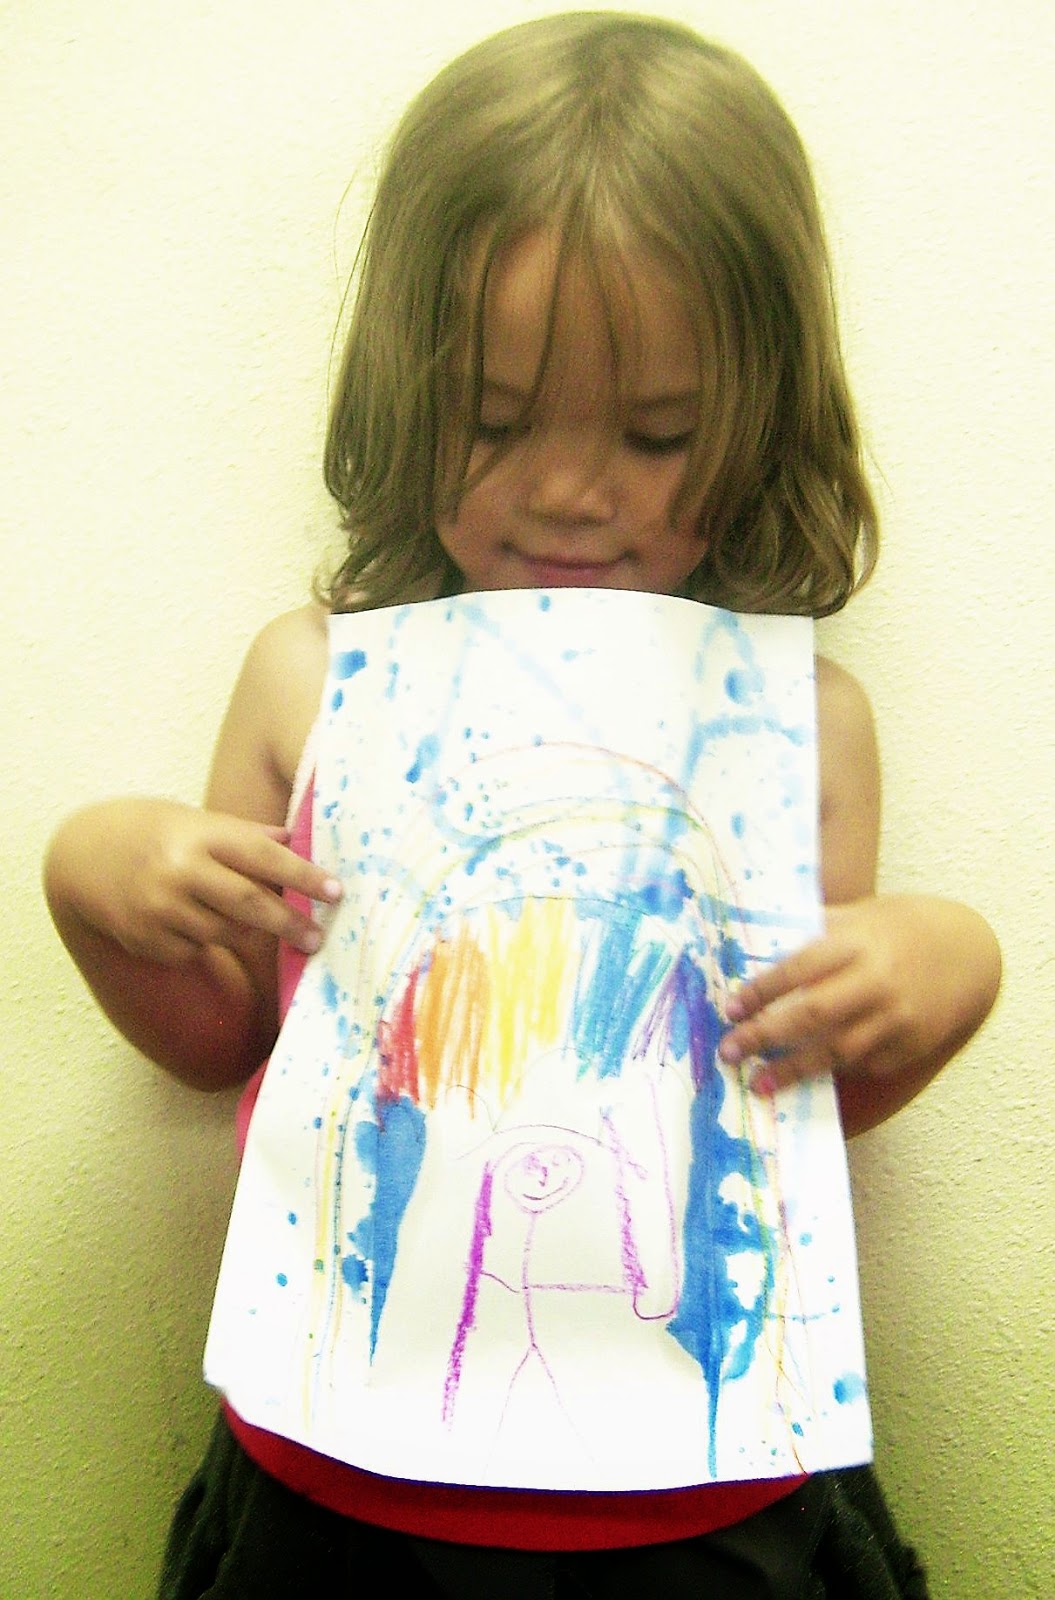
Our youngest artists imagined themselves walking through the rain under an umbrella - staying nice and dry. I cut a few thumb-shaped templates that they traced with a pencil to create the shape of an umbrella. Then they completed the umbrella and themselves under under it, and added lots of color. Once these were done, we placed the template back over the traced area to serve as a mask, and splattered the paper all over with a watery mix of blue watercolor paint. We lifted the template/mask and wa-la! Everything under the umbrella stayed dry!      Tip - Show the children how to rub their thumb across the bristles of a large stiff paint brush to create some very nice splatters.

Thursday, March 19, 2015

Manga Me!

What do we know about middle school kids? They don't usually like to be the center of attention, or to focus on themselves, or to embarrass themselves - especially in front of their friends!

Knowing this, how could I expect them to draw self-portraits? What if it doesn't come out right? What if it looks silly or dumb? What if everyone hates it? OMG! Embarrassing!!!            

I pictured in my mind wads of "artwork" filling the trash can. Definitely not a good art experience.

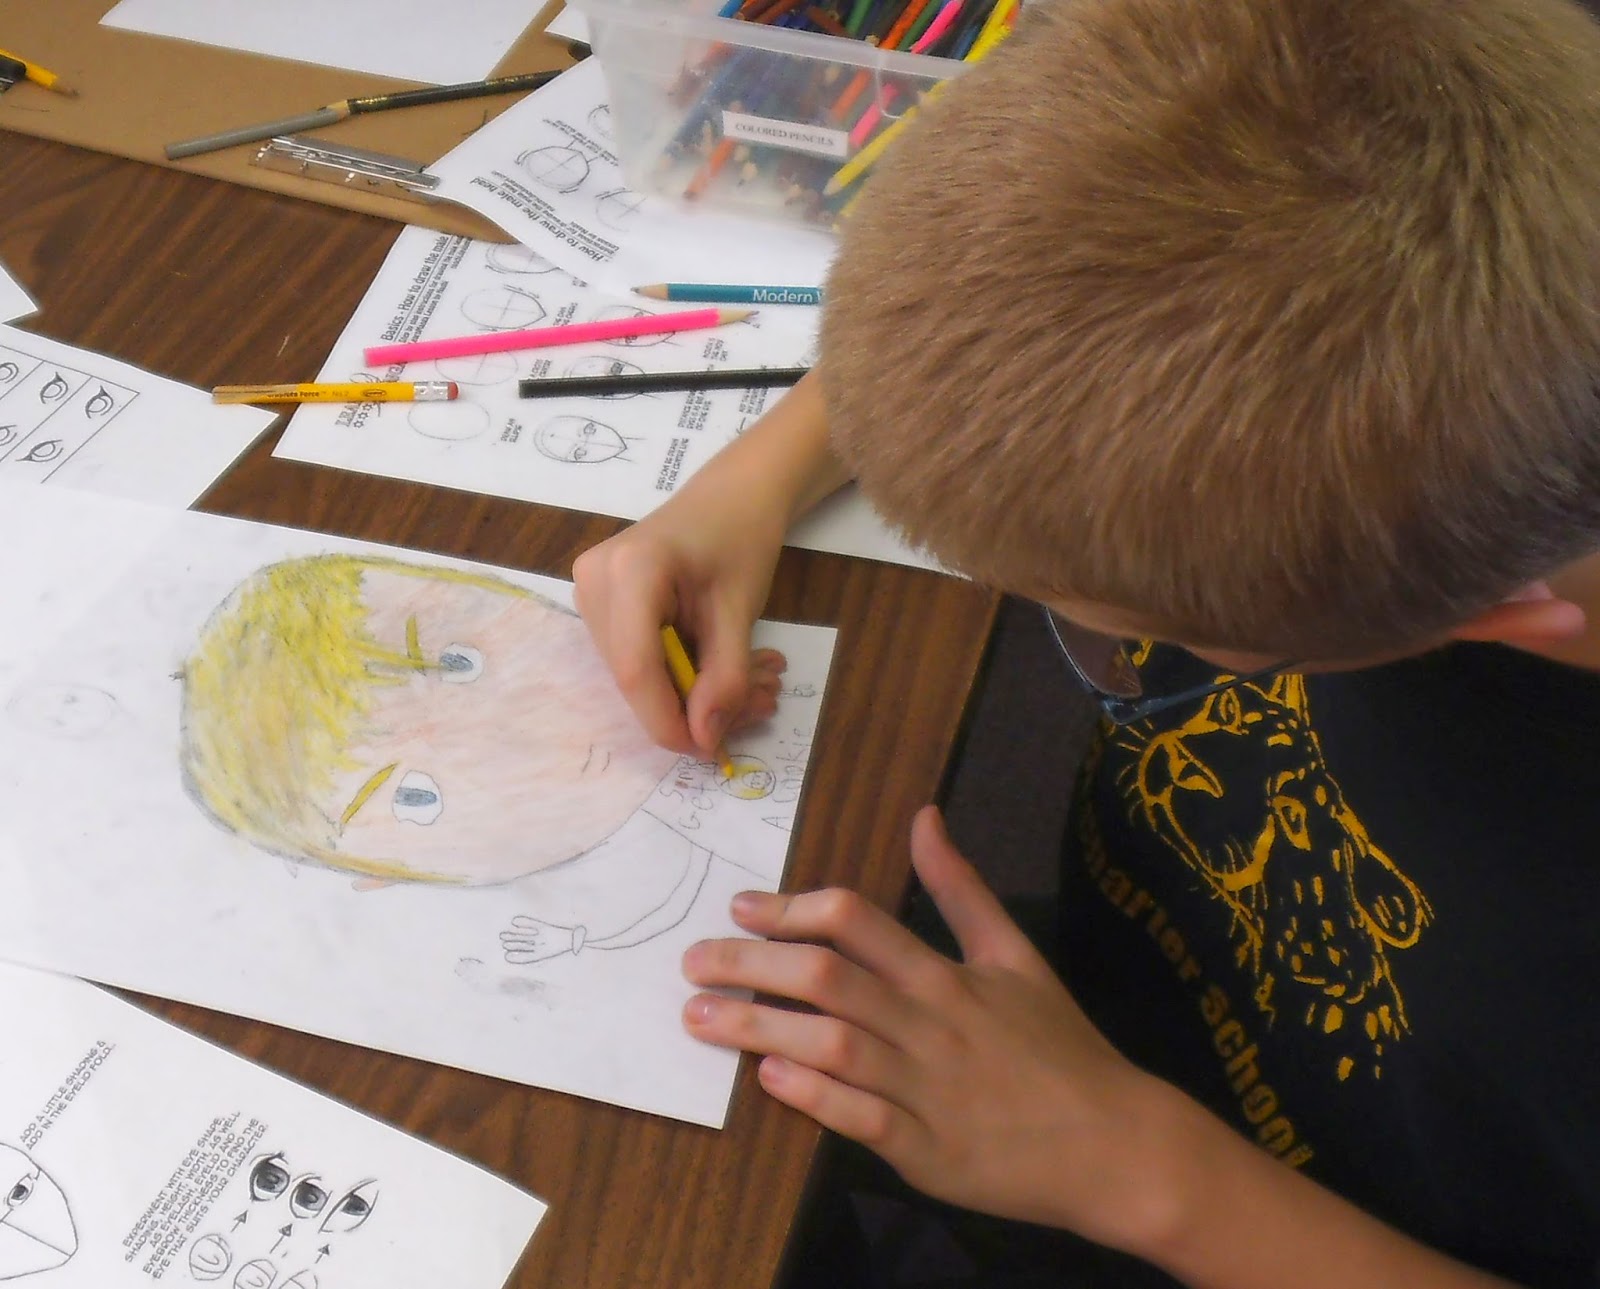
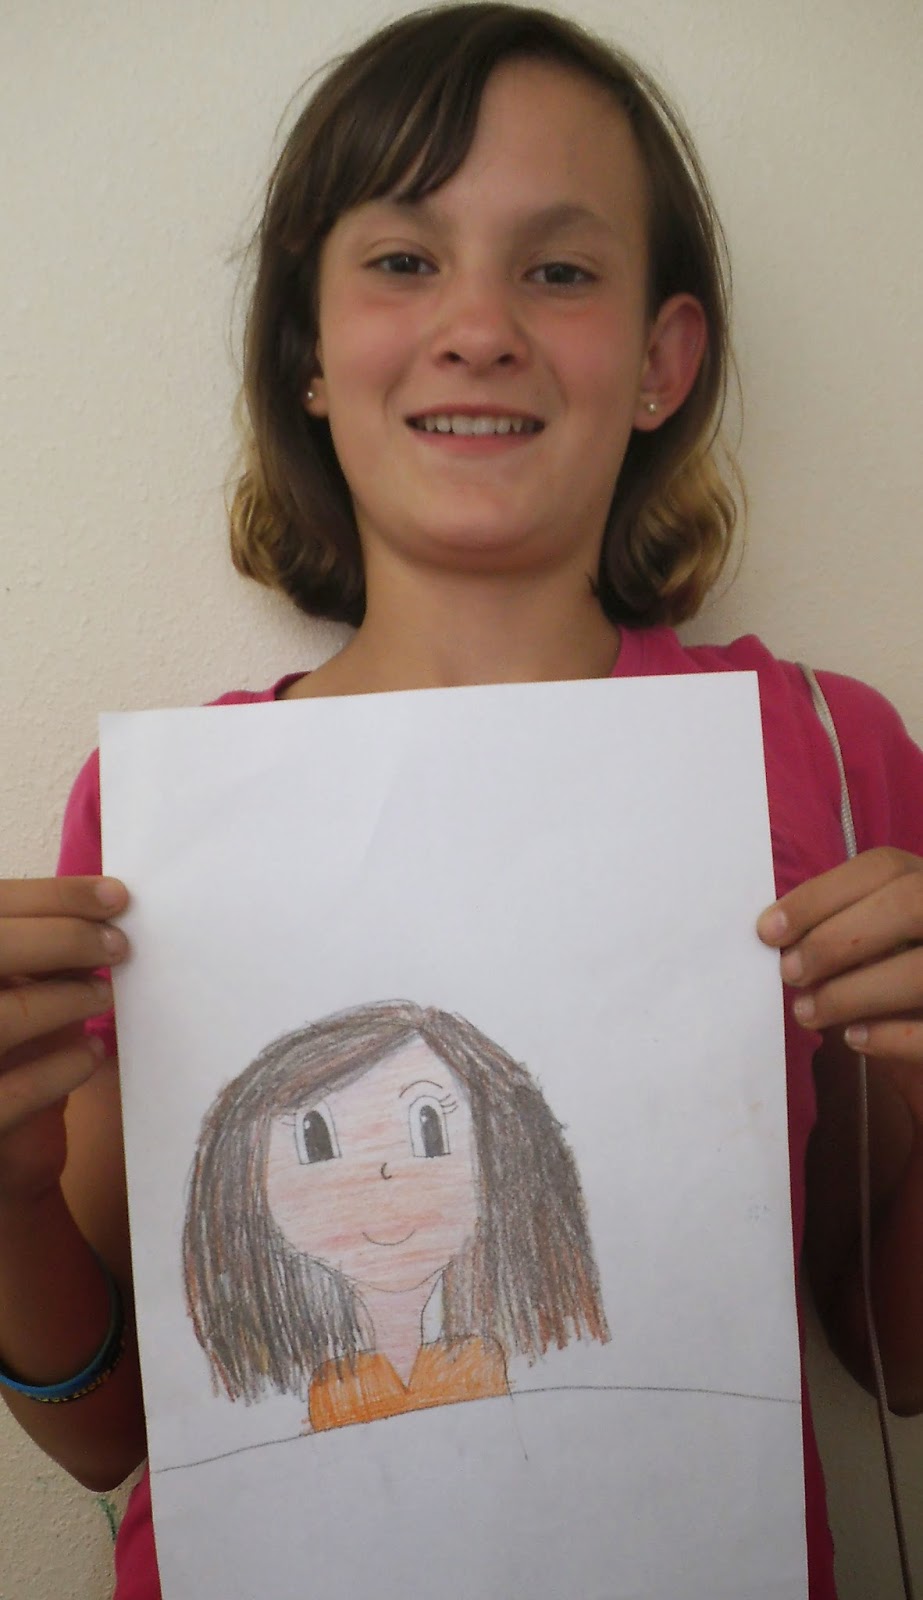
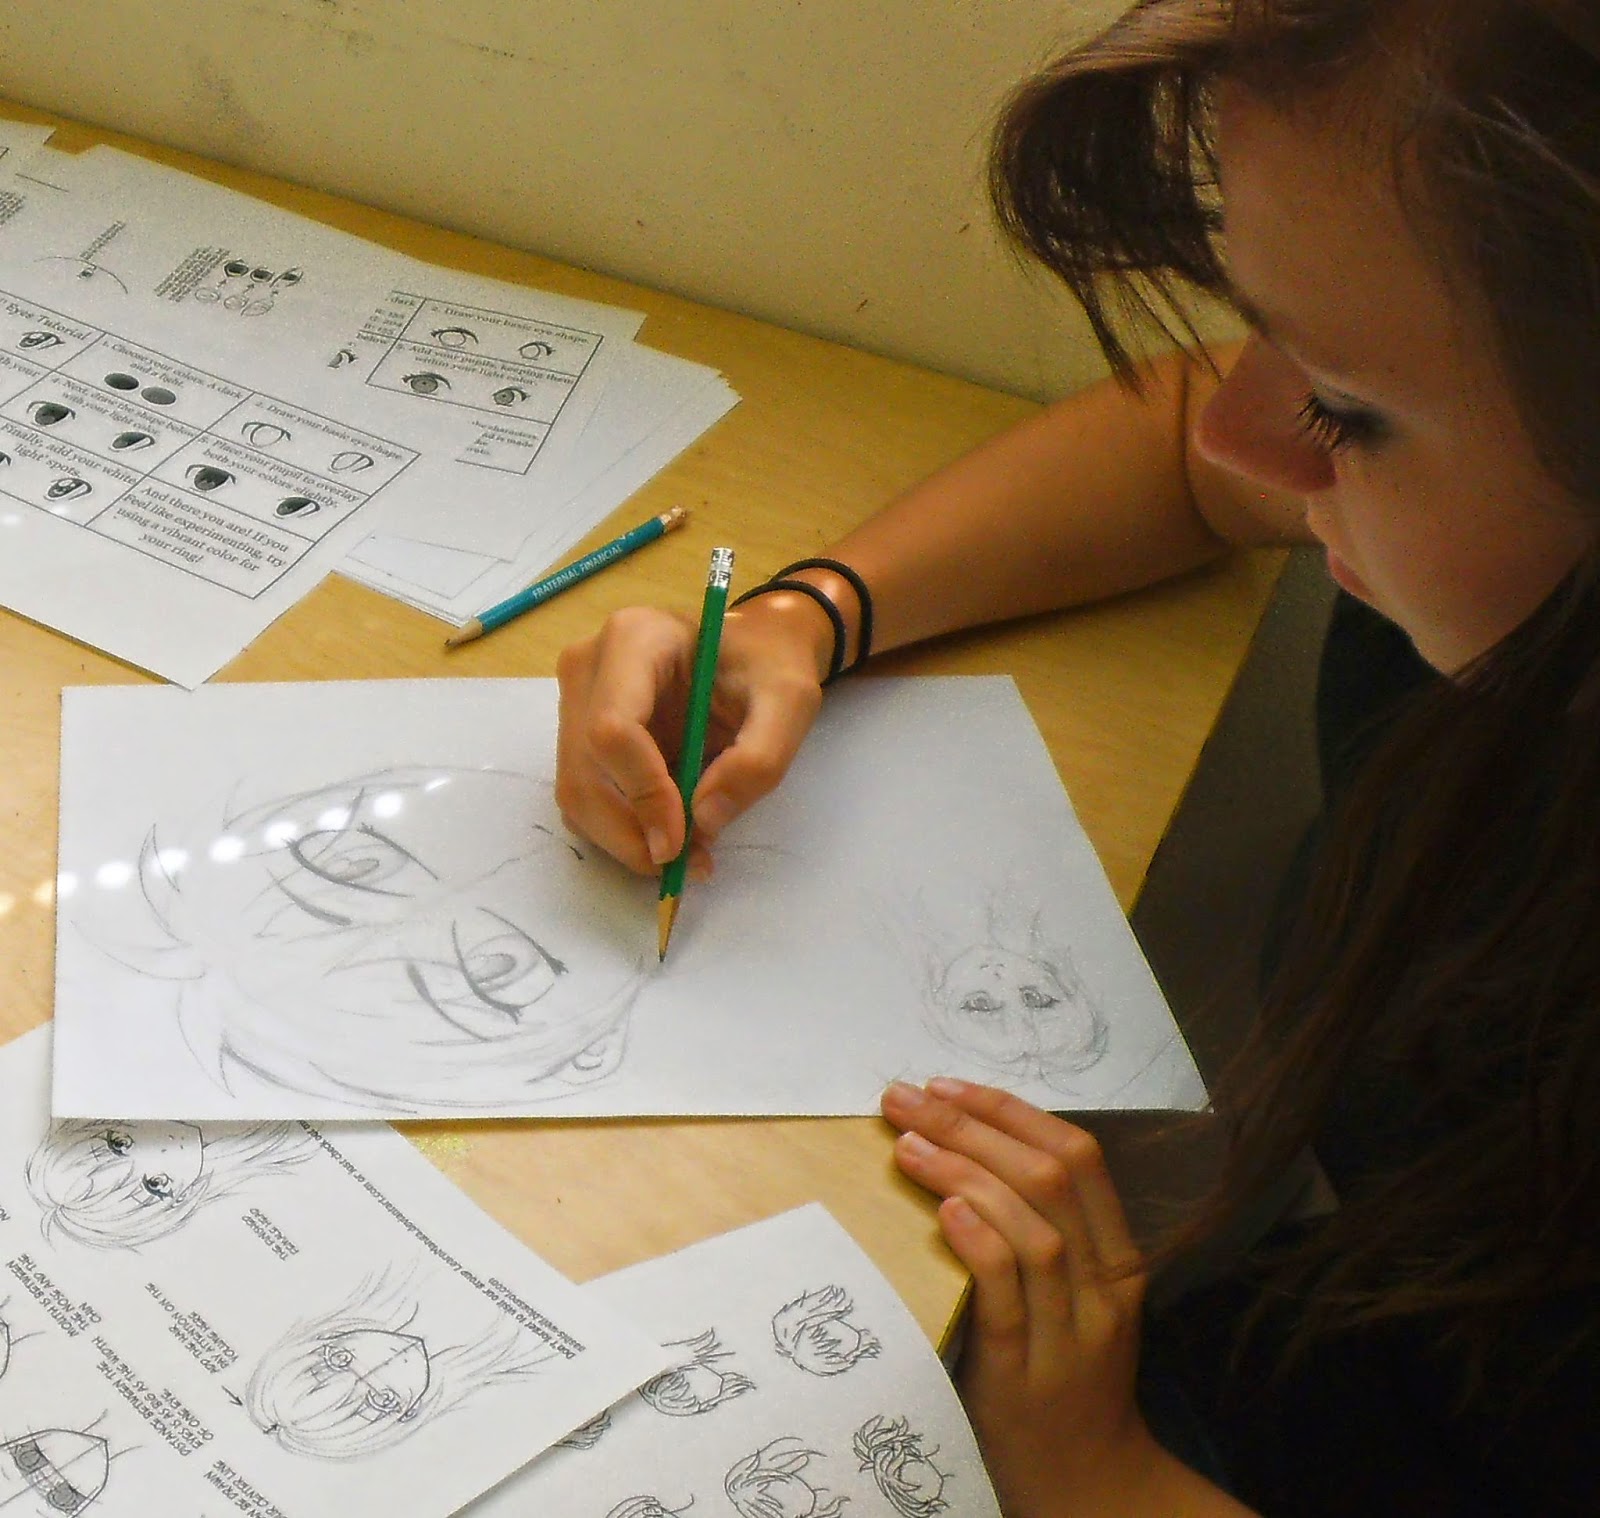
So I asked myself - what do these kids like? What would make creating self-portraits exciting and fun? After a quick bit of research, I found the answer - Manga art!  Kids love Manga, and the idea of creating their own Manga avatars was a hit! I printed out a few instructional worksheets  and made a set for each student. Note: We drew heads only at this point; however you can get instructions for whole body Manga art as well. I showed them some avatar samples, and then I let them go to work.

They loved it! Drawing themselves Manga style seemed to take away the seriousness of self-portrait drawing. It was more like a cartoon of themselves - and popular Mangas at that - with detailed instructions to follow for each facial feature. These could then be tweaked and colored to resembled their own individual features.


Manga self-portraits were really a hit, even with our youth leaders, shown above. Their avatars look just like them, don't you think?

Wednesday, March 18, 2015

I'm Falling ! ! !

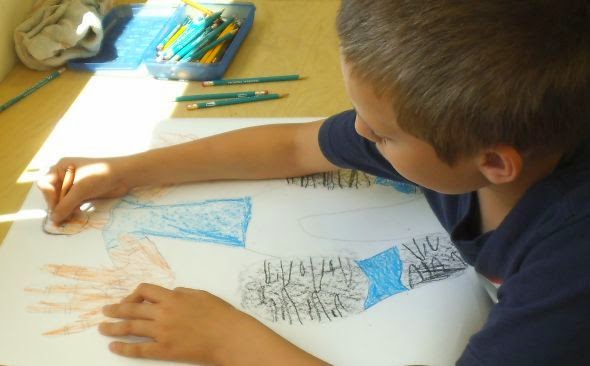
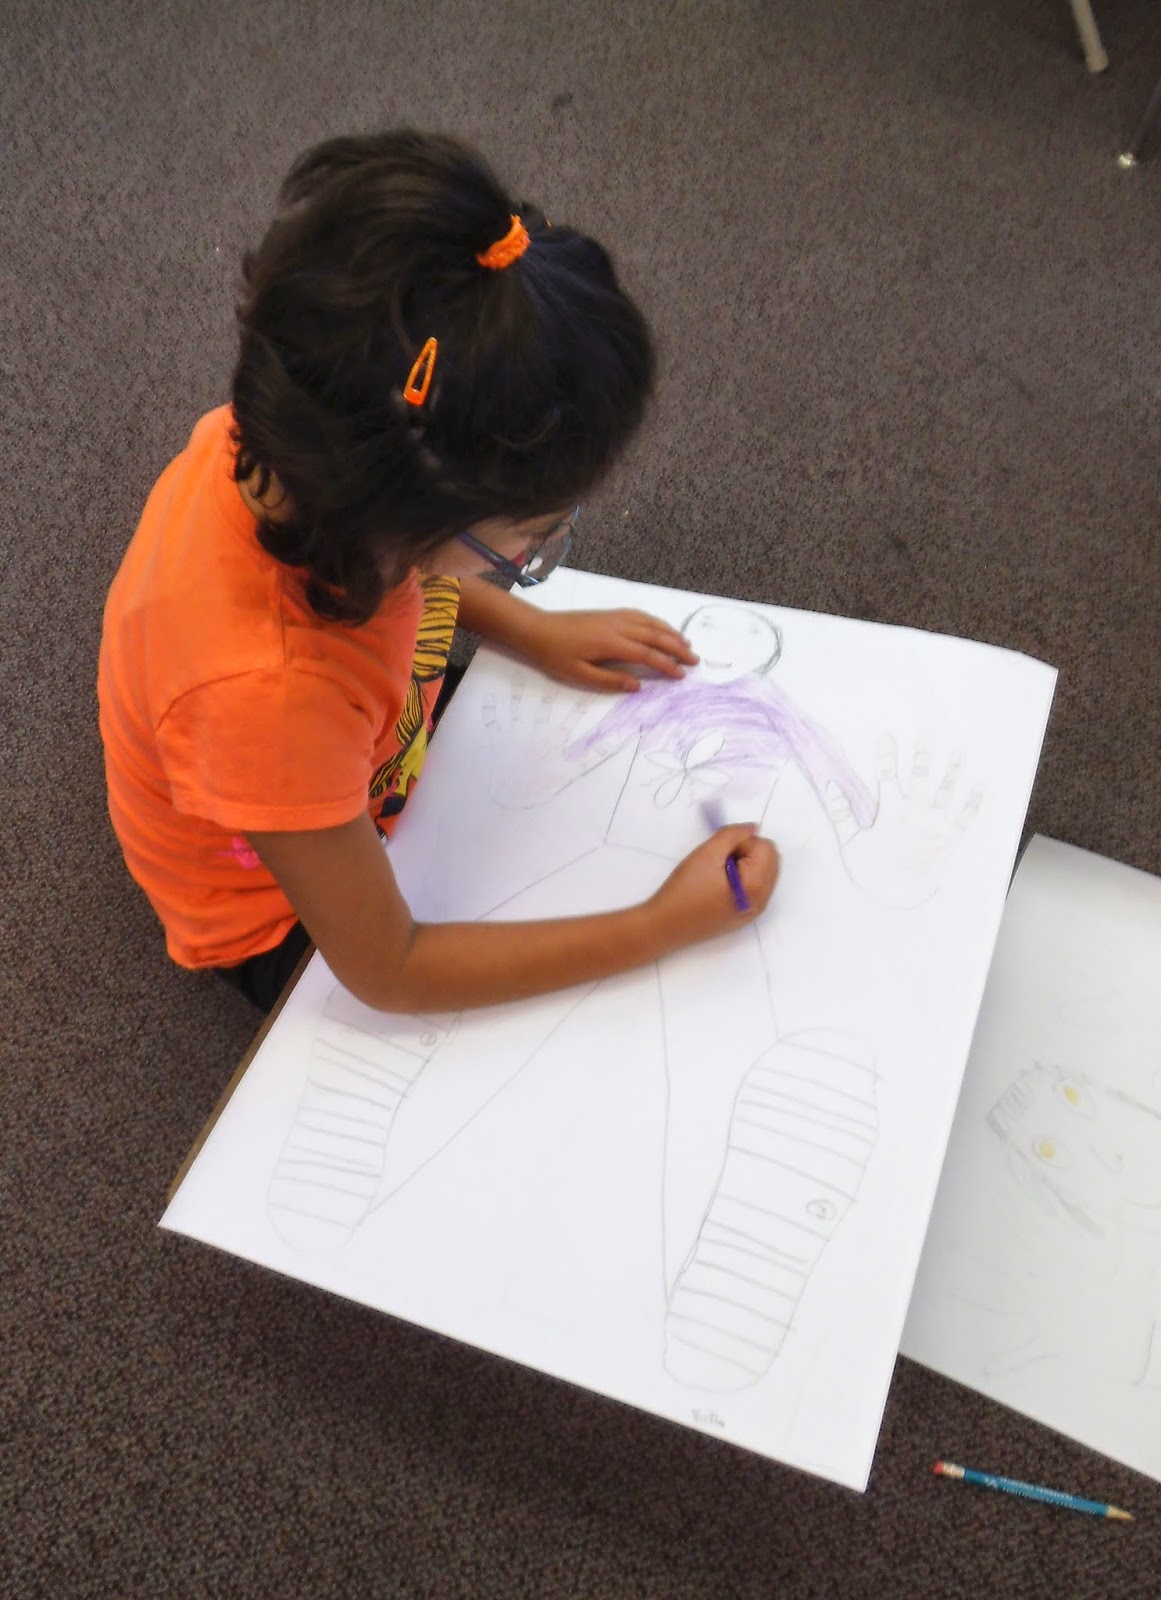
Our 5th graders tried self-portraits with a twist. They drew themselves falling through space and learned about foreshortening in the process.

Foreshortening is an optical illusion that is created when you draw the part of an object that is closest to you larger than the portion that is farther away. This is actually just a form of perspective, but sometimes it is difficult for beginners (including adults) to see and draw.

To do this project you need a large sheet of paper, at least 18" by 24." This is because the artists will be life size! Well, at least their hands and feet. Each artist will need the help of another artist to start this project. Begin by standing on the paper (placed on a hard surface), somewhere near the bottom edge  and having your partner trace your feet. Now the hands, with fingers outstretched, will need to be traced. The hands should be placed somewhere near the outer edges and above the feet.

After everyone's hands and feet are traced, the artist now draws in the arms, legs, body, and head to create the illusion the the body is further back in space that the feet and hands. The image will appear to be falling towards the viewer!

Once the basic drawing is done, it is time to fill in the details, including the pattern on the bottoms of shoes and the wrinkles in the fingers. Color in the clothing and other details, while making any adjustments to the body proportions to make the illusion work.

Me and My Shadow

Self-portraits are even more fun when something unexpected is added. Our older elementary students added shadows, and they loved the resulting 3-D illusion!

The technique is simple: the artist draws a picture of him or herself doing something they enjoy, and color it in (it's much easier to color in a picture prior to being cut out than after it is cut). Once completed, the picture is placed on top of a piece of black construction paper and taped along the edges on all four sides (just short pieces of tape, not the whole edge). Now the artist cuts himself (or herself) out of both sheets of paper at once, creating a mirror image out of black paper - a shadow!

Select a third sheet of construction paper in a contrasting color as the ground.

Arrange the portrait and its shadow on the ground with the shadow slightly to the left or the right of, and possible slightly above the figure.                                                                             

Move them around until you like the effect, and glue them down.

Pretty cool, especially with sparkly lipstick!


Must be a Rebel!                    Skateboard Dude

It's Wonderful Me!

This week we created self-portraits -- with personality! The idea was to add a surprise element to the artwork, something that would get the kids excited about who they are or what they like to do.

Kinders and 1st graders like to play! So, they portrayed themselves at play, using twine to indicate either swinging or jumping rope. Most of them chose the swing, for a fun 3-D effect.


Our 2nd graders created full body drawings of themselves, which they cut out and placed on a collage background of their choice.

Some chose lots of sparkle and color!

More Beautiful Animals

This is such a fun project -  I wanted to share just a couple more photos with you. This student is hard at work on her Toucan painting, using soft pastels. (Yes, pastel works are called paintings.)

Cats are a a favorite subject, as you can see. From kittens to tigers, I believe the intensity of the eyes and the variety of patterns and colors are especially appealing to young artists.

Katie's "Tiger"                            Kathy's "Kitten"

These cats are both rendered in oil pastels

Tuesday, March 17, 2015

Arty Animals

Children love to create ANIMAL art. Animals can be drawn, painted, cut and glued collage style, sculpted, or paper mache'd. It doesn't matter; animal art is fun!

This week we created a variety of animal art. Our youngest students glued fuzzy cotton "sheep" to lovely green meadows. You can find an example of this project at Artsonia. Our older elementary artists made beautiful tempera paintings of their favorite animals, such as those at Deep Space Sparkle (one of my FAVORITE art sites for great art ideas).

Our favorite animal art project, which we do every summer, is pastel on black paper. The children try both soft or oil pastels - each medium has its pros and cons. Some of our more experienced young artists have their preferences. Soft pastels are messy, but they can be wiped off and they can be smeared and softened, which can be lovely. Soft pastels must be sprayed with fixative when completed. Oil pastels are much less messy, bright and bold, and can be layered - but cannot blended or smeared or softened. They do not need fixative. Soft and oil pastels cannot be mixed.

We have done this pastel art with children as young a eight or so with surprisingly lovely results. You need only a few supplies: (very) black 9 x 12 heavy construction paper, drawing pencils or a charcoal pencil, a good set of soft pastels AND oil pastels (try both!) of 24 to 36 colors or more, and lots of good photos of animals to work from. We use mostly Zoo Books and old calendars. You might also have some tracing paper and carbon paper on hand. I allow kids to trace the basic shape of the animal, then transfer onto the black paper if the photo is the correct size (not too small) if the child gets too hung up on the drawing part. This is more of a lesson in selecting a good palette of colors and learning pastel techniques.

I am always amazed with these wonderful pastel art paintings! Some of these children have never tried pastels before. Wow!