We made Thanksgiving Pop-Up Turkey cards!


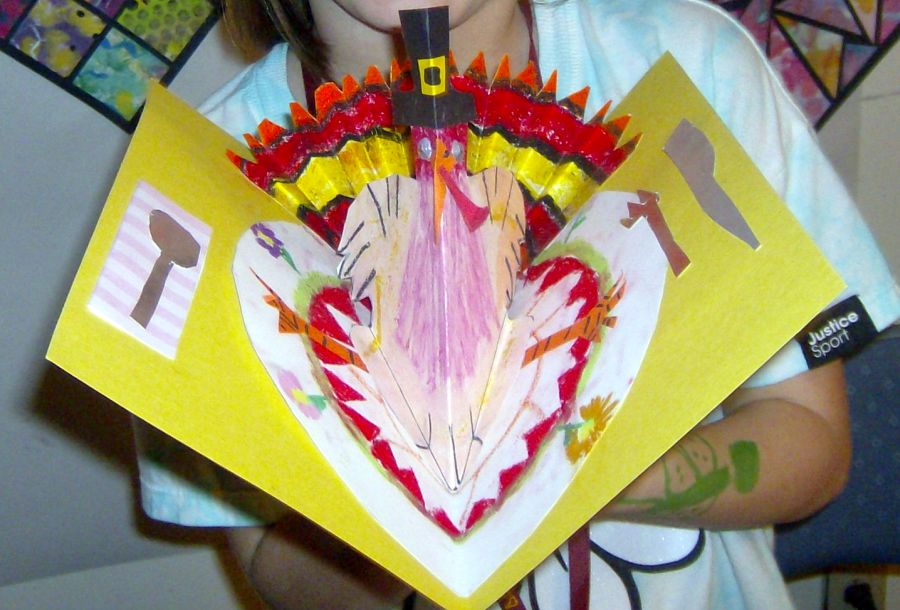
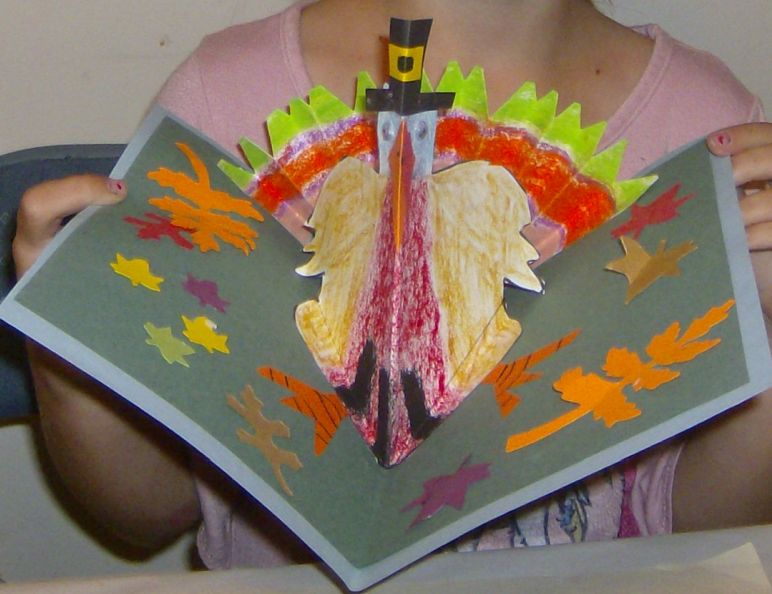
These pop-ups could be given as greeting cards or serve as perfect centerpieces for the big Thanksgiving feast!
Check out smART Class: Pop Up Turkeys to learn how to make your own!
We artists love Halloween! So many spooky fun opportunities for art!
This year I wanted to try something a little different: why not combine wizards and witches and mad scientists and alchemy and magic potions and moonlit nights and ghosts and spider webs all into one amazingly eerie painting?


Using a drawing pencil, carefully sketch the shape and form of your subject on drawing paper. Do not make it too small! You want to make it large enough to add plenty of detail.
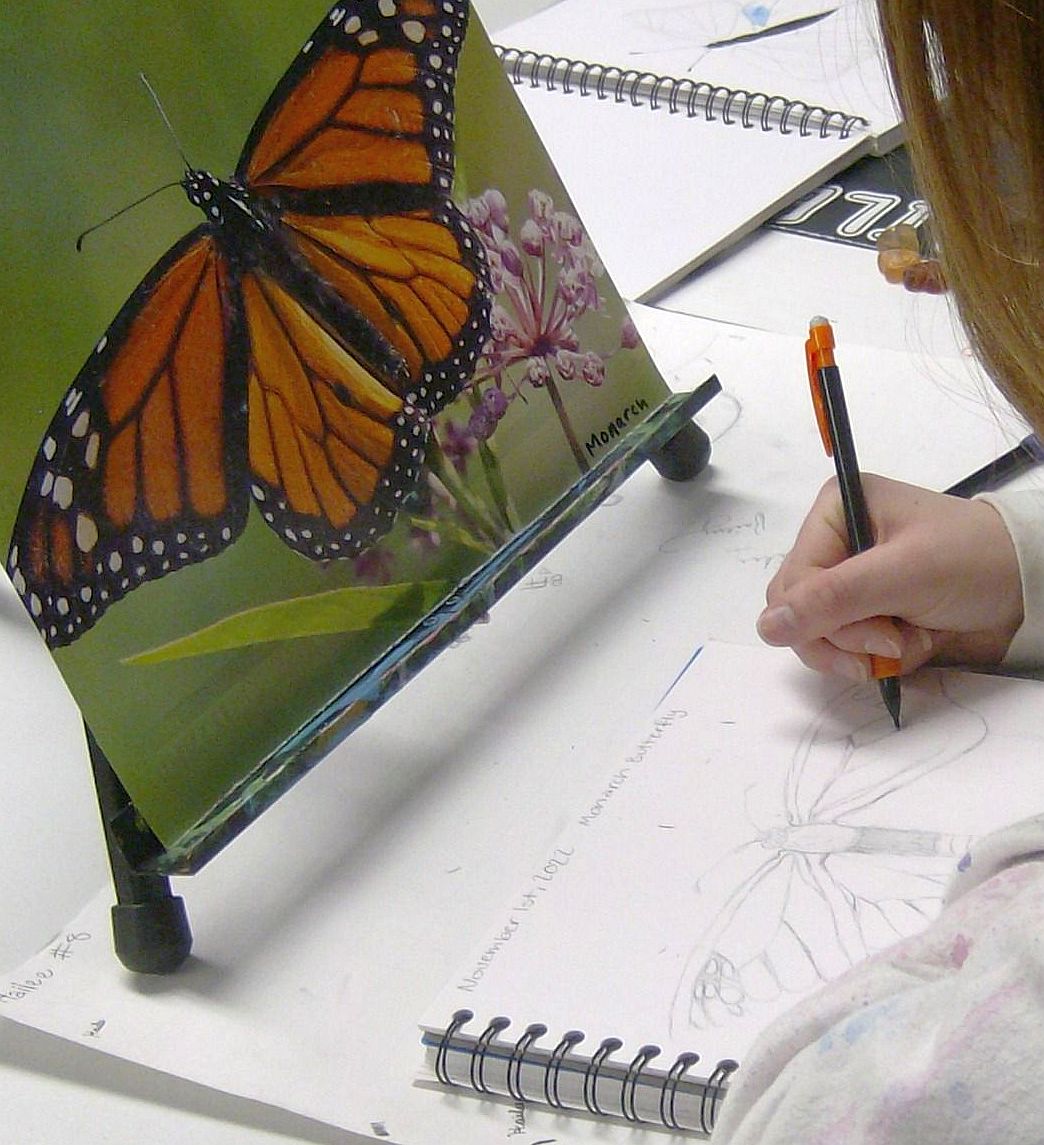
Study the colors, including the highlights and shadows in the photo.
Decide what art media you will use for this subject. Colored pencil works very well for scientific illustration. If you have large areas of color (such as the basic yellow of a tiger swallowtail butterfly) you might fill them first with soft pastel, then rubbed gently with a finger for a nice smooth background of color.
Select the colors and fill in your subject, layering colors as needed.

Once the illustration is competed, be sure to label it with name of the specimen.
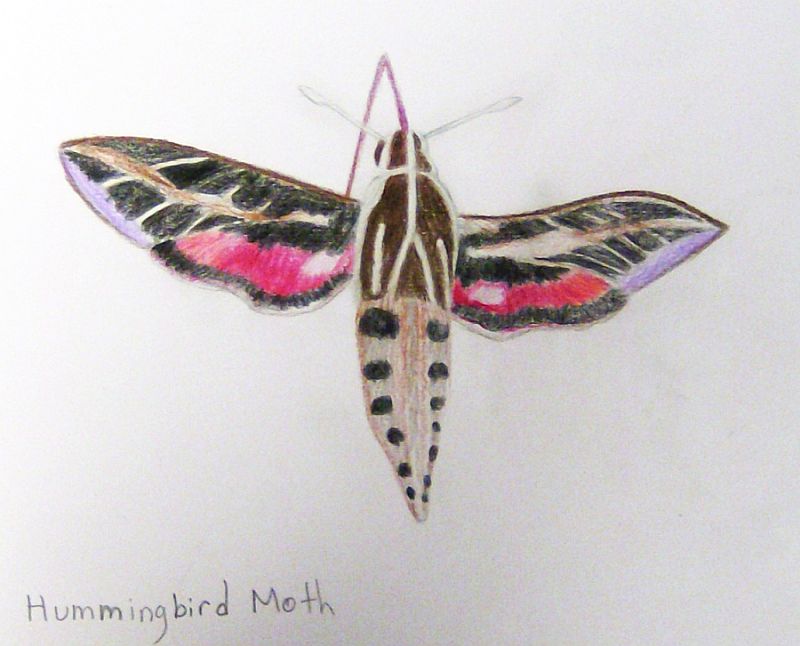

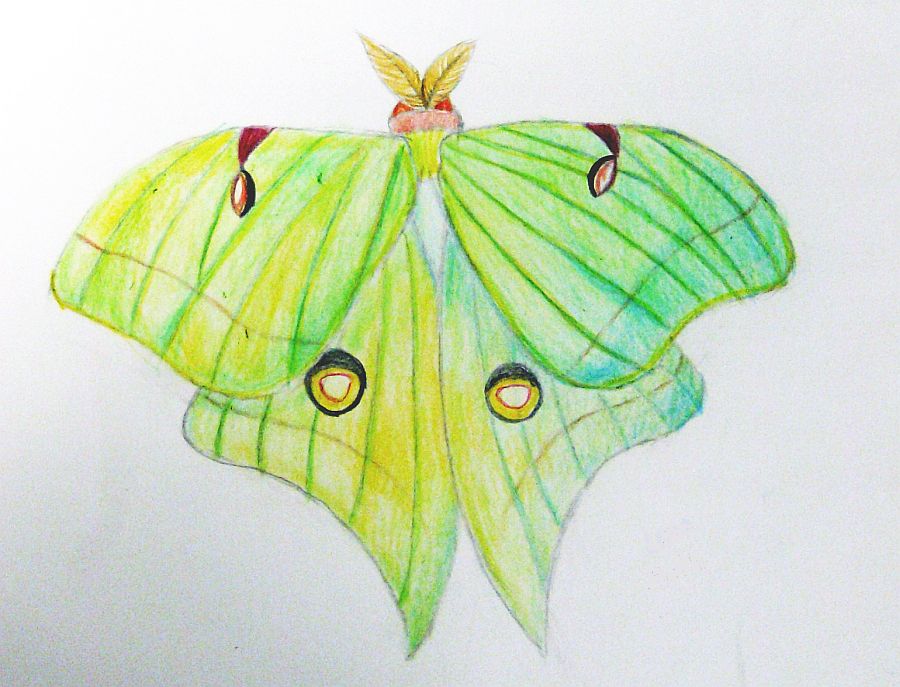


 |
| Halloween watercolor painting |
We love Halloween!
Our young artists always look forward to spooky, creepy, scary arts & crafts-making, and who can blame them???
Not me. I feel the same way.
Here are some very spooky projects we created this Halloween, and how you can make them too.

This painted collage is so much fun to make!
First you paint the stripy background. We used cake tempera paint for this.
While the background dries, you cut out and assemble the legs and the witchy dress and shoes.

We used lots of sparkly washi tape and sequins for some extra 'stylin' on our witch's big night!
We got this great idea from A Faithful Attempt, where you'll find the full instructions for this great Halloween mixed media project!

We make these mummies every year for Halloween.
They are super bendy, so they can display any mood or assume any position!

You never know where you will find your mummy!
One young artist said her mummy is just like a spooky Elf on the Shelf!
Visit Crate and Barrel Kids for step-by-steps to make your own Moveable Mummy.

Do you have some scrap lumber laying around? I cut a few 2 x 4 scraps into square blocks and viola! Halloween Blockheads!!!

All you need are a few random art supplies, craft paint, and glue. We used fun foam, twigs, artificial leaves, craft sticks, pipe cleaners, googly eyes, feathers, and anything else we had on hand.


Our teen drawing class completed these spooky scenes while learning how to work with various charcoal art media.

We started by toning a piece of 9"x12" drawing paper to a middle value grey. We did this by laying the charcoal on its side and rubbing lightly, while leaving a white border.

We then rubbed over it down with a soft paper towel to create an even middle grey tone.

We then used our willow vine charcoal to sketch in the shape of our pumpkin, and added a shadow below and to one side of it. We also learned how to use a white eraser to remove charcoal to add lighter areas and highlights.

 Some of our pumpkins were strange in shape and quite scary!
Details were added using charcoal pencils, which included medium, soft, and extra soft charcoal lead. Excellent for drawing spider webs!

We also used our white charcoal pencils to add highlights and reflective details, such as a little shine to the bodies of our very-spooky spiders!


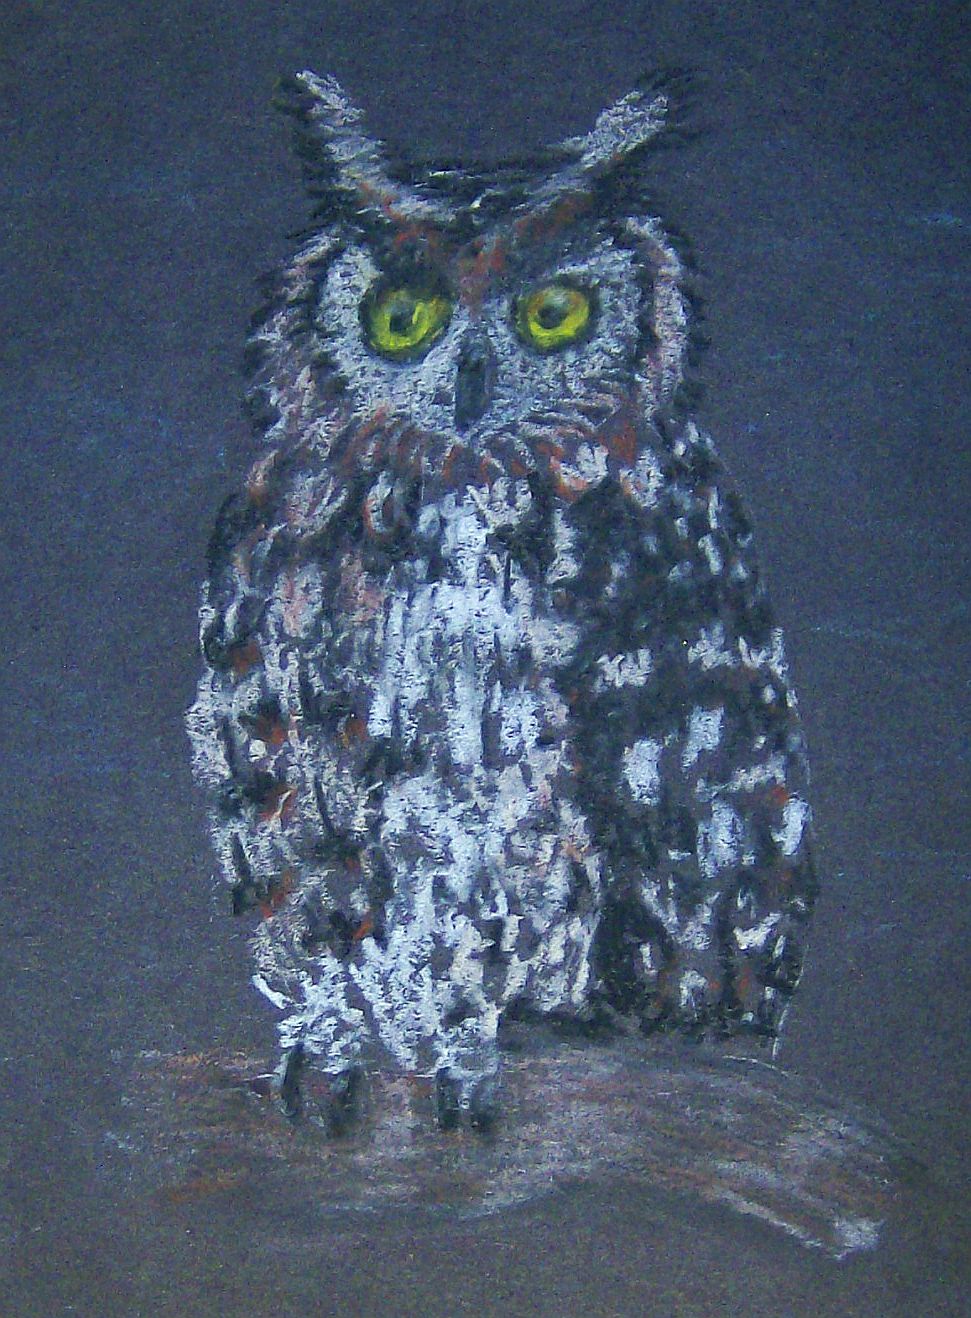
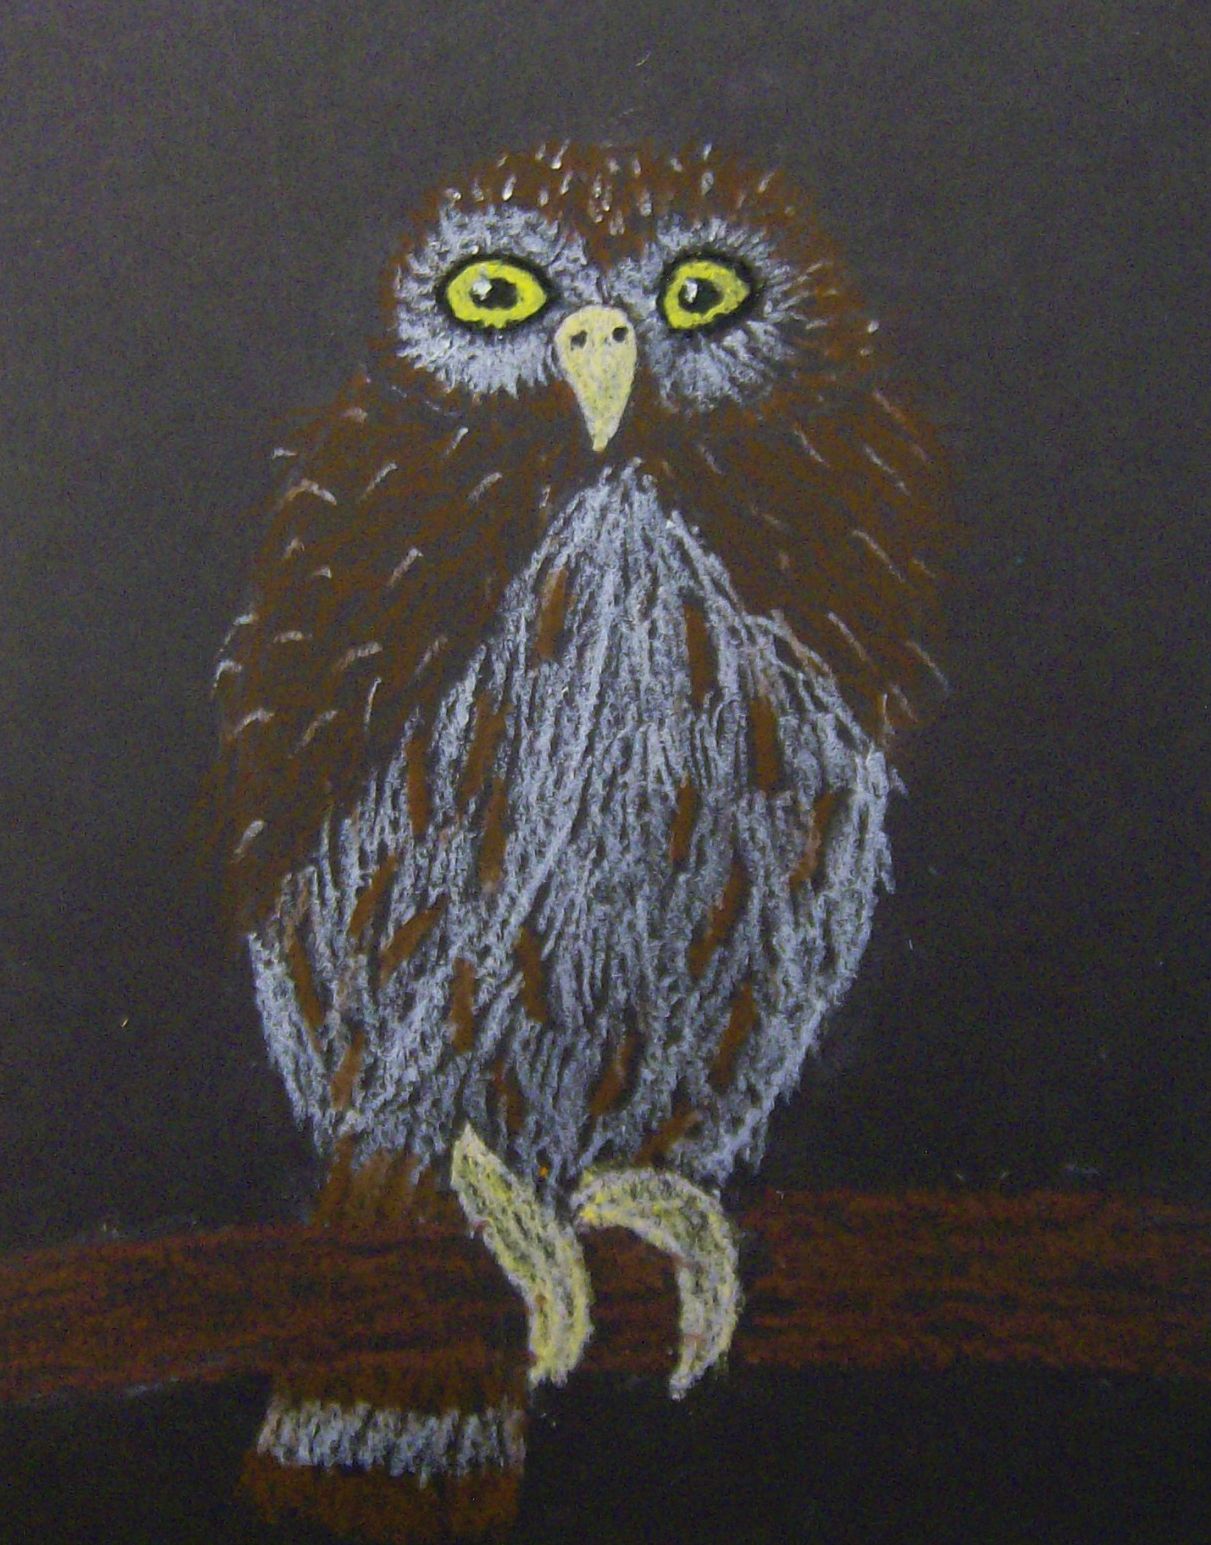
The artwork was created on black sulfite paper using a reference photo. A piece of white chalk was used to lightly sketch in the owl shape, which, from the frontal view, is basically the shape of a thumb.
Easy peasy!

Next, the eyes and beak were added and any other prominent features, such as a row of dark feathers around the face or "ear" feathers, etc. No tiny details are necessary at this stage; they are added with oil pastel later on.

Each artist was also given a piece of black scrap paper for testing colors, textures, and special effects. Sometimes colors need to be layered to get the right shade or tone, so testing colors is important during the palette selection process. Black and white are always added to the palette as well.


Now they were ready to create the owl's eyes, adding that white sparkle to the same spot in both eyes (both to the left or both to the upper right or whatever).
The beak was then added and the feathers in the face were added as short lines radiating outward around the eyes and from the center of the face.