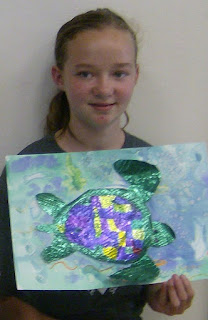
We ended our summer themed camp of Seashores and Oceans with these shimmering Sea Turtles!

The watery background was created with crayons and painted first with clean water, then with watercolor, called a wet-on-wet technique. While the paint was wet, we added a little salt for a more watery look.

While the paint dried, we created our sea turtles. We traced the shell on a piece of heavy duty foil using an embossing tool (like a leadless pencil) and added the interior shapes. The we placed a texture plate beneath each shape and colored over it with a Sharpie to create a new texture and a color for that area.

After completing the shell, we embossed the shapes of the fins, head, and tail. Again, we colored them over texture plates.

Then we cut everything out and glued our shimmering sea turtles into their watery background.


No comments:
Post a Comment