
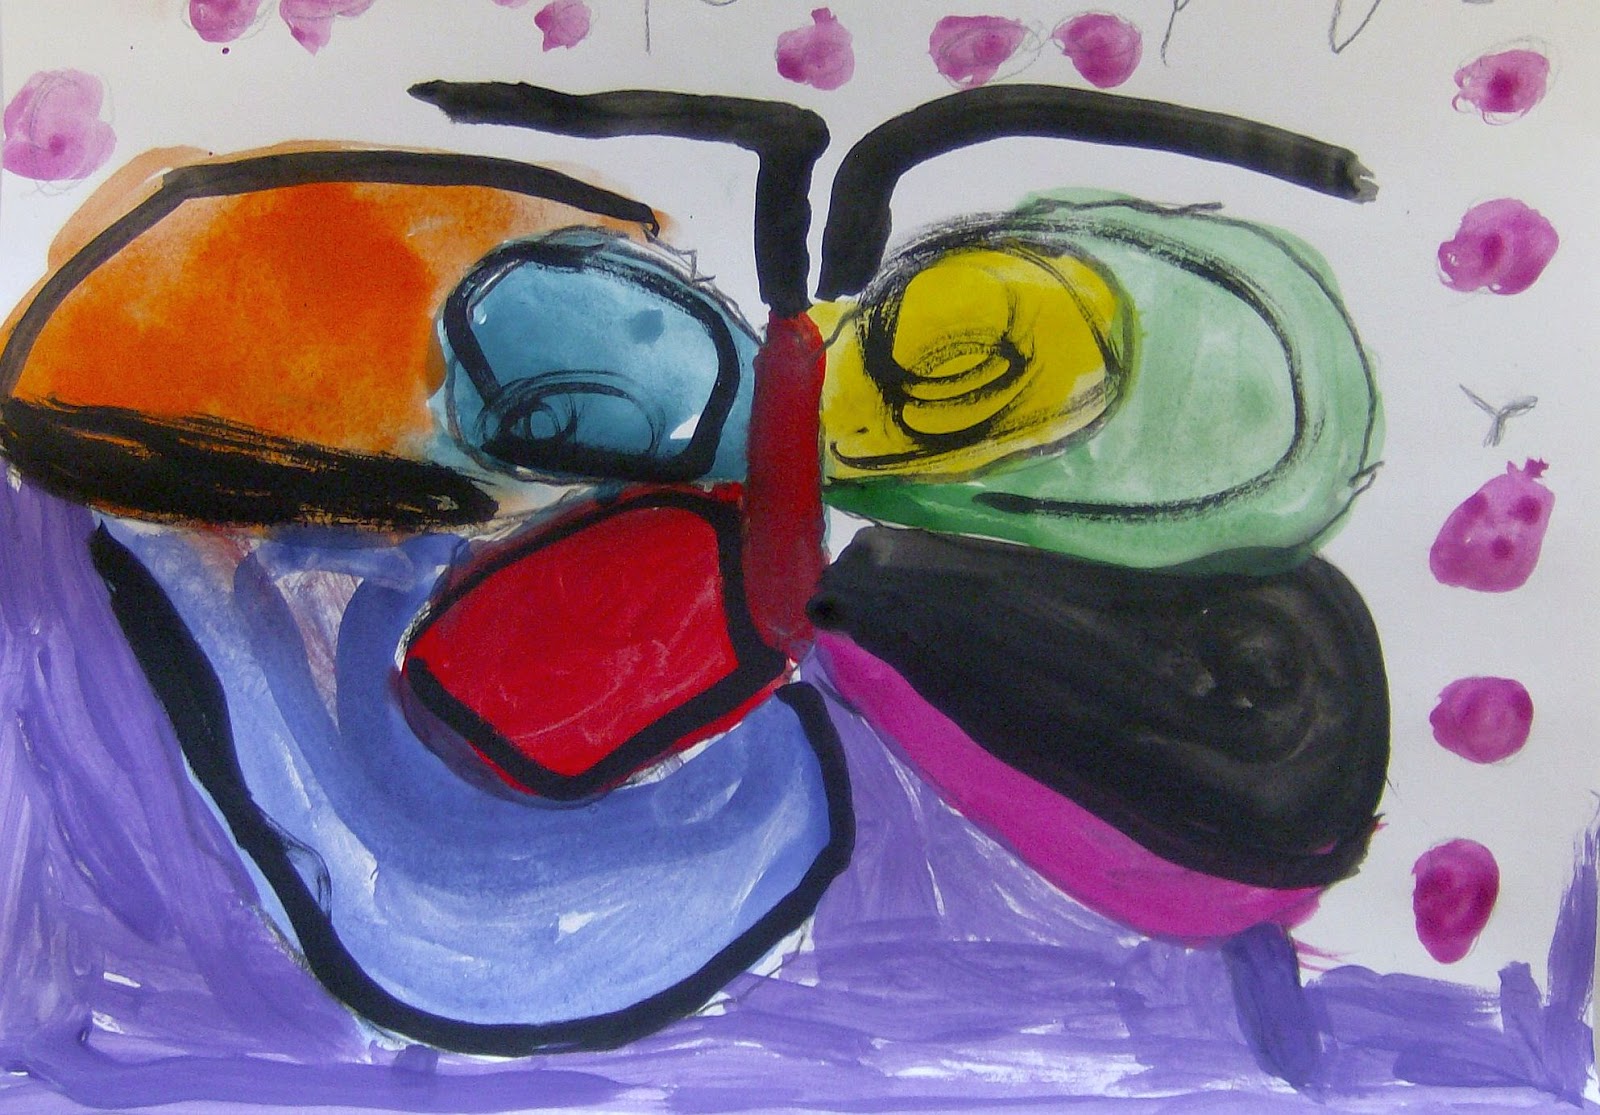
This week's Thursday and Friday afternoon art class kids painted these amazing Winged Wonders!
This project provided practice with symmetry, design planning, and effective use of color.

We first looked at a variety of butterfly resource pictures - most of ours are large calendar photos. We examined the wing shapes, patterns, and colors; and we observed the bodies, heads, eyes, and antennae.

Then we used a black crayon or oil pastel to trace a craft stick in the center of a piece of 15" x 18" heavy white paper (smaller for younger kids). Then we drew the top two wings - BIG!

Some still came out very small, so we made them bigger and used the smaller wing shapes as part of the wing patterns. We added the bottom wings, starting at the bottom edge of the top wings because they overlap.

We added patterns and designs within the wings, working hard to make our shapes symmetrical with those on the opposite wing.
Then we painted them using cake temperas.

 After the butterfly was completed, we painted our background with colors that contrasted the butterfly colors. For example, if our butterfly was mostly purple, our background would be mostly yellow, because it is on the opposite side of the color wheel.
 We used liquid tempera for this step.

Next we outlined the entire butterfly with black tempera using a detail brush. We also added antennae and any other details.

Then, if necessary, we dried the painting with a blow dryer and as the last step, we added glitter paint!
All done!


This is a great art project for any elementary art student! Our class groups included young artists ages 4 to 12 and they all handled the project beautifully according to their own experience and abilities.
Our thanks to Deep Space Sparkle for this cool lesson idea.
No comments:
Post a Comment