Saturday, June 06, 2015

We've Moved!

We've moved to a great new location in downtown Blackfoot! It wasn't easy; a lot of renovation was needed and it took longer than planned,  but it was so worth it! We're now up and running in our bright, spacious new facility.

Although our signage is not yet installed, you'll find us at 73 N. Broadway. Drop in during Open House through June 12th and take a look! Pick up a schedule of summer classes and let your kids hang out in the Creative Thinking Area and Open Art Studio while you fill out a quick survey. We want to know what we can offer you and your family. We have free refreshments and summer class registration forms. Sign up for a class or two. Would you like to teach an art class or a craft? Why not teach it at the at the art center? We are also looking for volunteers to help with children's classes and to promote the visual arts in other ways. Earn free studio time and/or discounts on classes.

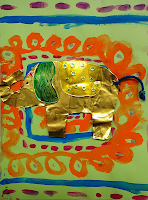
This Thai elephant art, (from artiswhatiteach.blogspot.com) is just one of the projects we are doing in our new "Arty Animals" class, offered on Mondays from 3-4:30 pm (ages 6-11). This is Keyanna and her Thai Elephant. You can view and print a pdf of our full Summer 2015 Art Class Schedule as well as an Art Class Registration Form - just click on the links in the sidebar.

For more information about the Art Center, art classes/workshops, teaching your own classes, booking an arts/crafts birthday party, or to volunteer -- please call 208-252-7126.

Tuesday, March 24, 2015

Tiny Landscapes

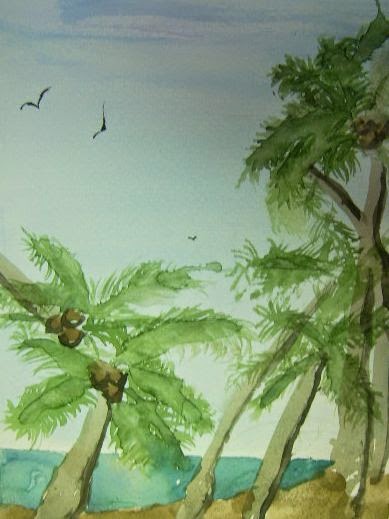
Sounds like an oxymoron, right?  Consider the fact that painting a landscape in a small format can remove many of the uncertainties and doubts beginners have about watercolor painting:

  • No intimidating giant white space to fill up
  • Forces selectivity in deciding what to include and what to leave out, making it --
  • Easier to simplify the composition into basic shapes and forms within the limited space
  • Encourages use of a limited palette in the planning stages of the painting
  • Makes it easier to describe the essence or the impression of the scene instead of painting every detail 
The process is simple. You'll need a 1/2 sheet of watercolor paper, approximately 5" x 8" and a basic watercolor pan set of 8 to 14 colors (nothing fancy). You'll need a soft round (not flat) watercolor brush - size 4 or 6, a mixing palette or tray, clean water, a drawing board, masking tape, and a No. 2 pencil. 

Select a photo of a landscape that appeals to you. Our favorite resource for beautiful landscape photos (as well as animals and flowers) is old calendars - don't throw them away! For this project, look for a scene with a distant background, a mid-ground, and a foreground. 

Study your landscape photo. With eyes half closed, look for shapes and forms. Look for a satisfying composition. Select only a section of a large landscape to paint - not the whole thing! Ask yourself - how can I describe an impression or the essence of this scene? Using your pencil, sketch in the basic forms and shapes. Use these tips to keep going:

Tape your watercolor paper to the drawing board. Tape all four sides, covering 1/8 to 1/4 inch of the paper all the way around to leave a nice white boarder when you peel off the tape. 

Mask the photo with strips of paper to reveal only the portion you plan to paint. Example: Use the top right quadrant of this landscape photo. 

Simplify! You will not paint every detail - true art leaves something to the imagination. 

Start with the distant background, usually with the sky, and work forward in space.

Leave each area to dry before moving on to the next to avoid colors bleeding together. 

Don't overwork it; know when to stop! Remember to keep it simple.

Raindrops and Puddles

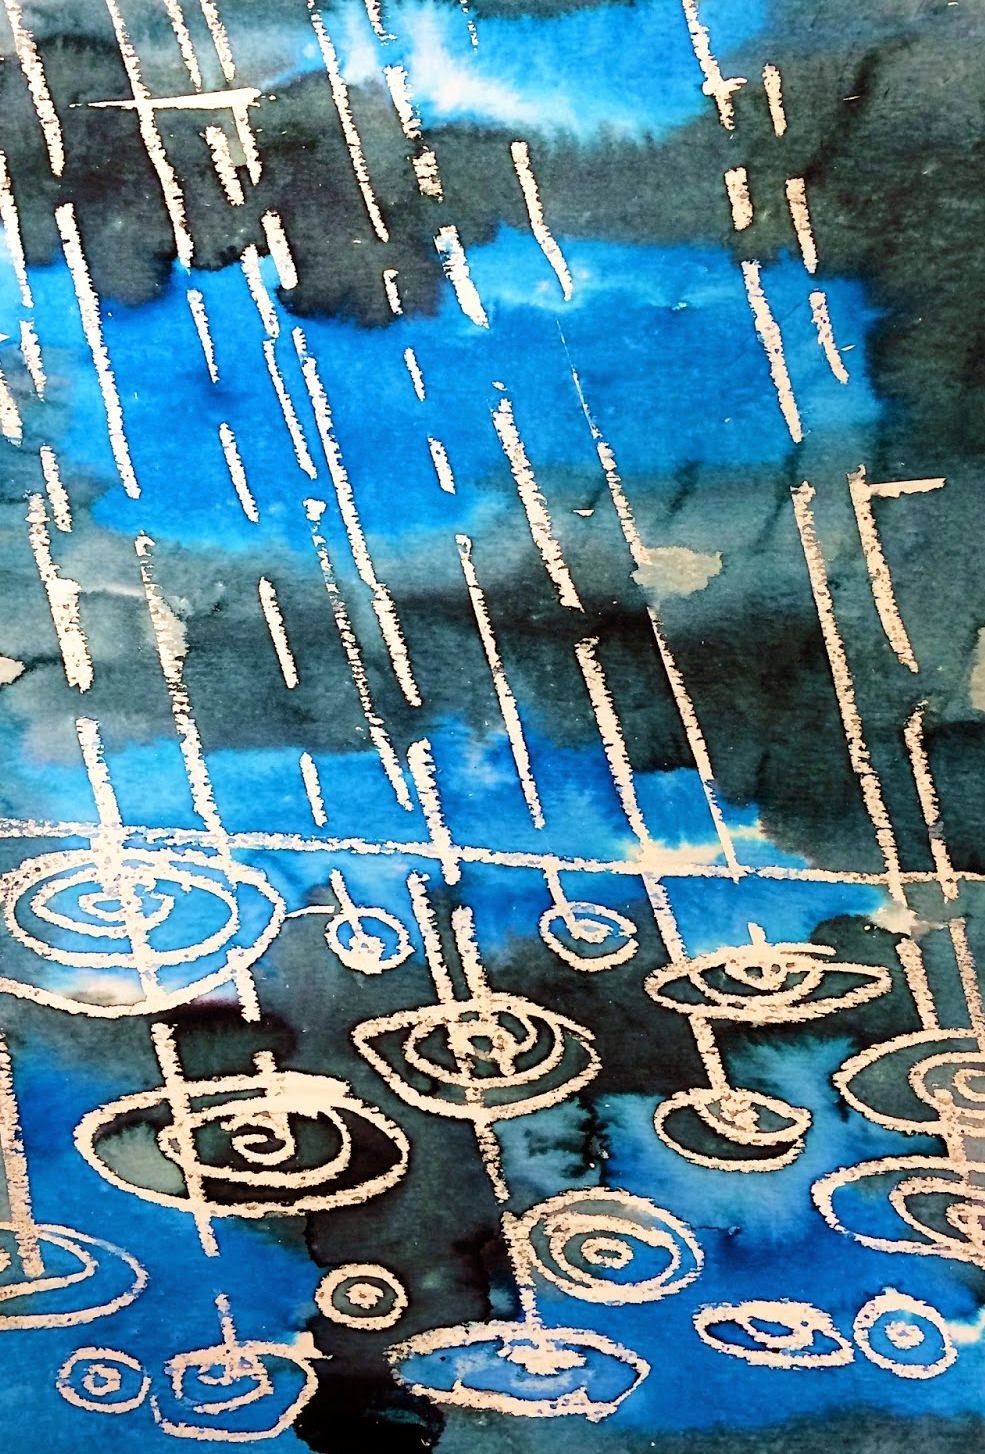
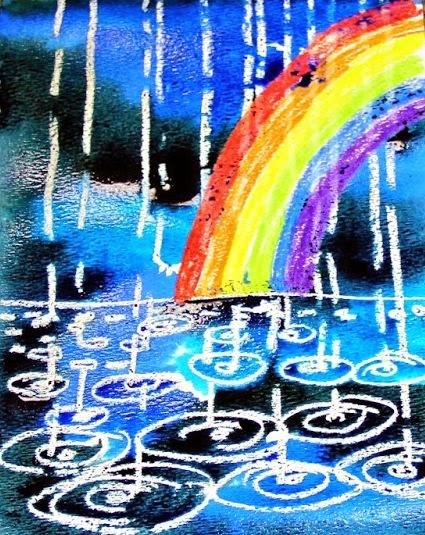
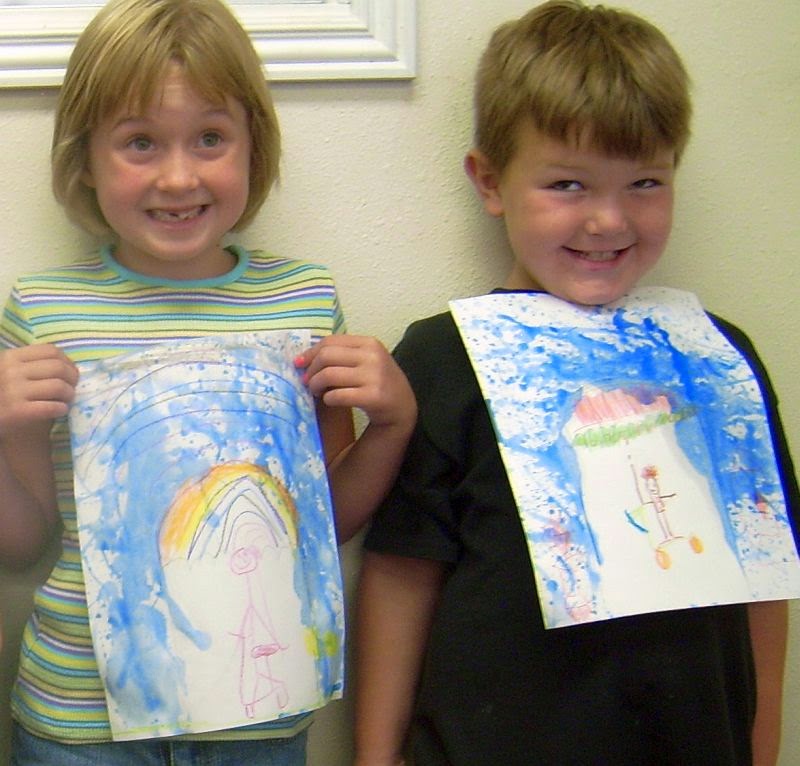
Watercolor is an ideal medium for "rain art." Makes sense, right? Continuing with watercolor week, our 2nd graders created a rainy day project using crayon resist and wet on wet watercolor. Unfortunately, I did not get many photos of their work in progress or completed projects - I may well have been too busy with the step-by-step process of this project. I  borrowed these photos of student work, which are similar to our kids' results, from Elementary Art Fun. In fact, this art blog, also called smART Class, is a great place to go for new and innovative kids' art project ideas. I highly recommend it!

If you are interested in trying this project, click on one of the links above for step-by-step instructions.


Supplies needed are heavy white art paper (copy paper curls too much), crayons (especially white), rulers, soft watercolor brushes, paint mixing trays, a rag, and watercolors - blue, black, turquoise. Liquid watercolors work best, but you can use pan watercolors successfully if you mix some nice puddles of color in your trays prior to painting.


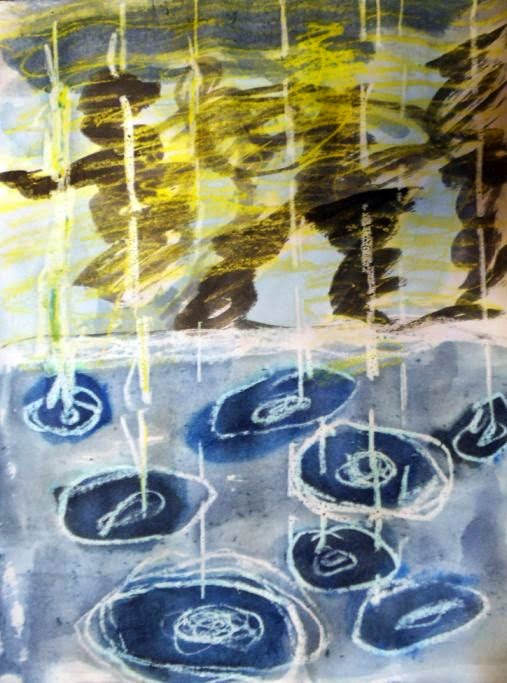
This painting, which was created by one of our students, has LIGHTENING!

It's so much fun introducing unexpected art elements and processes to young artists!

Renewed enthusiasm and self-discovery are just waiting to happen when you throw a little something different into the mix...

Friday, March 20, 2015

Wonderful Watercolor!

That little paint tin with 8 small pans of color and a brush - remember it? Add a cup of water and a sheet of paper, you're good to go. For art camp, however, I decided we needed a little something more.

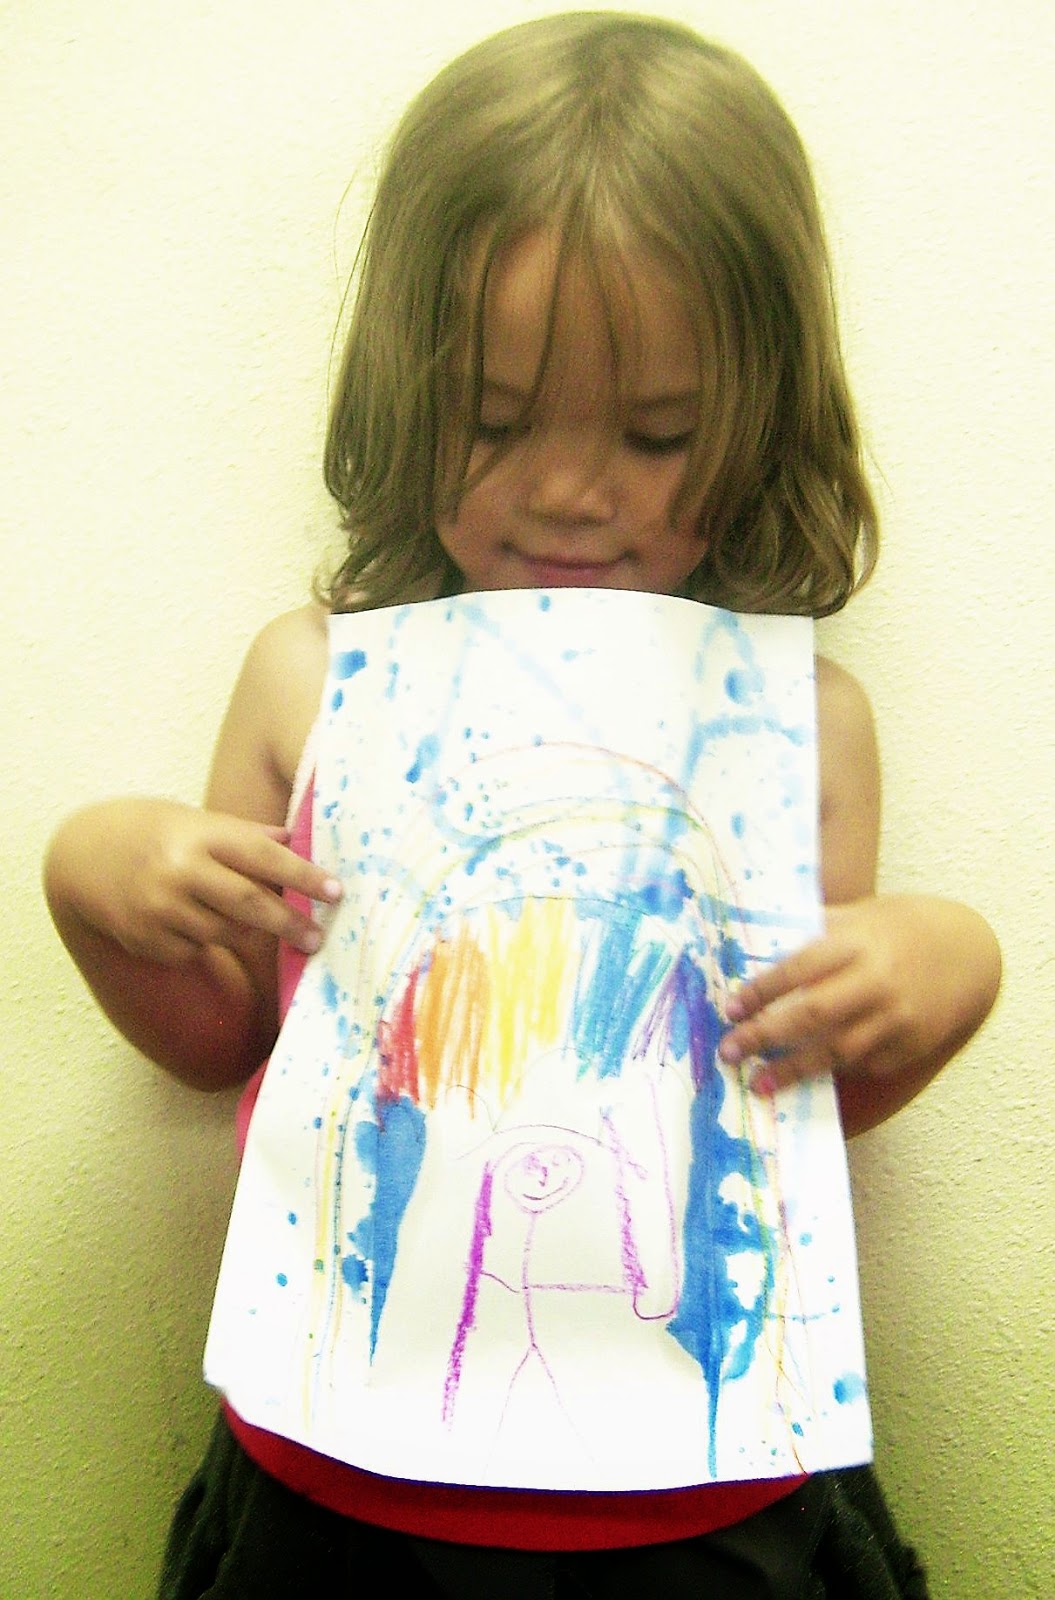
Our youngest artists imagined themselves walking through the rain under an umbrella - staying nice and dry. I cut a few thumb-shaped templates that they traced with a pencil to create the shape of an umbrella. Then they completed the umbrella and themselves under under it, and added lots of color. Once these were done, we placed the template back over the traced area to serve as a mask, and splattered the paper all over with a watery mix of blue watercolor paint. We lifted the template/mask and wa-la! Everything under the umbrella stayed dry!      Tip - Show the children how to rub their thumb across the bristles of a large stiff paint brush to create some very nice splatters.

Thursday, March 19, 2015

Manga Me!

What do we know about middle school kids? They don't usually like to be the center of attention, or to focus on themselves, or to embarrass themselves - especially in front of their friends!

Knowing this, how could I expect them to draw self-portraits? What if it doesn't come out right? What if it looks silly or dumb? What if everyone hates it? OMG! Embarrassing!!!            

I pictured in my mind wads of "artwork" filling the trash can. Definitely not a good art experience.

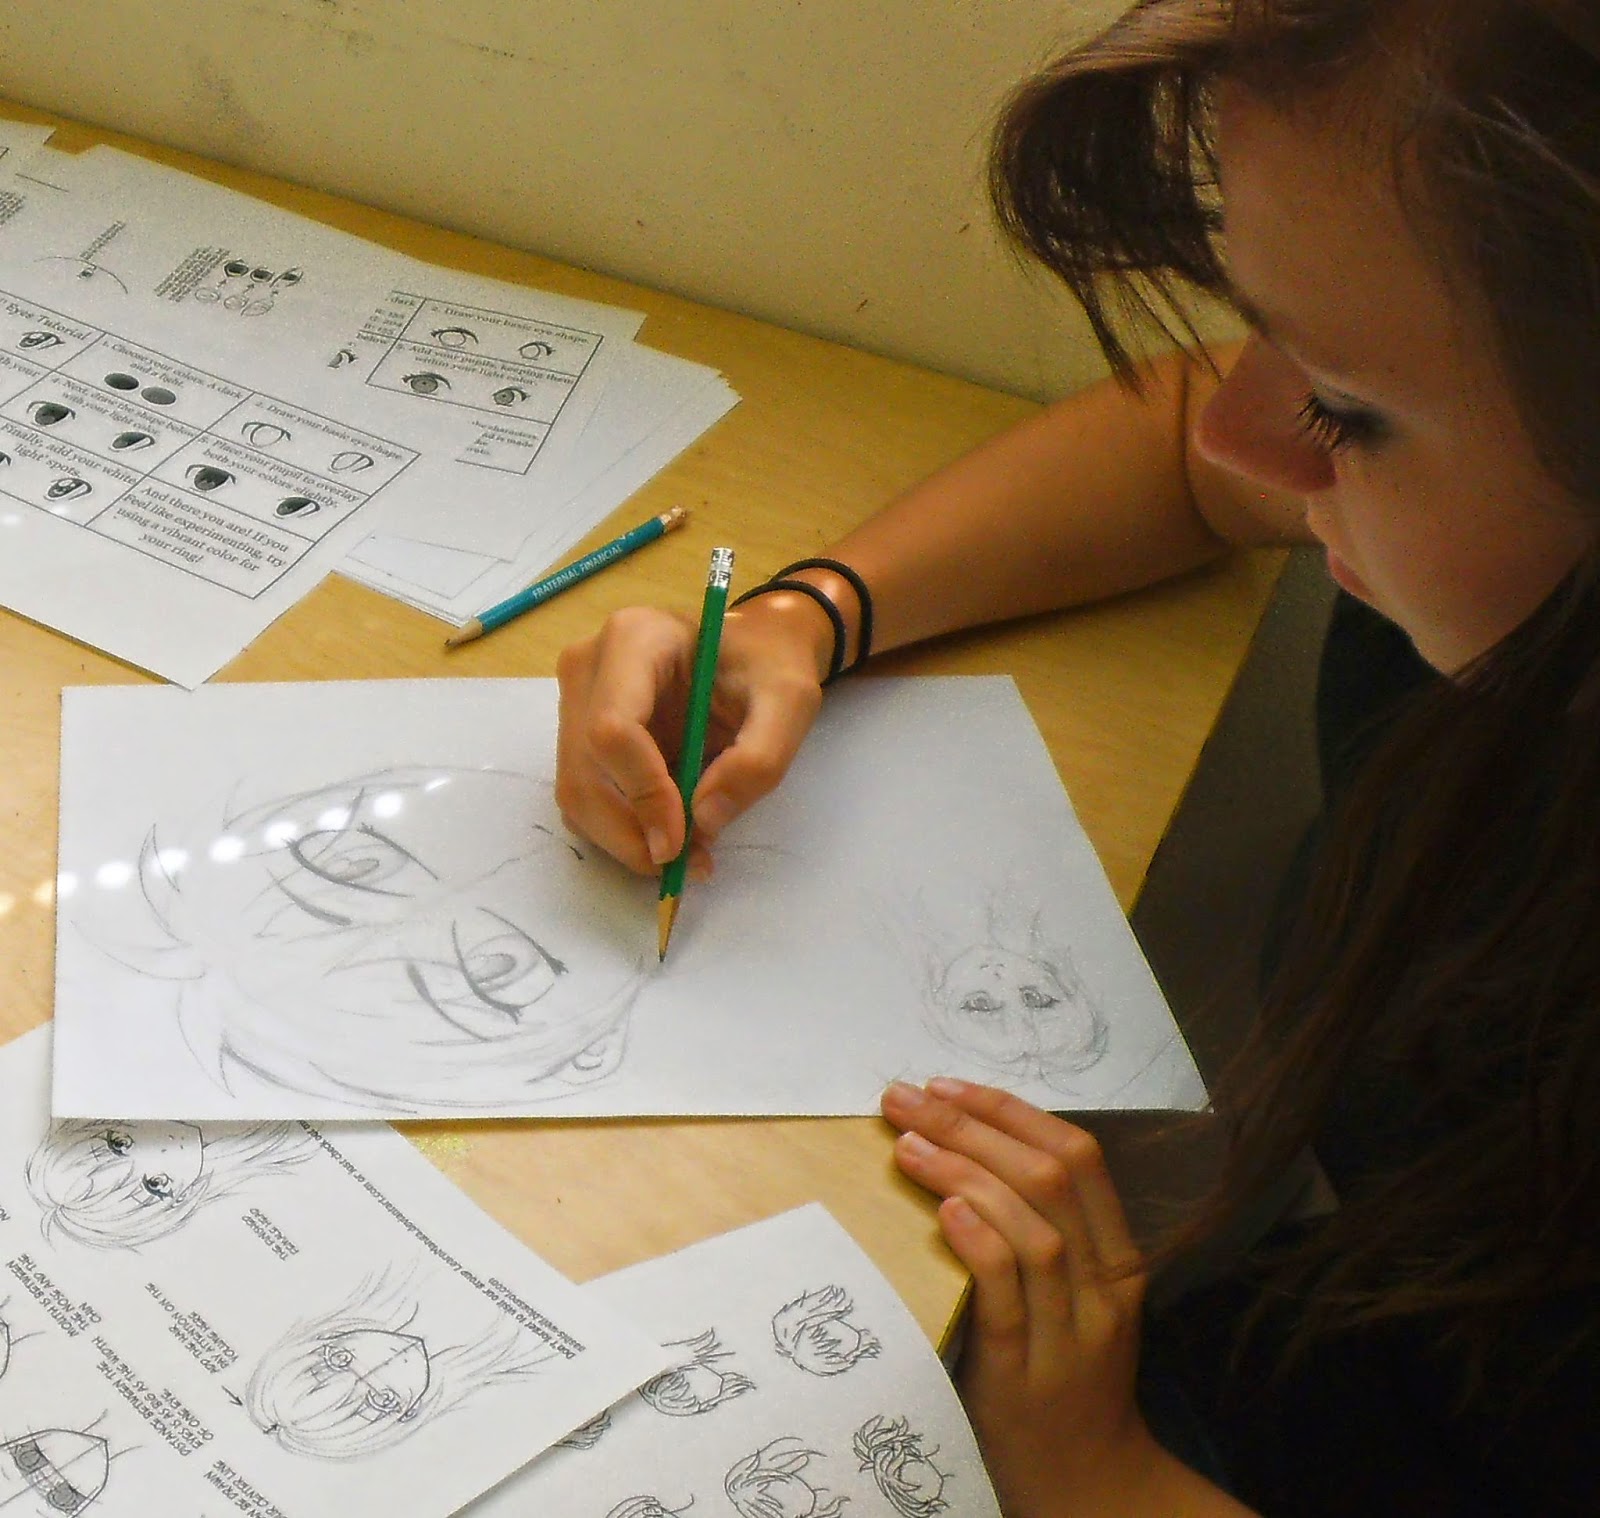
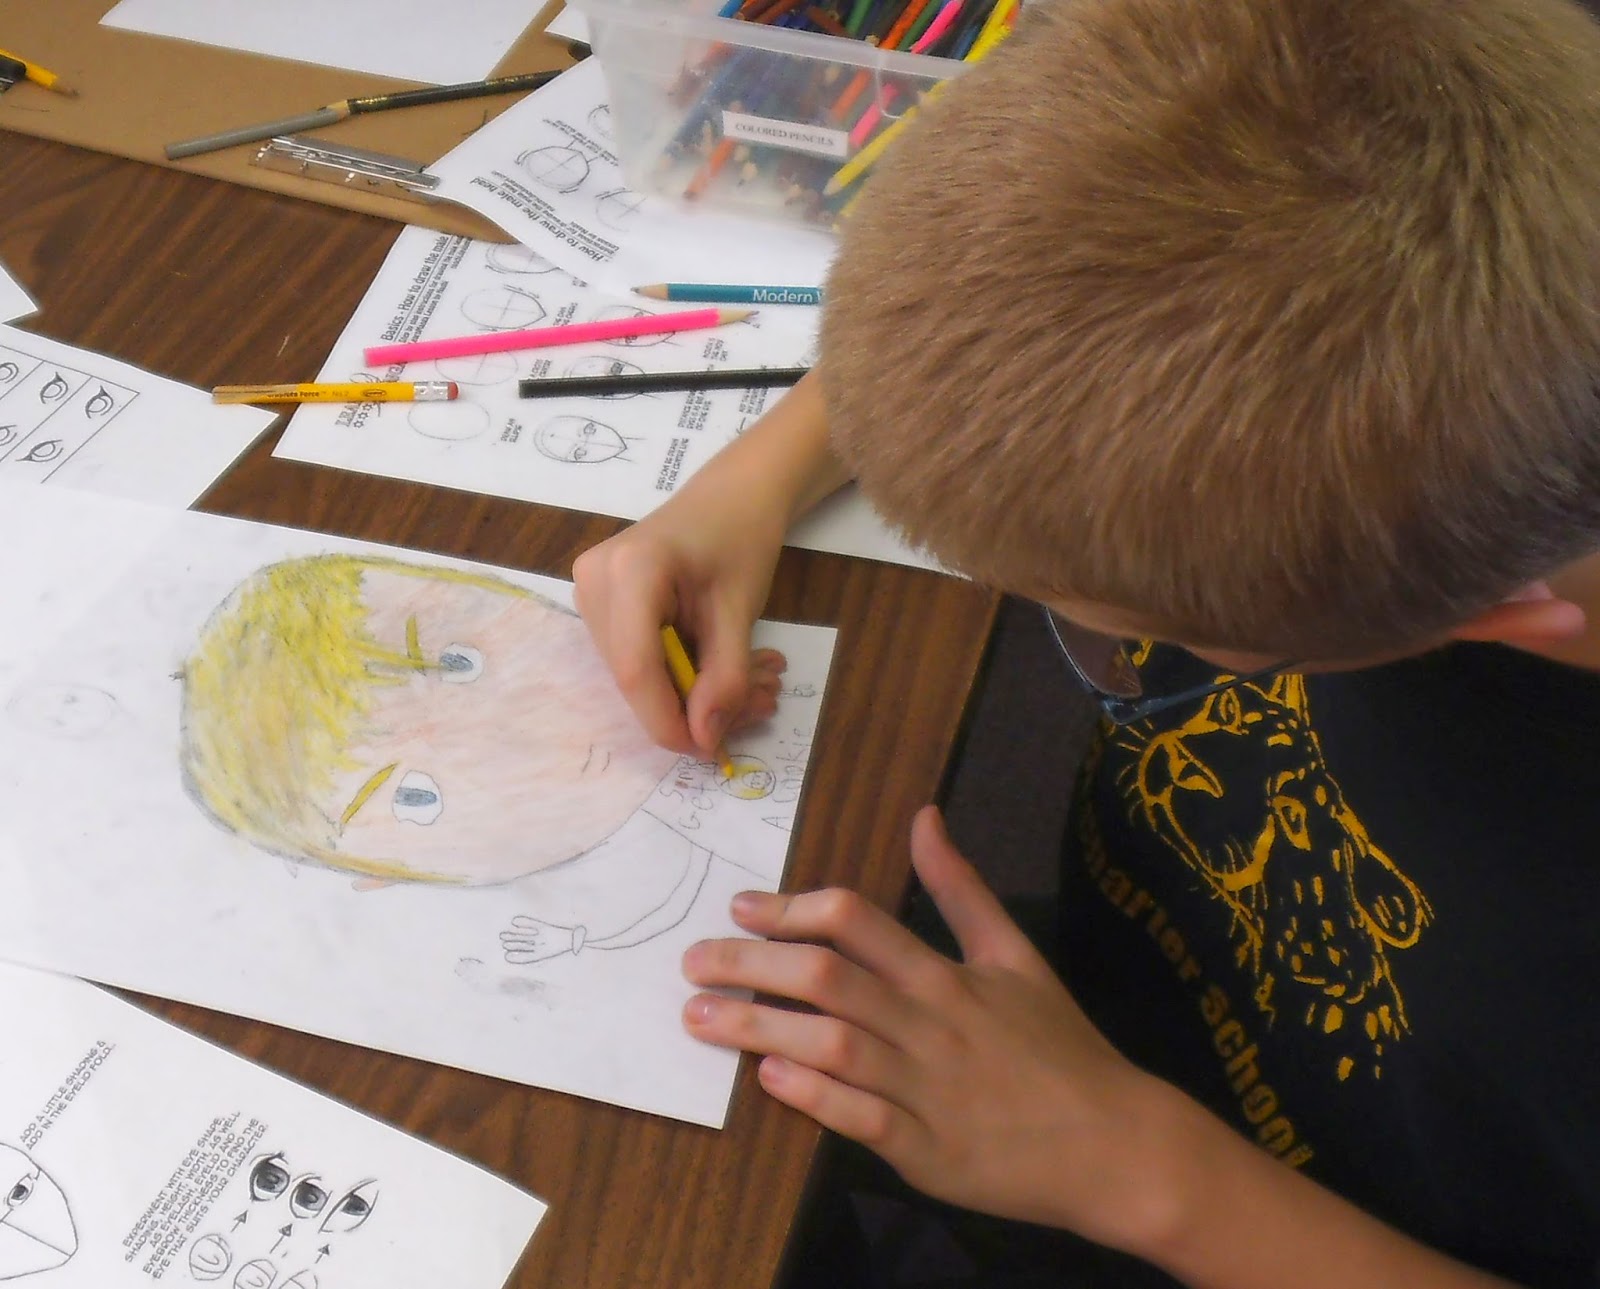
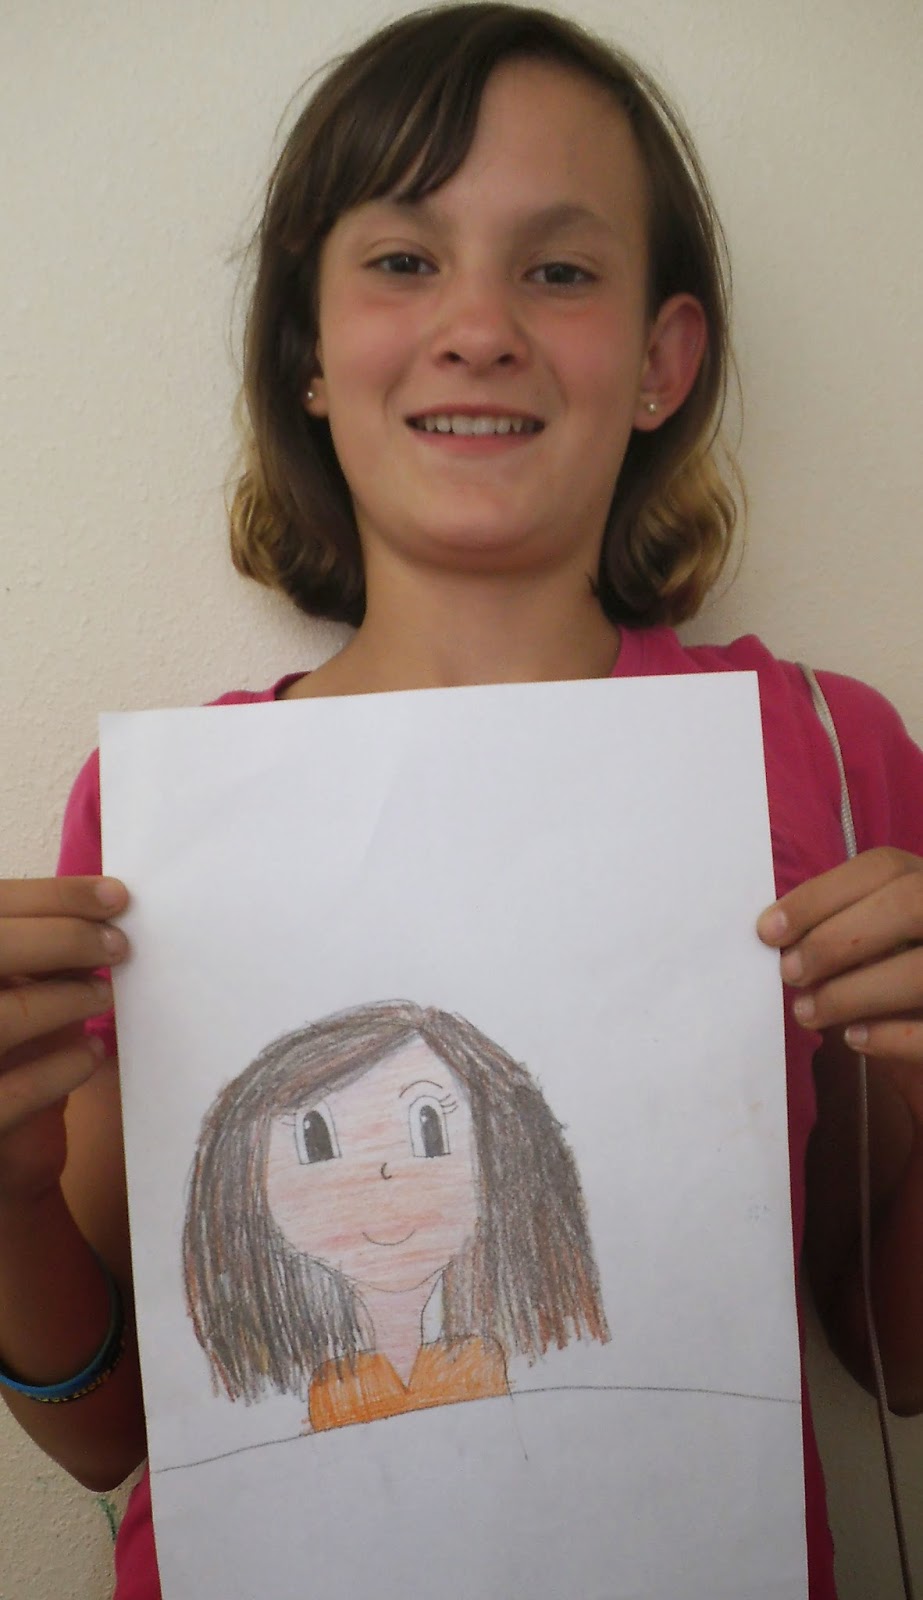
So I asked myself - what do these kids like? What would make creating self-portraits exciting and fun? After a quick bit of research, I found the answer - Manga art!  Kids love Manga, and the idea of creating their own Manga avatars was a hit! I printed out a few instructional worksheets  and made a set for each student. Note: We drew heads only at this point; however you can get instructions for whole body Manga art as well. I showed them some avatar samples, and then I let them go to work.

They loved it! Drawing themselves Manga style seemed to take away the seriousness of self-portrait drawing. It was more like a cartoon of themselves - and popular Mangas at that - with detailed instructions to follow for each facial feature. These could then be tweaked and colored to resembled their own individual features.


Manga self-portraits were really a hit, even with our youth leaders, shown above. Their avatars look just like them, don't you think?

Wednesday, March 18, 2015

I'm Falling ! ! !

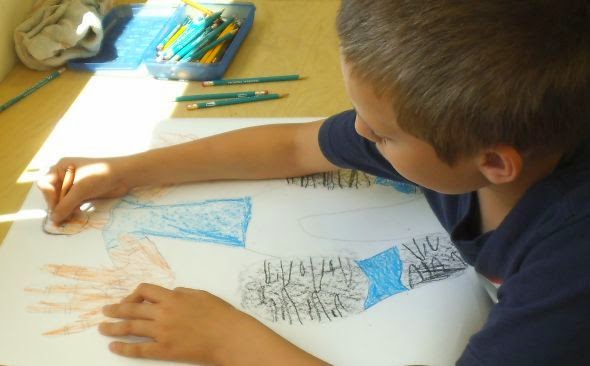
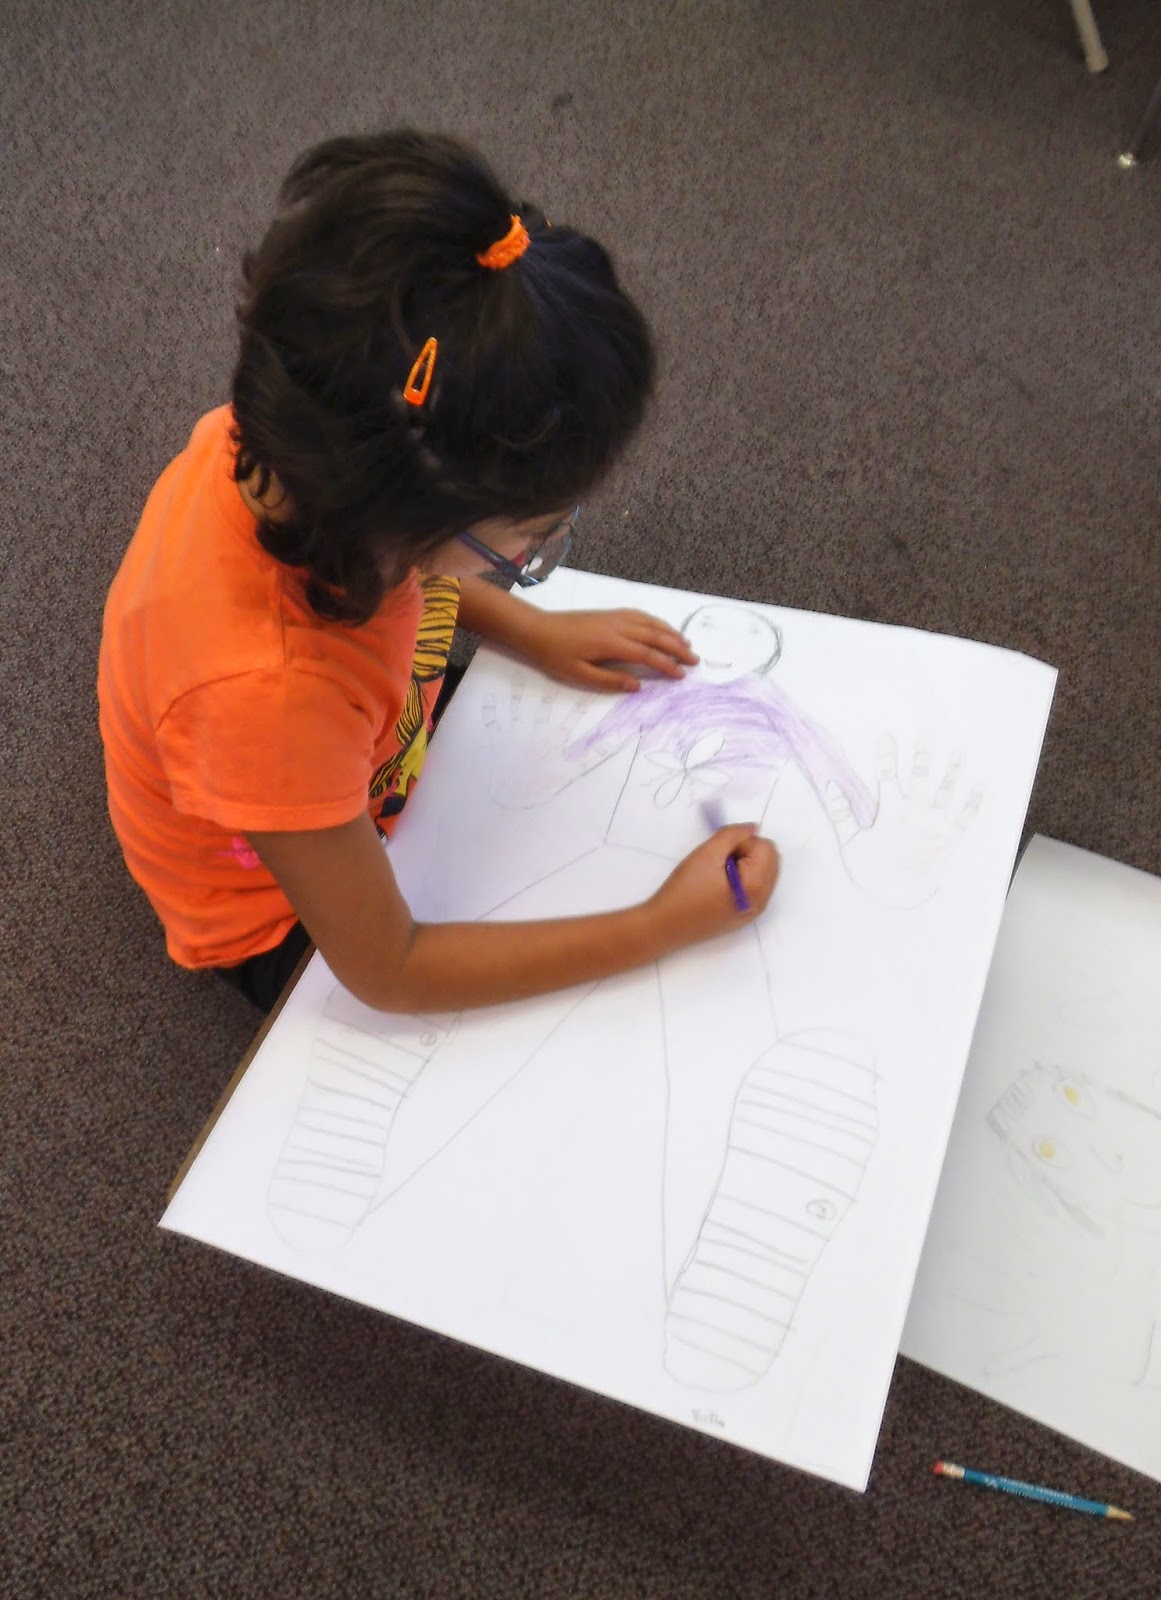
Our 5th graders tried self-portraits with a twist. They drew themselves falling through space and learned about foreshortening in the process.

Foreshortening is an optical illusion that is created when you draw the part of an object that is closest to you larger than the portion that is farther away. This is actually just a form of perspective, but sometimes it is difficult for beginners (including adults) to see and draw.

To do this project you need a large sheet of paper, at least 18" by 24." This is because the artists will be life size! Well, at least their hands and feet. Each artist will need the help of another artist to start this project. Begin by standing on the paper (placed on a hard surface), somewhere near the bottom edge  and having your partner trace your feet. Now the hands, with fingers outstretched, will need to be traced. The hands should be placed somewhere near the outer edges and above the feet.

After everyone's hands and feet are traced, the artist now draws in the arms, legs, body, and head to create the illusion the the body is further back in space that the feet and hands. The image will appear to be falling towards the viewer!

Once the basic drawing is done, it is time to fill in the details, including the pattern on the bottoms of shoes and the wrinkles in the fingers. Color in the clothing and other details, while making any adjustments to the body proportions to make the illusion work.

Me and My Shadow

Self-portraits are even more fun when something unexpected is added. Our older elementary students added shadows, and they loved the resulting 3-D illusion!

The technique is simple: the artist draws a picture of him or herself doing something they enjoy, and color it in (it's much easier to color in a picture prior to being cut out than after it is cut). Once completed, the picture is placed on top of a piece of black construction paper and taped along the edges on all four sides (just short pieces of tape, not the whole edge). Now the artist cuts himself (or herself) out of both sheets of paper at once, creating a mirror image out of black paper - a shadow!

Select a third sheet of construction paper in a contrasting color as the ground.

Arrange the portrait and its shadow on the ground with the shadow slightly to the left or the right of, and possible slightly above the figure.                                                                             

Move them around until you like the effect, and glue them down.

Pretty cool, especially with sparkly lipstick!


Must be a Rebel!                    Skateboard Dude

It's Wonderful Me!

This week we created self-portraits -- with personality! The idea was to add a surprise element to the artwork, something that would get the kids excited about who they are or what they like to do.

Kinders and 1st graders like to play! So, they portrayed themselves at play, using twine to indicate either swinging or jumping rope. Most of them chose the swing, for a fun 3-D effect.


Our 2nd graders created full body drawings of themselves, which they cut out and placed on a collage background of their choice.

Some chose lots of sparkle and color!

More Beautiful Animals

This is such a fun project -  I wanted to share just a couple more photos with you. This student is hard at work on her Toucan painting, using soft pastels. (Yes, pastel works are called paintings.)

Cats are a a favorite subject, as you can see. From kittens to tigers, I believe the intensity of the eyes and the variety of patterns and colors are especially appealing to young artists.

Katie's "Tiger"                            Kathy's "Kitten"

These cats are both rendered in oil pastels

Tuesday, March 17, 2015

Arty Animals

Children love to create ANIMAL art. Animals can be drawn, painted, cut and glued collage style, sculpted, or paper mache'd. It doesn't matter; animal art is fun!

This week we created a variety of animal art. Our youngest students glued fuzzy cotton "sheep" to lovely green meadows. You can find an example of this project at Artsonia. Our older elementary artists made beautiful tempera paintings of their favorite animals, such as those at Deep Space Sparkle (one of my FAVORITE art sites for great art ideas).

Our favorite animal art project, which we do every summer, is pastel on black paper. The children try both soft or oil pastels - each medium has its pros and cons. Some of our more experienced young artists have their preferences. Soft pastels are messy, but they can be wiped off and they can be smeared and softened, which can be lovely. Soft pastels must be sprayed with fixative when completed. Oil pastels are much less messy, bright and bold, and can be layered - but cannot blended or smeared or softened. They do not need fixative. Soft and oil pastels cannot be mixed.

We have done this pastel art with children as young a eight or so with surprisingly lovely results. You need only a few supplies: (very) black 9 x 12 heavy construction paper, drawing pencils or a charcoal pencil, a good set of soft pastels AND oil pastels (try both!) of 24 to 36 colors or more, and lots of good photos of animals to work from. We use mostly Zoo Books and old calendars. You might also have some tracing paper and carbon paper on hand. I allow kids to trace the basic shape of the animal, then transfer onto the black paper if the photo is the correct size (not too small) if the child gets too hung up on the drawing part. This is more of a lesson in selecting a good palette of colors and learning pastel techniques.

I am always amazed with these wonderful pastel art paintings! Some of these children have never tried pastels before. Wow!

More Drawing!

What should I draw?

I have found that one of the best subjects to help build your drawing skills is readily available in the refrigerator or on the kitchen counter.

Fruits and vegetables of all varieties make great subjects because they come in so many shapes and colors, and can be arranged and rearranged on the table in front of you. 

We have the convenience of a "grocery store" exhibit in our Children's Museum, so our middle school kids borrowed some items from the produce department, which was great because these fruits and veggies don't bruise or spoil!

This drawing was an original idea that caught on with the students. They using soft pastels to color in their pencil drawings, then outlined them with black pastels and smeared them in an outward "shadow-burst."

I love the unusual effect!

Ready, Set, Draw!

This week we focused on the basic skill of DRAWING. Fortunately, this is one of the skills that very young children are delighted to try from the time they can pick up a writing or drawing implement. Drawing is a great way to express oneself long before reading and writing come into play; and best of all, drawing is FUN!

Our first project was Object Studies. This art activity is great for anyone learning to draw. I have used it with preschoolers, adults, and all ages in between...

To create an object study, you'll need a variety of simple objects to draw, lots of white copy paper, pencils, erasers, and drawing boards if you will be moving to another area. Otherwise, the normal drawing table will work, just place the item on the table in front of you and draw. (It can help to place the item on top of a piece of blank white copy paper so that the edges can be more easily discerned.)

Our groups went to the Children's Museum, where there is a multitude of interesting things to draw. unusual objects can remove the inclination to draw a preconceived shape instead of the object as it actually appears.

Each child selected an object, found a comfortable place to sit, placed the item on his/her drawing board, and drew it carefully. Then, the young artist turned it around for a new view of the same object and drew it again, and then tried a third view. Children often don't realize that objects look differently when viewed at unusual angles - their young brains have constructed a specific shape for a given object - such as  a block or a cup, so the shape or form of the same objects from a 3-quarter view or from directly above can be surprising and difficult to acknowledge. TIP: Drawing unusual objects can remove the inclination to draw a preconceived form instead of the object as it actually appears.

Many of the children were excited to learn that they were able to draw "real" objects, and everyone had fun!

Saturday, July 05, 2014

Abstract Canvas Painting

Art Camp 6th-9th graders painted Piet Mondrian style abstracts on canvas. 

First we divided up our canvases into geometric shapes using masking tape. Then we painted in the exposed spaces with acrylic paint. Oh, one more rule: we used only the three primaries. Any other colors had to be mixed. 


We practiced first - we filled in color wheels by mixing the primaries, secondaries, and analogous colors. This is an excellent exercise, by the way, which can and should be done with kinders on up (start with simpler color wheels with younger children using only the primaries and secondaries). 

Many of our young artists decided that complementary colors look really awesome together, meaning colors that are opposite one another on the color wheel. Others preferred analogous colors: those that touch or nearly touch on the color wheel, such as cool colors (blues, violets, greens) or warm colors (yellow, reds, and oranges). 

After the paint was completely dry, we removed the tape and - WOW!

MORE Awesome Abstract Art!

Art Campers going into 4th and 5th grade created assembled abstract art that incorporated four individual pieces of art and one common element: a circle. Students were encouraged to use one or more different media and techniques in each of the four sections. Then they arranged and assembled the final piece:

Success!

Awesome Abstract Art!

Abstract art is about play!

All of this week's art projects involved experimenting and playing with shape, pattern, color, form, and various media. Mostly, though, it was about having FUN with art!
on white paper

Our kinder / 1st grade Camp created large (3' x 4') collaborative prints. Each group planned and created two paintings, one on white paper and another on black (which they painted black with rollers first).
on black paper 

2nd grade Campers created these abstract prints.


They worked together, deciding which colors to use, which stamping shapes to use, where to put what, and when to stop. This was a lot of work for 5- and 6-year-olds! The artwork was pretty goopy and wet, so we decided to give it a whole week to dry!

During another session, the children colored heavily on white paper, then painted over their work with watery temperas (using cake temperas - like giant watercolor trays) for a crayon resist result. Again, these were non-objective, random shapes, colors, and patterns:
Children find great satisfaction in going back to the "scribbling" stage, with no pressure from themselves or others to create representational art. 

Friday, July 04, 2014

2014 Summer Art Camp

This year the Blackfoot Art Center is hosting a ten-week Summer Art Camp for kids entering Kindergarten through 5th grade. The art center is also hosting a middle school Art Camp for kids entering 6th through 9th grades. All camps will run June 9 through August 15, 2014 on Mondays and Thursdays starting at 1:00 pm;  specific days and times are shown below.*

K-1st grade       Thursday, 1-3 pm (two groups)
2nd grade         Monday, 3-4 pm
3rd grade          Monday, 2-3 pm
4th-5th grades   Monday, 1-2 pm
6th-9th grades   Thursday, 3-4:45 pm

* Subject to change without notice, please call 785-8022 to confirm days and times.

Weekly themes include lessons or projects unique to each age group. Sample themed artwork will be featured on this weblog as the summer progresses.

Children may be registered for Art Camps through the Blackfoot Community Center. Please see the BCC website for camp fees and other details. Other exciting summer camps are also available, and all are included with registration in the BCC's 10-week Summer Day Camp program. You can register at any time. Please call 785-8022 for more information.

Sunday, June 03, 2012

New Blackfoot Art Center Facility

The Blackfoot Art Center now has its own facility at 157 W. Sexton (corner of Sexton and Ash). This facility is devoted entirely to art and crafts classes - to be utilized by the SHARK After School Club, SHARK Summer Day Camp, and community art classes.

SHARK Summer Day Camp begins June 11, 2012 and will include lots of fun art classes.

In addition, an ongoing home school studio art class is held every Wednesday morning 10:30-11:30 am, open to homeschoolers ages 5 through 14. Cost is only $20 per month ($5.00 per class).

An adult level studio art class is held every Thursday evening 6:30-8:30 pm. Students bring their own projects and focus on areas of their own interest with help from the instructor. Current projects include acrylic canvas painting, beginning drawing, and colored pencil projects. Cost is $10 per class or $40 per month. Community art classes  and workshops for all ages are being planned now for the summer months. Stay tuned!

Wednesday, April 01, 2009

2009 Winter / Spring Art Classes

This past winter has been an exciting time for the Blackfoot Art Center! Our classes have been very successful, with lots of fun projects and creative activities for everyone. Our popular SHARK Art class is especially suited to the youngsters attending the Community Center's SHARK after-school club, but other children are invited as well (space permitting). This class is held on Mondays, running 3-4:30 pm.
"Giraffe" by Mitchell (12) Oil Pastel on Paper
In addition to monthly drawing lessons, the children paint, sculpt, construct, and create in a variety of media. They have a great time while developing small muscle skills, creativity, good work habits, self awareness, and respect for individuality. SHARK Art is $25 monthly.

On Tuesdays, 4:00 to 5:30pm we have Drawing, Painting, and More... This class, for ages 8 to 12, is for students who have a solid interest in art and want to develop basic skills while trying new techniques and media along the way. We practice our drawing skills regularly, while working in a variety of drawing media such as graphite, charcoal, oil pastels, soft pastels, and colored pencil. We also paint, sculpt, and construct. This past month we created papier mache' animals, which the children found to be a lot of work: formulating an idea, constructing the underlying structure, layering the papier mache, painting, and sealing. However, each step was FUN, and now they have wonderful animal sculptures to take home!

Finally, our Tuesday evening Adult Art Class has been working in watercolor painting since summer. In February we reviewed basic drawing techniques, especially for the benefit of our newer students - but always a good idea for everyone! April 7, 6:30 to 8:30pm, we will begin painting, both in the studio and plein aire, throughout the summer months. The majority of our current students will be working with acrylics, but oil painters are welcome as well. After "brushing up" on color theory and color mixing, we will find ways to loosen up and learn how to find inspiration; and then try our hands at some "no-stress" abstract painting. Abstract??? Don't worry... it'll be great fun!

We are always open to new class ideas too. Does your homeschool group want to meet for weekly art classes? We can arrange it. Let us know your best time and day. Do you know a few preschoolers that would love to do some messy art projects? We can do it here (and nothing for you to clean up)!

Our summer art class schedule will be posted here soon. Special note: we will have weekly Summer Art Day Camps during the month of June 2009.

Thursday, June 05, 2008

2008 Summer Art Classes


Following is the Blackfoot Art Center's 2008 Summer Class Schedule. You'll find all of our most popular classes plus an exciting new mosaic-making class! If you haven't taken classes with us since summer 2007, please note that our classroom / art studio is now located at the Blackfoot Community Center, 157 W. Sexton (at Ash). We have a spacious classroom and look forward to a terrific summer.

Summer classes begin the week of June 9 and continue through August. As always, click on the registration form link to the right to download your registration form, and mail to the Art Center at 146 S. Meridian Street; or bring it into the Community Center and take a look around!

Let’s Draw & Paint!
Monday 11:00 to 12:00 pm · $25 / Month
Kids ages 6 to 8 will improve their drawing skills while exploring and combining media such as tempera, watercolor, crayon, pastels, and more.

Craft it!
Monday 1:00 to 2:00 pm · $25 / Month
A hands-on arts & crafts class for young children ages 6 to 8. Kids will explore exciting techniques using interesting materials such as textiles, wire, string, wood, foam, & more.

Make a Mosaic (& Other Great Crafts)!
Monday 3:00 to 4:30 pm · $30 / Month
Your child will make a beautiful tile mosaic in this unique craft class for older kids, ages 8 and up. Later, participants may make additional mosaics or try another great craft project.

Art is Fun!
Tuesday 1:00 to 2:00 pm · $25 / Month
Unique, open-ended art exploration activities especially suited for 4- and 5-year-olds.

Let’s Paint!
Tuesday 3:00 to 4:30 pm · $35 / Month
Explore painting techniques and media including tempera, watercolor, & acrylics. For kids 7 to 12.

Teen Art Exploration
Wednesday 1:00 to 3:00 pm · $35 / Month
Teens 12 - 17 will improve drawing skills and explore a variety of art media including colored pencil, ink, pastels, tempera, watercolor, and acrylics.

Learn to Draw (June)
Nature Drawing (July)
Drawing in Color (Aug)

Wednesday 4:00 – 5:30 pm · $30 / Month
An introductory drawing class for kids 8 to 12. Learn a whole new way of seeing and thinking artistically. Participants will learn to access their creative side and discover their own unique drawing style.

Art Adventures!
Thursdays 11:00 to 12:00 pm · $25 / Month
Exciting, hands-on art exploration for kids ages 6 to 10. They’ll experience a variety of art forms, media, and techniques - something different every week!

Adult Art Class & Open Studio
Tuesday 6:30 to 8:30 pm · $40.00 / Month or $10.00 per class session
An open art studio / class for adults. Interact with other local artists while exploring a variety of exciting exercises, techniques, and media.
Ongoing class sessions, some out of doors, weather permitting. Attend whenever and as often as you wish. Jun-Aug: watercolor / acrylics.